Posts Tagged ‘Transform a T-shirt’

How To: Amazing Technicolor Sleeve Scarf!

It’s hard to “think spring” when the maple syrup buckets are out, the frost heaves are quaking, and oh, it’s snowing. Not exactly T-shirt weather. And yet, T-shirts have their place.

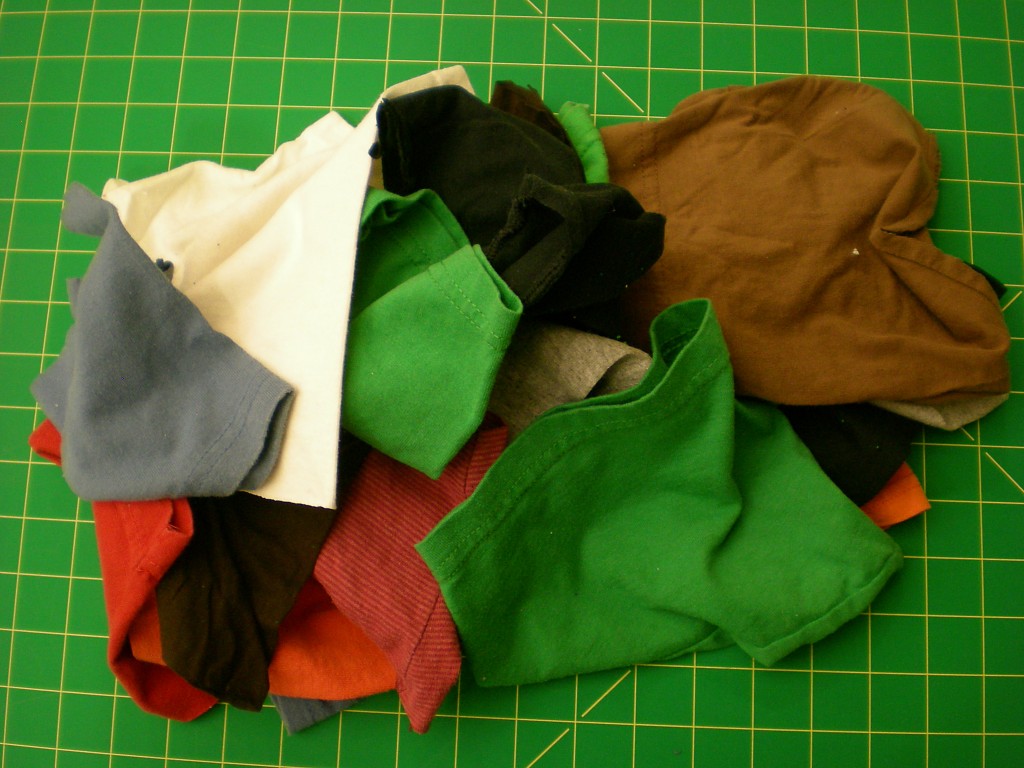
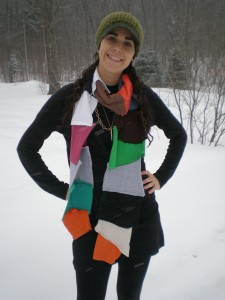
This scarf design grew out of a challenge for my first week students at Artward Bound: We were running low on T-shirts (having already refashioned 206!) and so we hit the scrap bin to make accessories.

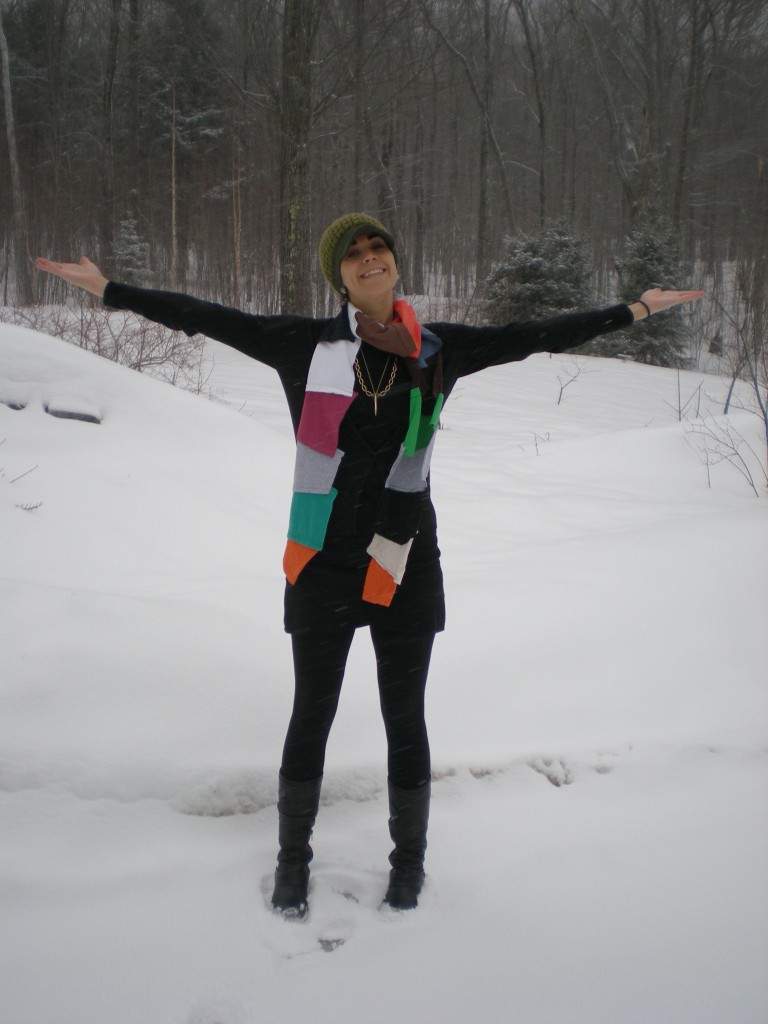
I like the rough edges and charmingly awkward shapes and how they patchwork together (and yes, those white blurs are real, legitimate snow flakes swirling about).

Materials:

-16-20 T-shirt sleeves

-scissors

-straight pins

-needle and thread (or access to a sewing machine)

Make It:

1. Gather T-shirt sleeves in various colors and trim off extra fabric or stitching on the inside edge of the sleeve.

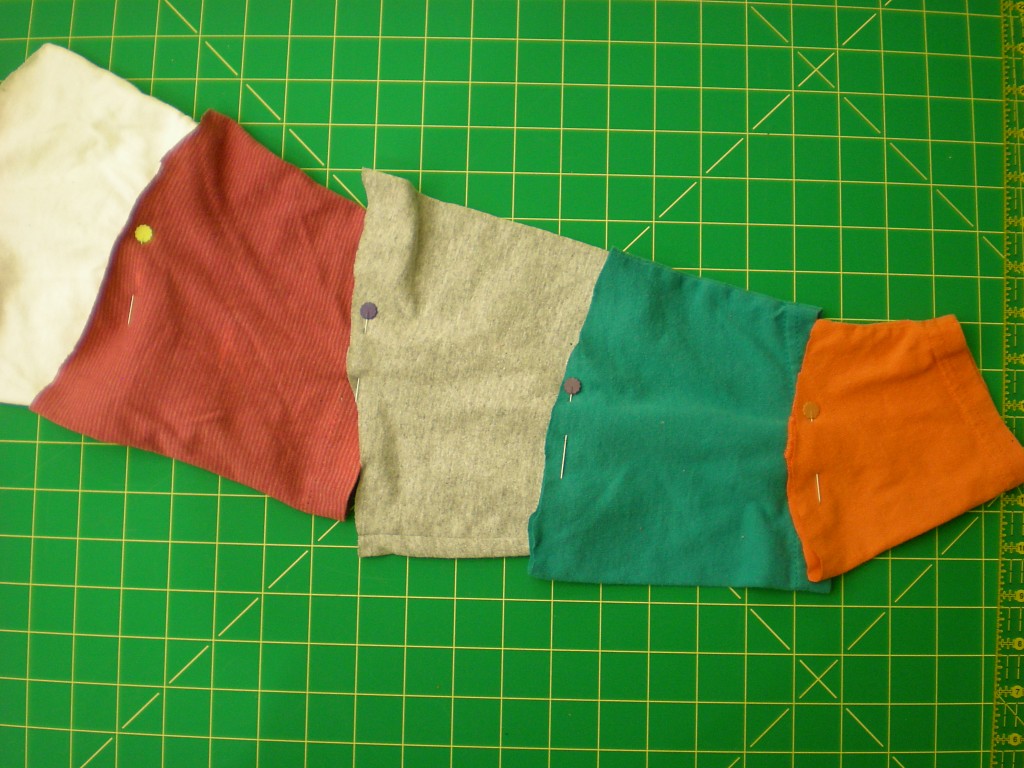
2. Line up the sleeves, overlapping the ends about 1″, and pin them in place.

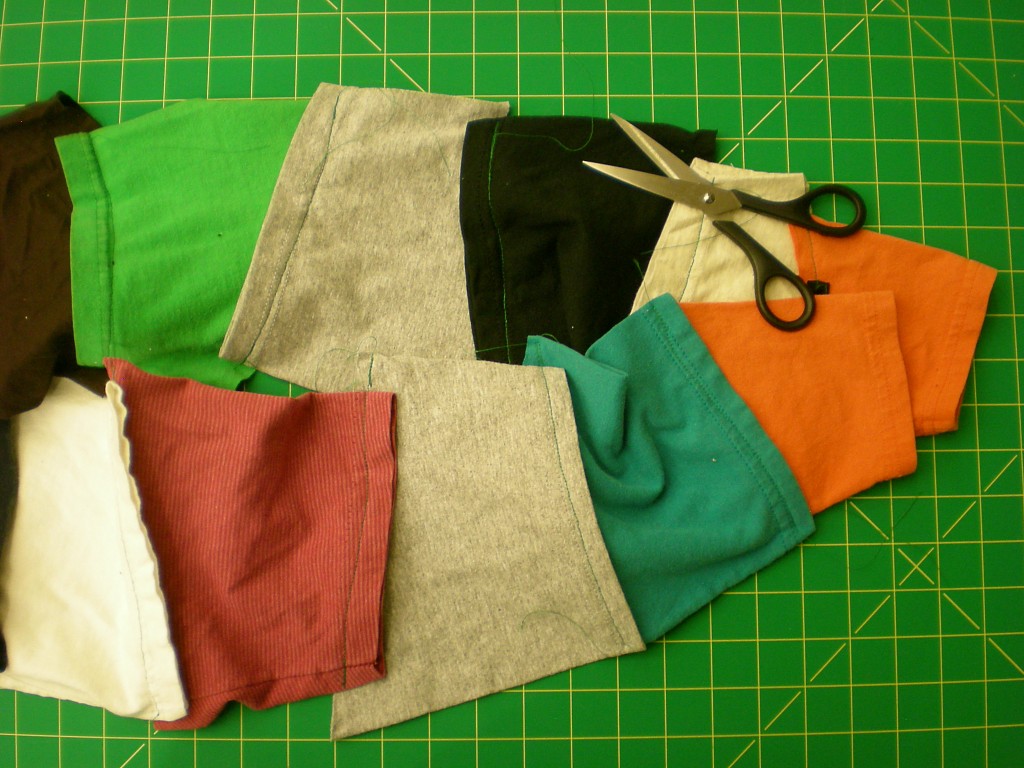
3. Sew a straight stitch along each pinned overlap. Remove pins and trim the threads.

5. Wear your new scarf to add a splash of color (or eight) to a winter wonderland!

On a related note: Stay tuned! One of my students this week has fashioned a pair of pants almost entirely made from sleeves. Appropriately, I have nicknamed them “The Amazing Technicolor Dream Pants”–he’s pondering a blog to track their travel…i.e. The Brotherhood of the Traveling Amazing Technicolor Dream Pants).

[ 5 Comments | Posted on March 15th, 2011 ]

Artward Bound is Runway Bound!

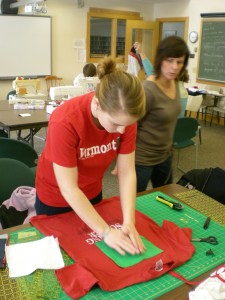
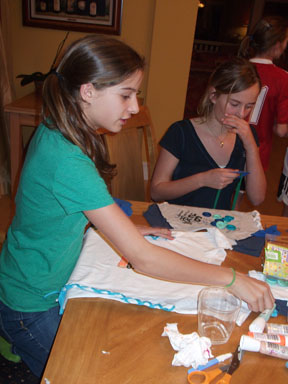
The countdown is complete. The Holderness School Artward Bound “ReMake It New” eco-fashion show is tonight! Here’s another behind-the-scenes look at my young designers in action.

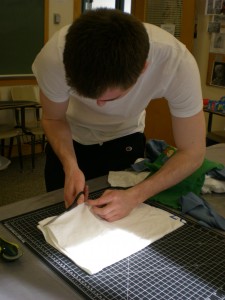
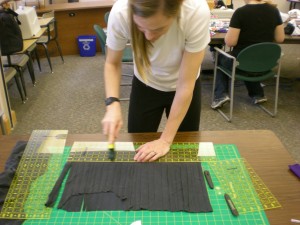
The boys shocked and awed us all with their refashioned tight-tight shorts (they used project #57 “Antsy Pants” toddler pants from the kids chapter in Generation T: Beyond Fashion as their guide, so are we really surprised?) Here, Andy cuts out the pattern. Then Gavin oversees him adding a storage pocket.

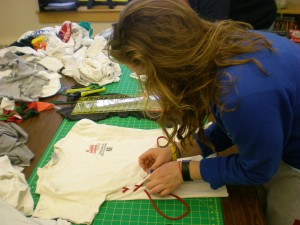
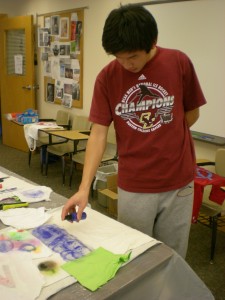
Danielle learns the no-sew lacing technique to modify her T-shirt before she takes it the spray paint table to frost the edges in blue.

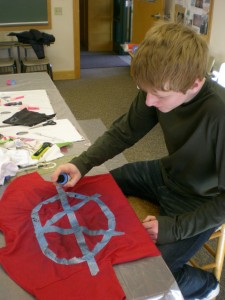
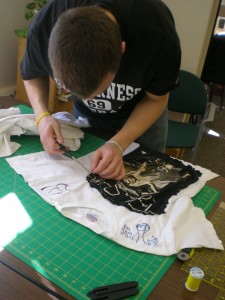
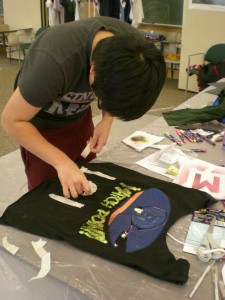
Using masking tape as a freehand stencil, Ben fabric spray paints his mark of rebellion. Christian handstitches a fabric applique onto the front of a T-shirt (his third this week!).

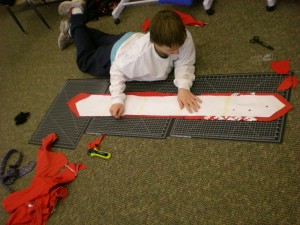
Jeff pieced together parts of three different T-shirts to make a tie to wear for dress code!

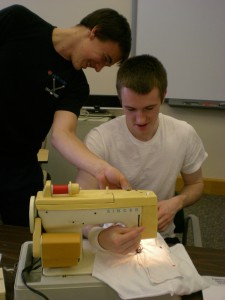
Riggs pinned a T-shirt applique on the back of a not-so-exciting sweatshirt he brought from his room before he hit the sewing machine. Dan outlined his basketball number 35 with masking tape and spray painted it, then added some appliqued patches–he even took it for a test run in the gym the same afternoon!

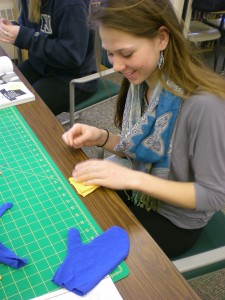
On Day 3 we started to run low on our T-shirt stash, which introduced the scraps accessories challenge! Iashai and Macy responded solidly with laced-up glovelets (from Generation T: Beyond Fashion) and….a mitten!

Faculty leader Lindley made a no-sew fringe-filled scarf (“Mane-iac,” project #91 from Generation T: Beyond Fashion).

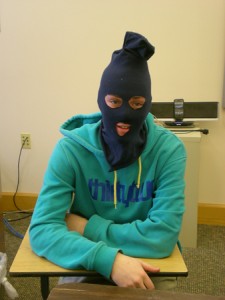
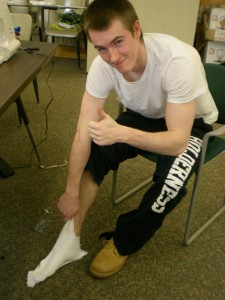
Francis M. made a ski mask, while Andrew attempted a T-shirt scrap sock…

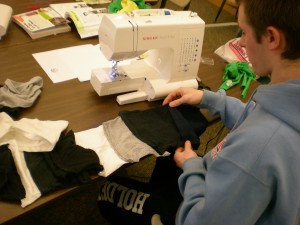
…before abandoning it for a black-gray-white sleeve scarf (tutorial to come!).

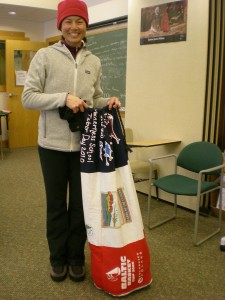
And, in the non-wearable department, faculty leader Merilee stitched a giant stuff sack (using project #38 “Clean Machine” laundry sack), Hannah worked on a knotted throw (#63 “Roll it, Patch it, Mark it with a Tee!” no-sew quilt) from Generation T: Beyond Fashion.

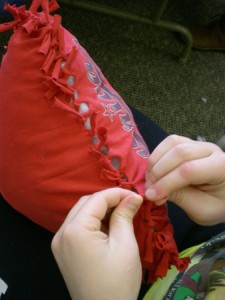
GP stitched up a #42 “Plastic Surgery”grocery tote (as well as a drawstring bag with scraps!) that he personalized by hand stenciling his name with masking tape and white fabric paint. Kendra made a no-sew knotted pillow #30 “Pillow Talk.”

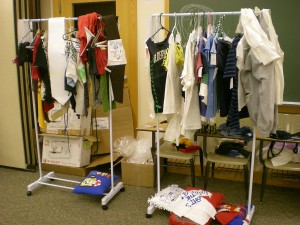
The garment racks are full, so now it’s off to rehearsal!

If you’re in the area, the student performance will start at 7:30 in Hagerman Auditorium (in addition to the “ReMake It New” eco-fashion show, there’ll be live drumming, dancing, and slam poetry!). For the rest, you’ll have to wait for the pictures.

[ 1 Comment | Posted on March 11th, 2011 ]

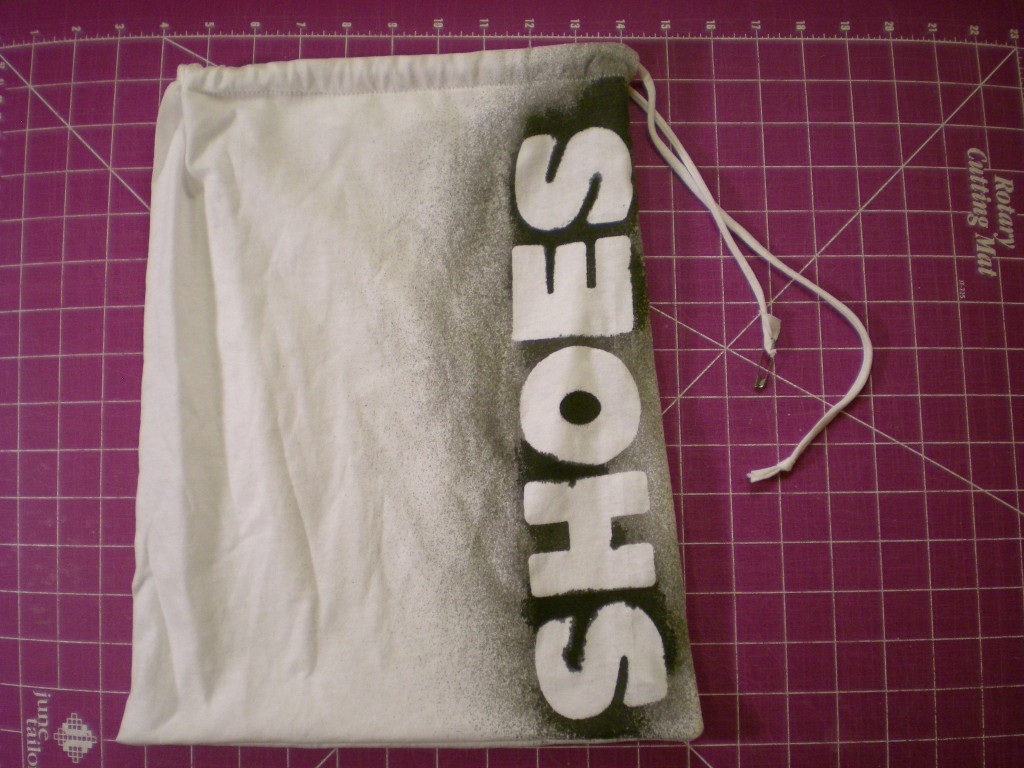
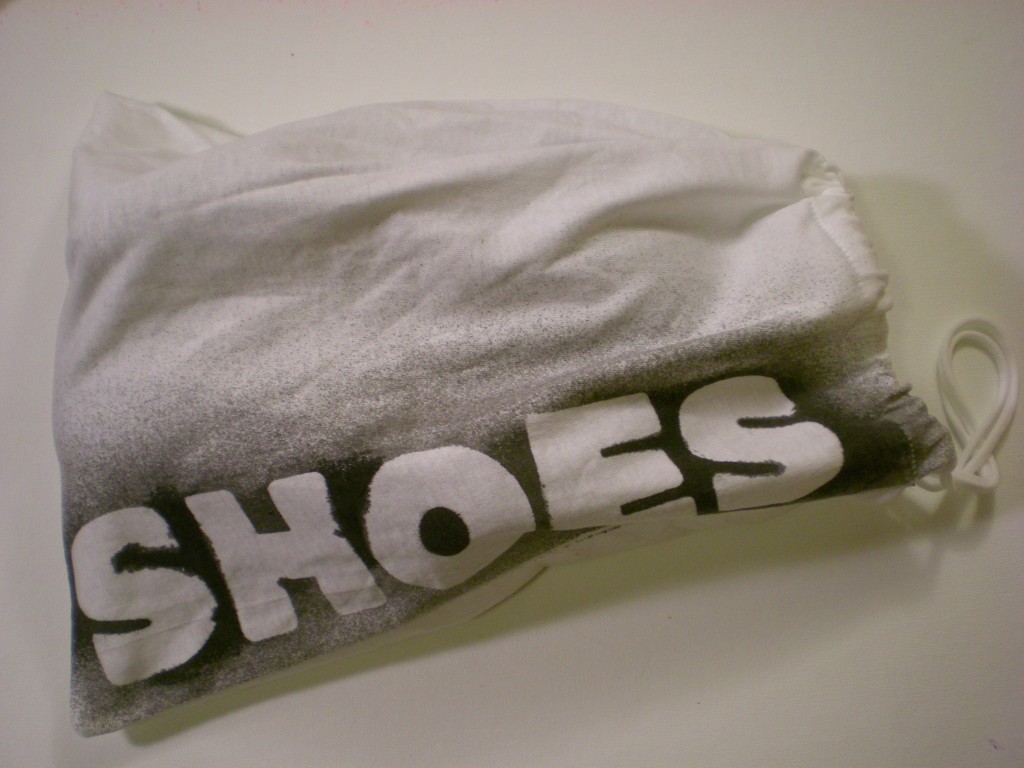
I Love to Create: A Shoe Travel Bag!

Living in New York, my shoes get especially dirty (it’s a special kind of filth). On the occasion that I’m traveling away from New York (which I am very soon!) and packing for that trip, I like to protect the clothes in my suitcase from all of the grime that collects on my shoes. (The streets may be paved in gold, but that’s definitely not what’s sticking to the soles of my shoes.) Here’s a simple project that makes use of an old T-shirt, requires very little sewing (you use the T-shirt hem as the drawstring casing!), and keeps the rest of your wardrobe fresh and clean. And, because the bag is made from an old T-shirt, it’s easy enough to toss in the laundry when you get home and unpack.

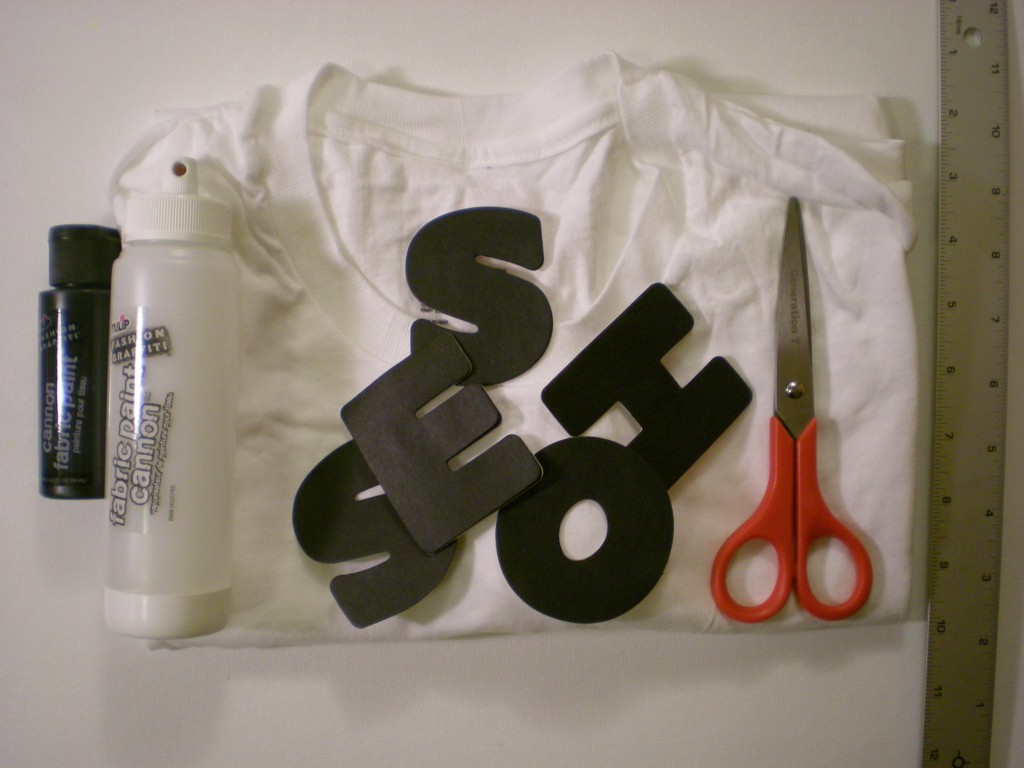
Materials:

-T-shirt (M or larger)

-Ruler

-Scissors

-Sewing machine (with a ballpoint needle and thread), or Needle and thread

-Alphabet stickers (or make your own; I used letter-shaped sticky notes)

Fabric paint and paint cannon (black)

-Safety pin

Make it:

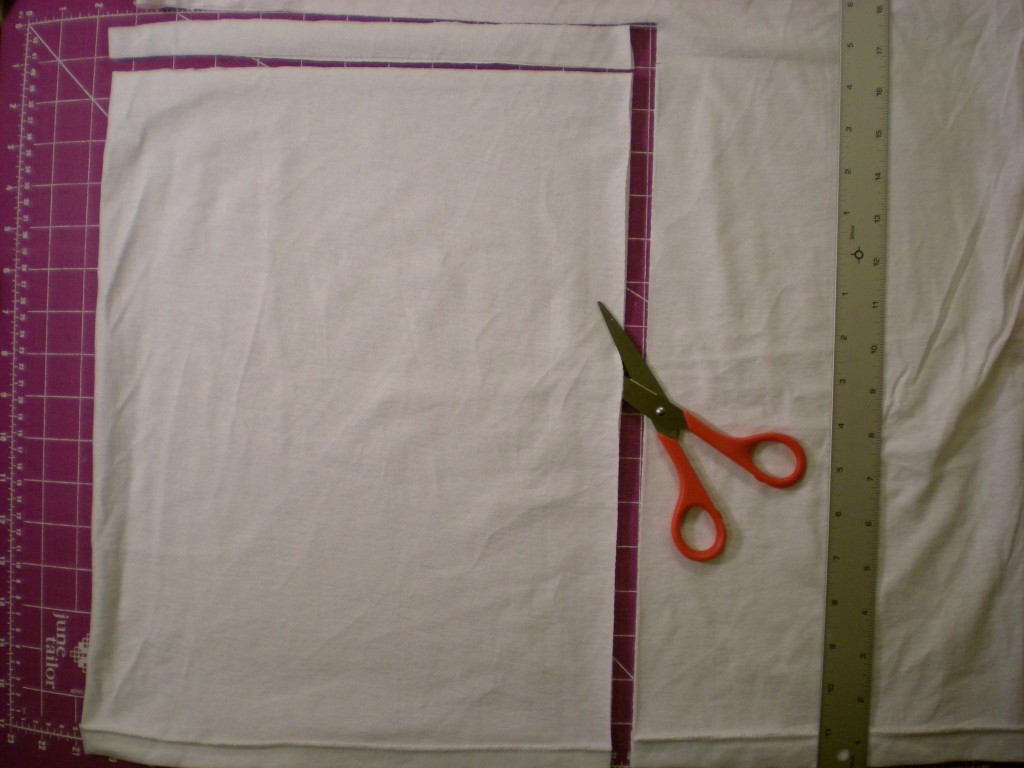
1. Turn the T-shirt inside out and lay it flat. Measure and cut a 12″ x 16″ rectangle extending in from one side and up from the bottom hem. Cut a 1″ strip from the top of the rectangle, through both layers. Set aside the strip.

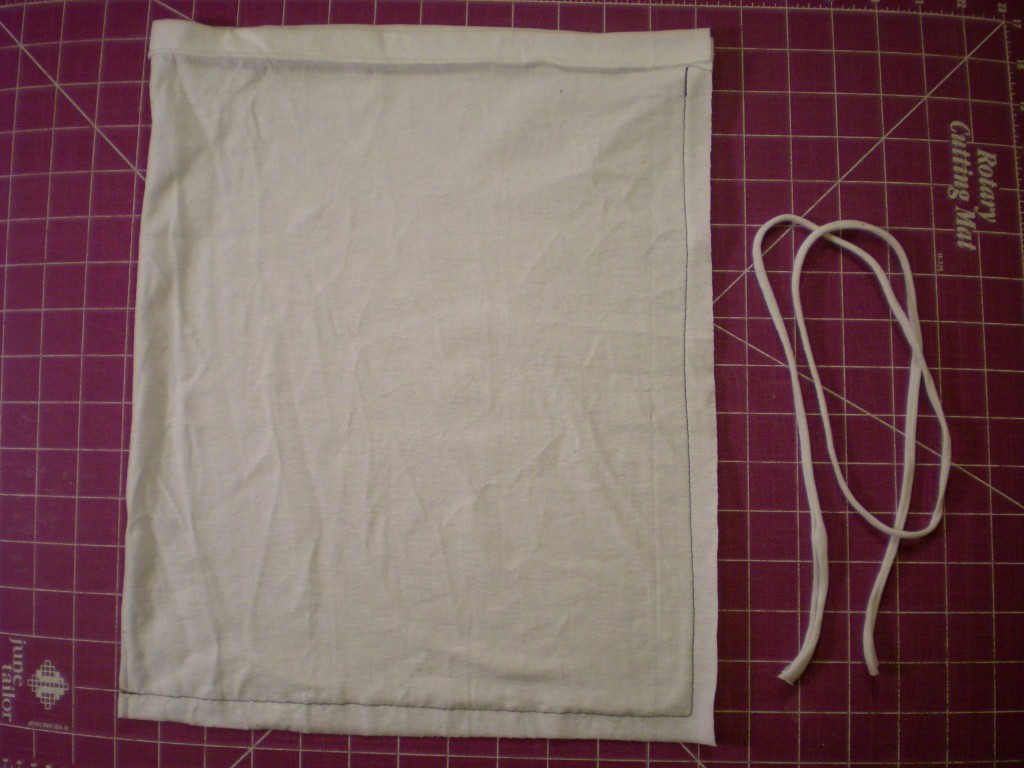
2. Sew a straight stitch along the two cut edges of the rectangle, leaving a 1/2″ seam allowance, and stopping at the hem (this becomes the drawstring casing. (I used contrasting thread for visibility, but matching your thread to the fabric color is recommended.)

3. Turn the bag right side out and lay it flat, oriented with the hem (the opening of the bag) at the top. Stretch out the fabric strip to make a drawstring cord and set it aside again. Arrange the letters across the side of the bag. (Note: Use stickers to achieve a “clean” edge along the letters…I like the rough edges that a little paint seepage creates, so I let the edges of my letters curl up a bit.)

5. With the fabric paint, spray lightly over the letters and let dry completely. (Paint will seep around the sides of the letters that are not sealed flat, creating a rough-edged look to the lettering.)

6. Carefully peel off the letters to reveal the reverse silhouettes. Attach a safety pin to one end of the cord and draw it through the entire drawstring casing. Remove the safety pin and tie the ends together in a knot.

7. Now spin the globe, land your finger, and buy a ticket! If your shoes are made for walking, this T-shirt shoe bag is made for packing. Bon voyage!

Variations:

-Differentiate your various shoe stashes by making multiple bags–do away with the generic “shoes” label and instead indicate heels, flats, sneakers, and so on.

-Scrap the shoes altogether and use the bag to pack pajamas for a slumber party!

P.S. Happy National Craft Month! How will you celebrate?

[ 3 Comments | Posted on March 1st, 2011 ]

Center Harbor, NH @ Bayswater Book Co.

Please stop by Bayswater Book Co. on the lake in Center Harbor, New Hampshire on Saturday, March 12 for a good ole fashioned Generation T Tee Party! I’ll be signing books, demonstrating two projects from Generation T: Beyond Fashion (don’t forget to pack a T-shirt or two so you can follow along!) and hey–maybe I’ll even bake cookies for you, too.

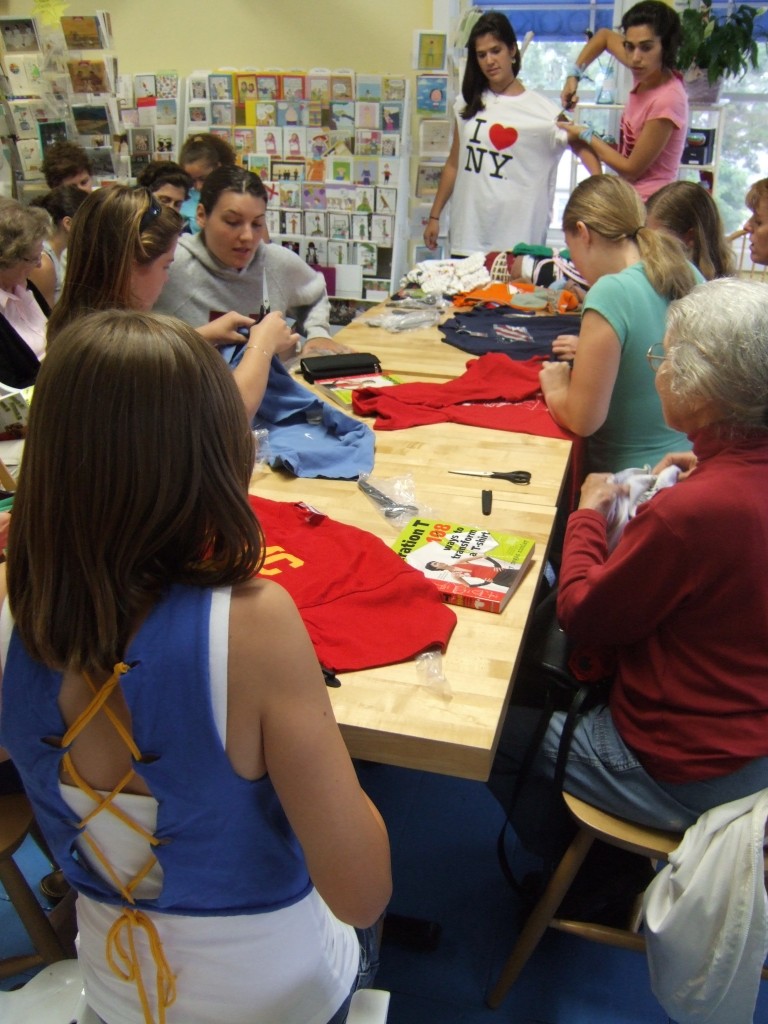
As some of you may have already heard, I’ll be in town for the artist in residency program at Holderness School — and I’m so excited to be able to squeeze in a visit to one of my favorite indie bookstores. (Here’s a photo from my trip there back in 2007, for a Tee Party with Generation T: 108 Ways to Transform a T-shirt.) Growing up in the Granite State, Bayswater was one of my local bookstores, and it holds a very special place in my heart. Not only do I visit the store often (whenever I’m back visiting family!), but my favorite summer job in high school was that of “story lady” at Bayswater. Once a week I selected a general theme and selected books from the shelves of the bookstore to share with the kids and have a discussion (future book club members, for sure!).

Hope to see you there!

Bayswater Book Co.
23 Main Street
Center Harbor, NH 03226

[ 1 Comment ]

Plymouth, NH @ Holderness Artward Bound

Because there’s nothing quite like March in New England, I’m heading north with Generation T to spend quality time with some creative teenagers at Holderness School as part of an artist-in-residency program called Artward Bound (like Outward Bound, but with art!). I’ll be sharing the time and space with eight other artists, who are all working around the central theme: Re-make it New. According to the mission and description of the 2011 program, we will “explore and celebrate…invention and resourcefulness. Re-source, re-use, re-make, re-balance, re-mix, reflect are the keywords that allow us to effectively tap the past, within the present, in order to construct a creative and sustainable future. Artists and performers of every kind are confronted with the daily challenge of making something new out of what is before them. It is said, ‘Necessity is the mother of invention.’ Never has that been more true, than in the eco-era of today. Invention is the ability to bring dissimilar ideas, tools, experience, and materials together in ways that surprise, instruct and lead.” That sure sounds all right to me!

Though the daytime class sessions are private, the evening performances are open to the community (including two eco-fashion shows premiering my students’ T-shirt refashion work) , and I’ll be posting more information about them as it becomes available. In the meantime, we’ll be sure to post plenty of pictures to share our progress throughout the two weeks that we get creative together!

Materials for the Generation T fashion workshops have been generously provided by the following sponsors:

[ 2 Comments ]

From Our Readers: Izzy!

Izzy from New York made the T-shirt laptop cozy included in the 8 Ways to Transform a T-shirt roundup we featured back in December, and get this…she made it without even looking at the instructions! Very cool. It’s pretty impressive to be able to look at a finished project and figure it out in reverse — and have it come out looking as awesome as Izzy’s project does! Not to mention, she reports that she had tons of fun making the laptop cozy, too–which is of course, pretty darn sweet.

[ Comments Off on From Our Readers: Izzy! | Posted on February 7th, 2011 ]

T-Shirt Art: Woven Team Jerseys

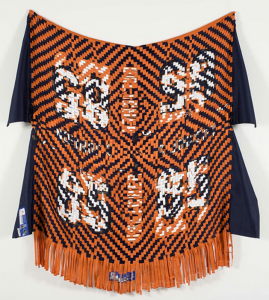
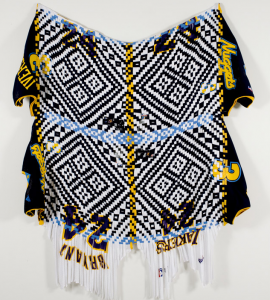
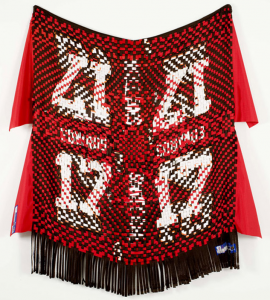
To celebrate Super Bowl Sunday Generation T-style, check out these amazing tapestries woven from sports jerseys by artist Brian Jungen. Beautiful patterns and color combinations! A Steelers-Packers woven mashup would sure look nice–all those bright colors! In the meantime, I’m going to dig out some of my old “home” and “away” team uniforms and start cutting.


[ 3 Comments | Posted on February 5th, 2011 ]

From Our Readers: Jessie!

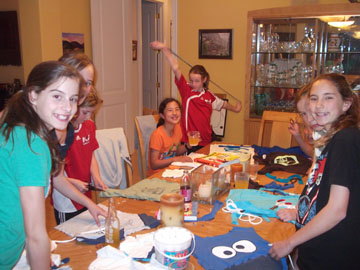
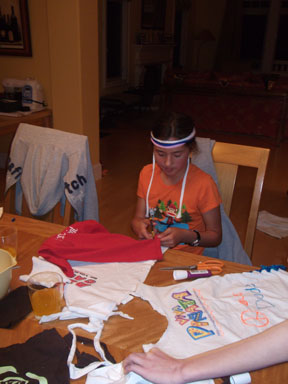
While I was wandering the halls at CHA in Southern California (more details to come!), there was a surprise Tee Party brewing up north in the Bay Area. It was Jessie’s 12th birthday, and she and six of her pals were quick to dig into a pile of her brother’s old tees (excellent source, by the way), scissors, fabric paints, and copies of Generation T and Generation T: Beyond Fashion (of course) and styled a whole new wardrobe.

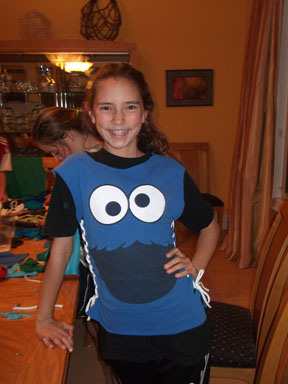
They each made a version of Outer Lace (project #16 from Generation T). And, they even choreographed dance moves to stretch out the T-shirt hems into cords!

Fashionably, they used their scrap pieces as headbands, bracelets, and other accessories.

They swapped T-shirt cords so they could each have contrasting color laces down the sides.

And when the birthday girl has an ear-to-ear grin to rival Cookie Monster’s, you know it’s a success!

Want to throw your own Tee Party? Here’s how.

[ 3 Comments | Posted on February 3rd, 2011 ]

I Love to Create: T-shirt Baby Book!

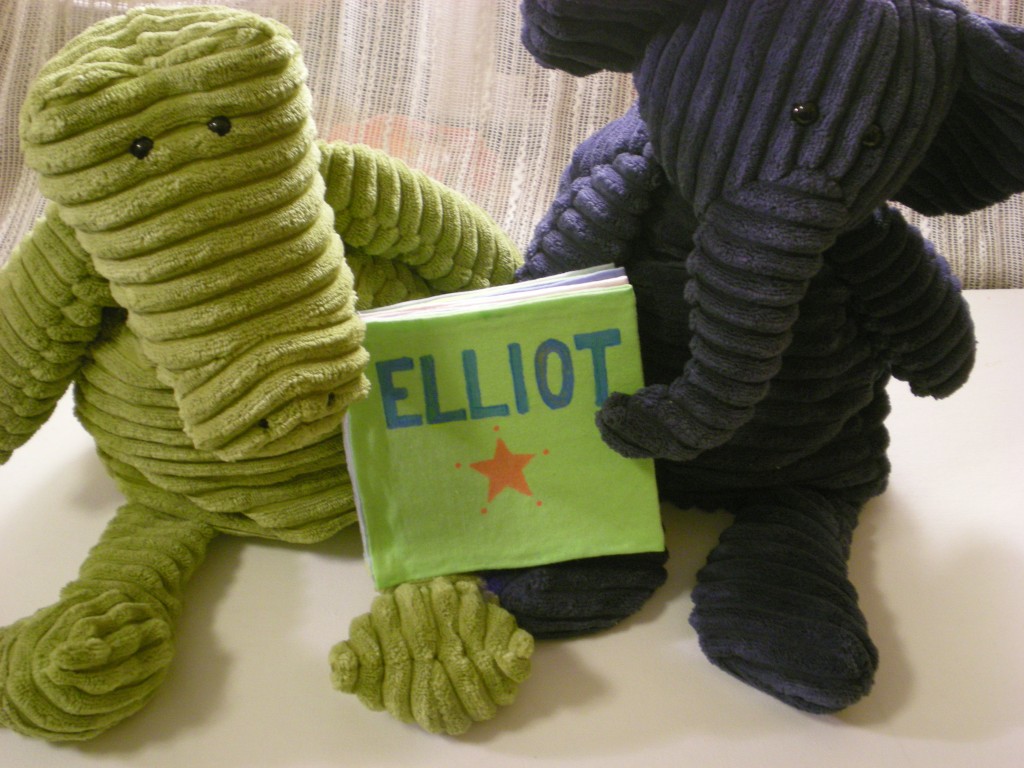
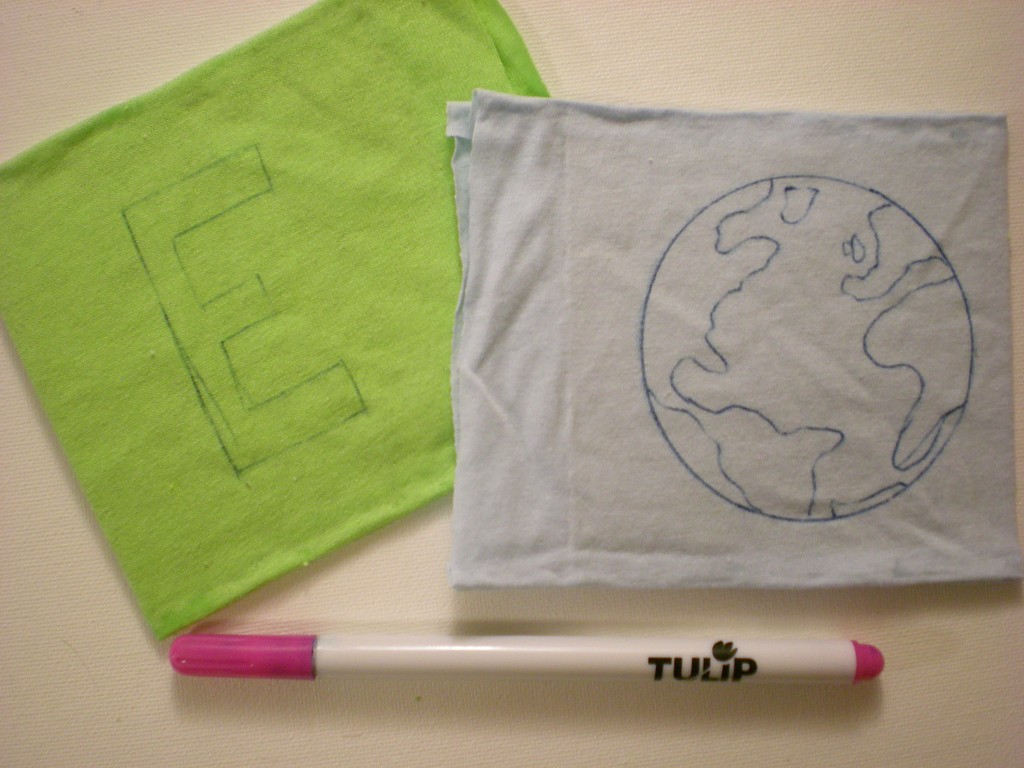
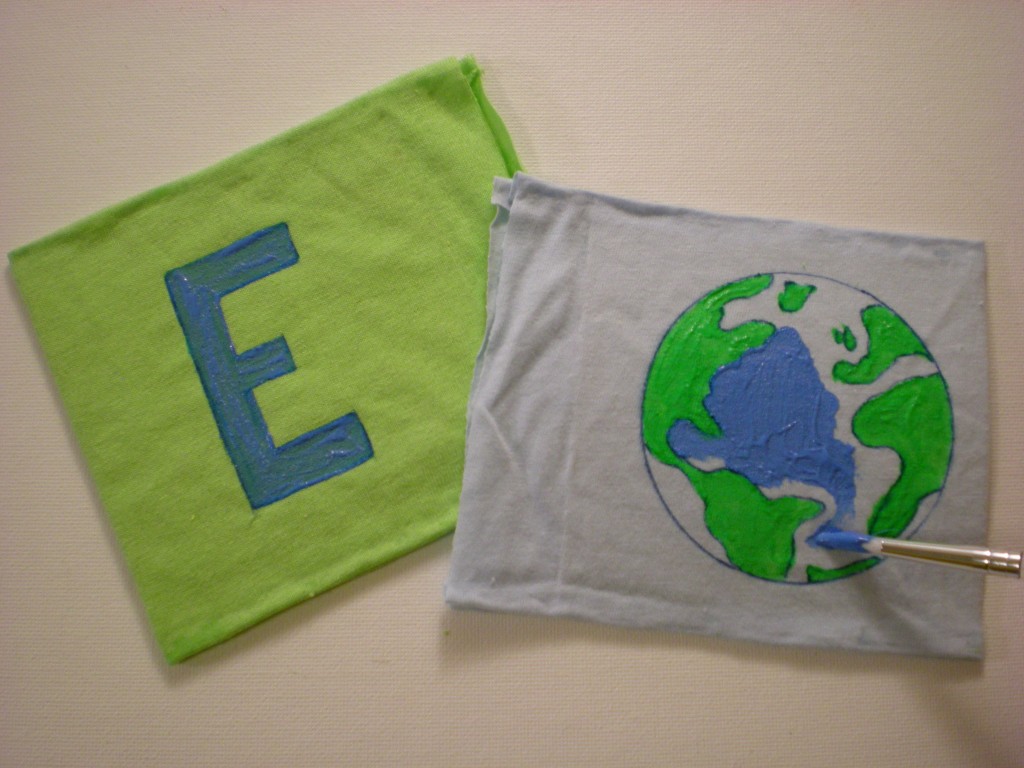
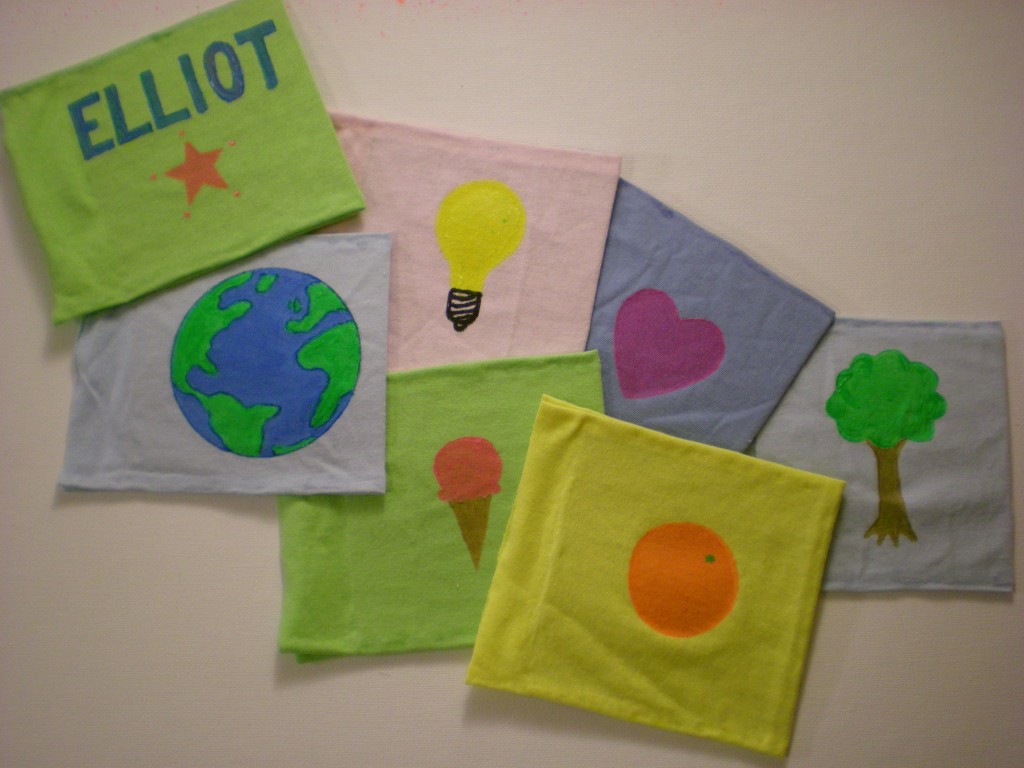
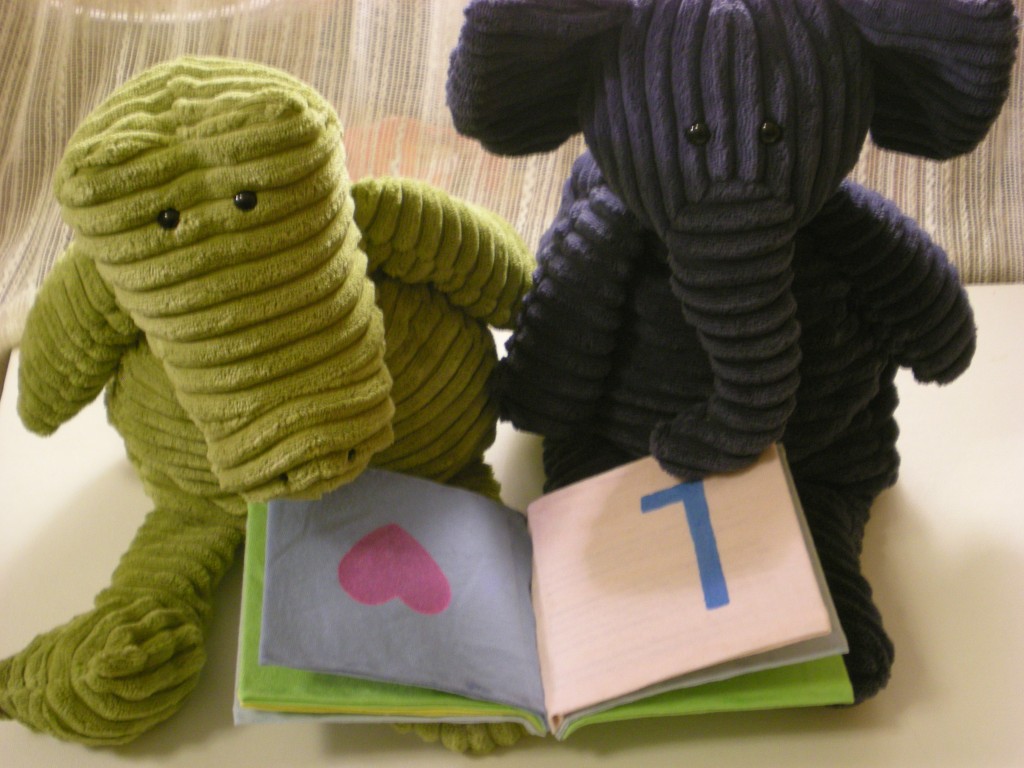
I like projects that help me use up the scraps that threaten to overwhelm my craft space. I also like projects that can be gifted. So this one’s a win-win: The T-shirt Baby Book is perfect for using the T-shirt sleeves that have been cut from another project (like a tank top) and it makes a great personalized baby gift. Once I picked the recipient (my friend’s new baby, Elliot), I had a lot of fun figuring out what words each letter of his name would represent (in other words, what could I illustrate easily?). I settled on: E = earth, L = light, L = love, I = ice cream, O = orange, and T = tree. Sorry, no pictures of baby Elliot and his new book just yet, so the book is presented by these two cute corduroy pals.
Materials:

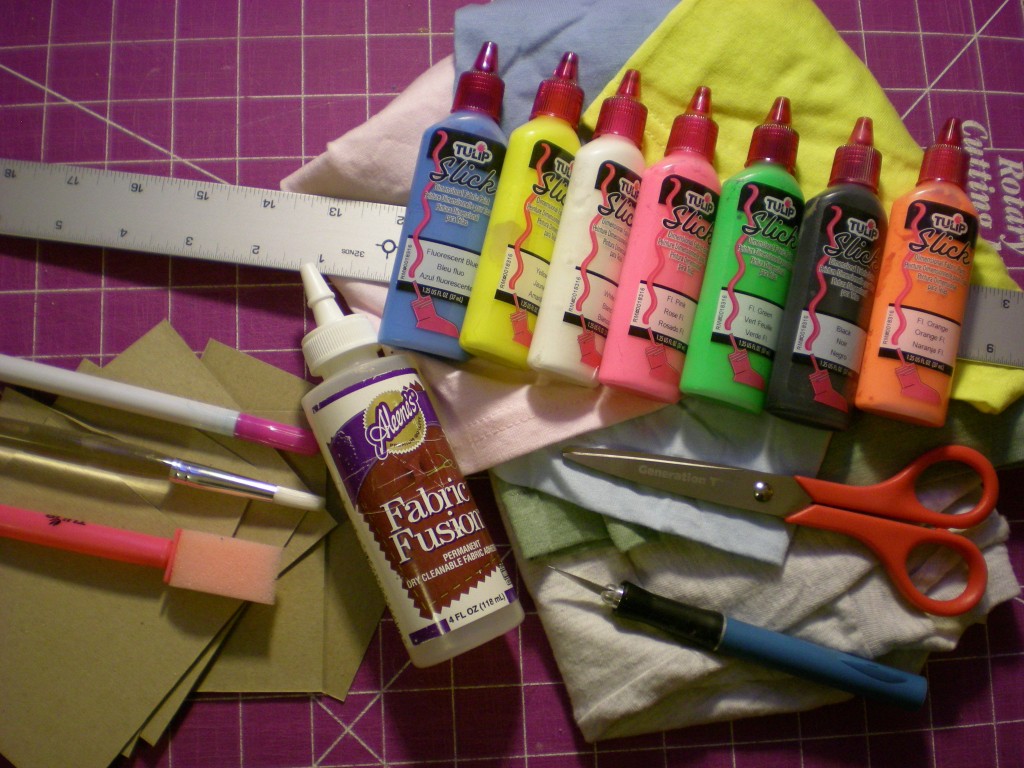
-T-shirts or T-shirt scraps (in multiple colors)

-Scissors

-Ruler

-Craft knife

-Cutting mat

-Lightweight cardboard (cereal, snack, or tissue boxes work great!)

Aleene’s Fabric Fusion Permanent Dry Cleanable Fabric Adhesive

Tulip Disappearing Ink Pen

Fabric paintbrushes

Tulip 3D Fashion Paint Blazin’ Brights (variety of colors)

-Clothespins (optional, for clipping in place while gluing/drying)
Make it:

1. Measure and cut one more 4″ x 4″ square of cardboard than there are letters in the baby’s name. (Example: Elliot has 6 letters, so I cut 7 squares.) Then cut as many 5″ x 10″ rectangles from the T-shirts as there are cardboard squares.

2. Squeeze a small ribbon of glue along one long side of one of the fabric rectangles. Then fold over the edge about 3/8″ and press. Repeat on the other long side.
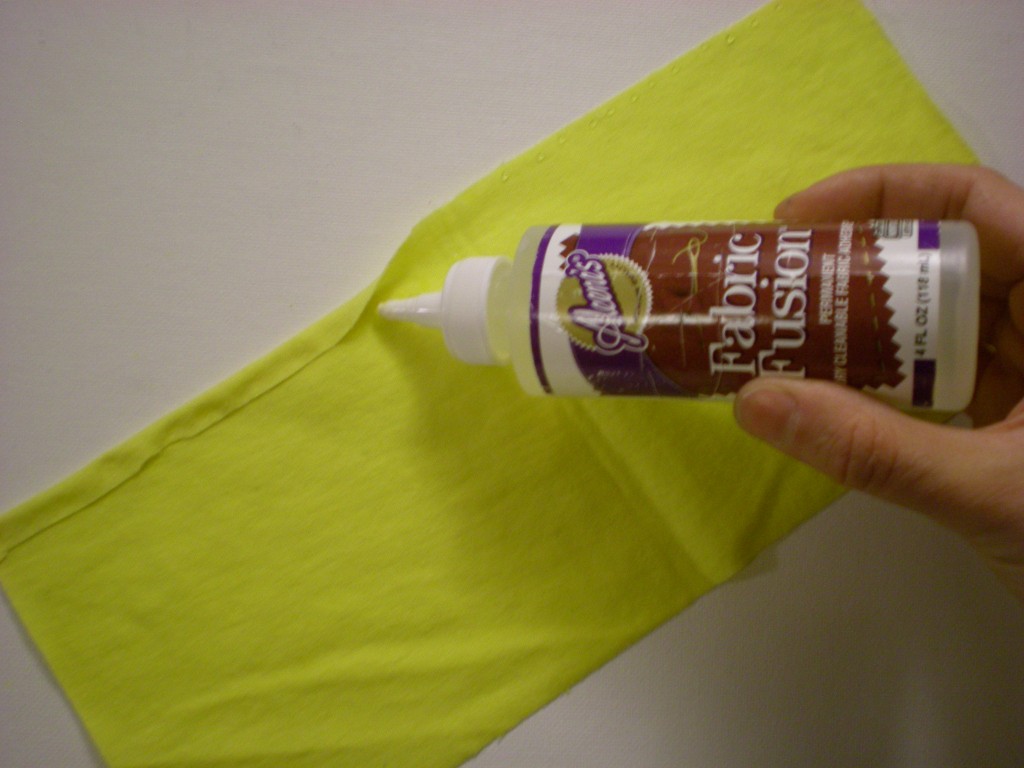
3. Find the center of the rectangle and line up one edge of one of the cardboard squares. Squeeze a small ribbon of glue along the fabric at the top and bottom edge of the cardboard.
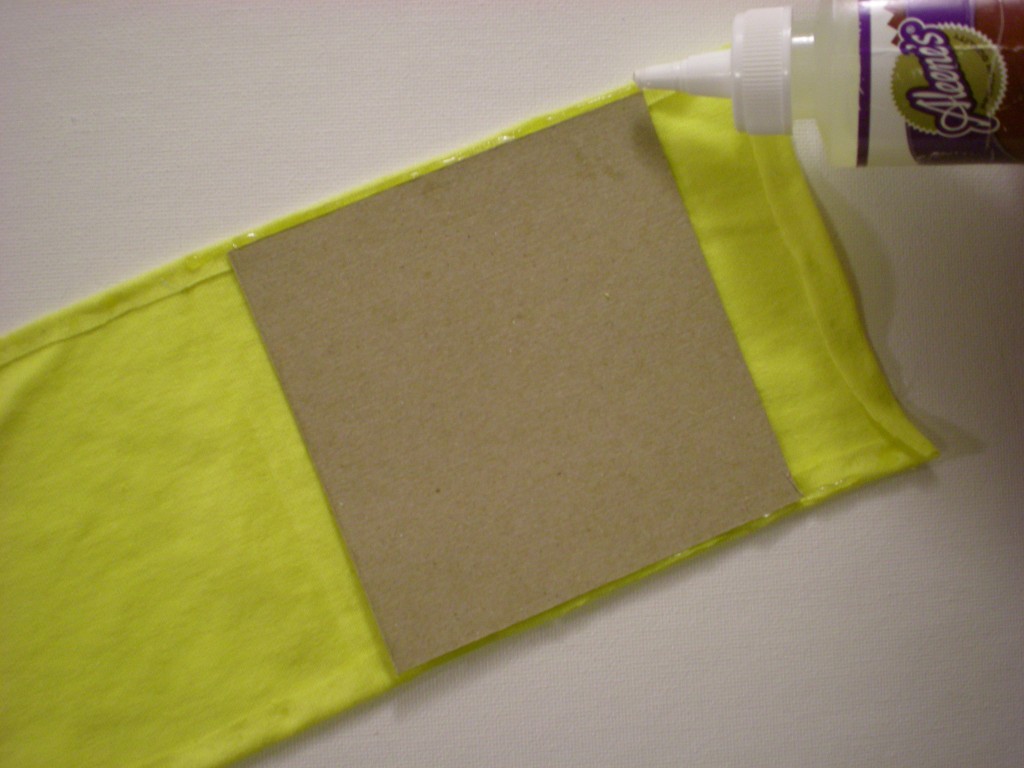
4. Fold the fabric in half, sandwiching the cardboard in between the layers. Press the glue into the edges to seal it. Squeeze another ribbon of glue against the cardboard and between the fabric layers on the open side. Press it closed.
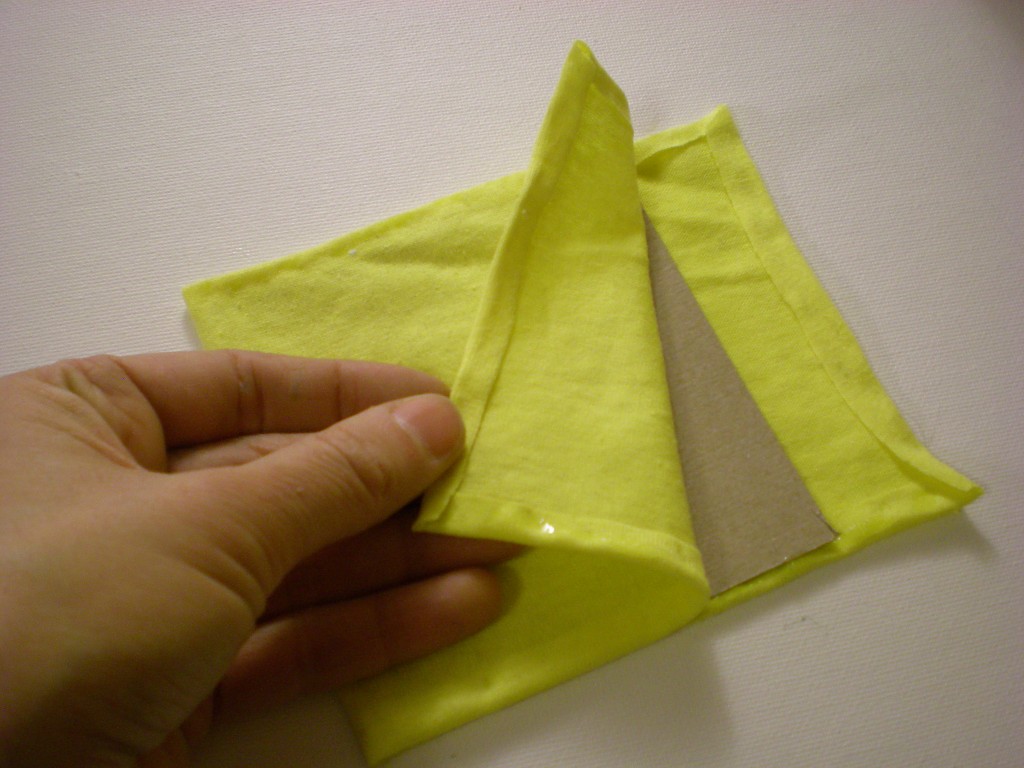
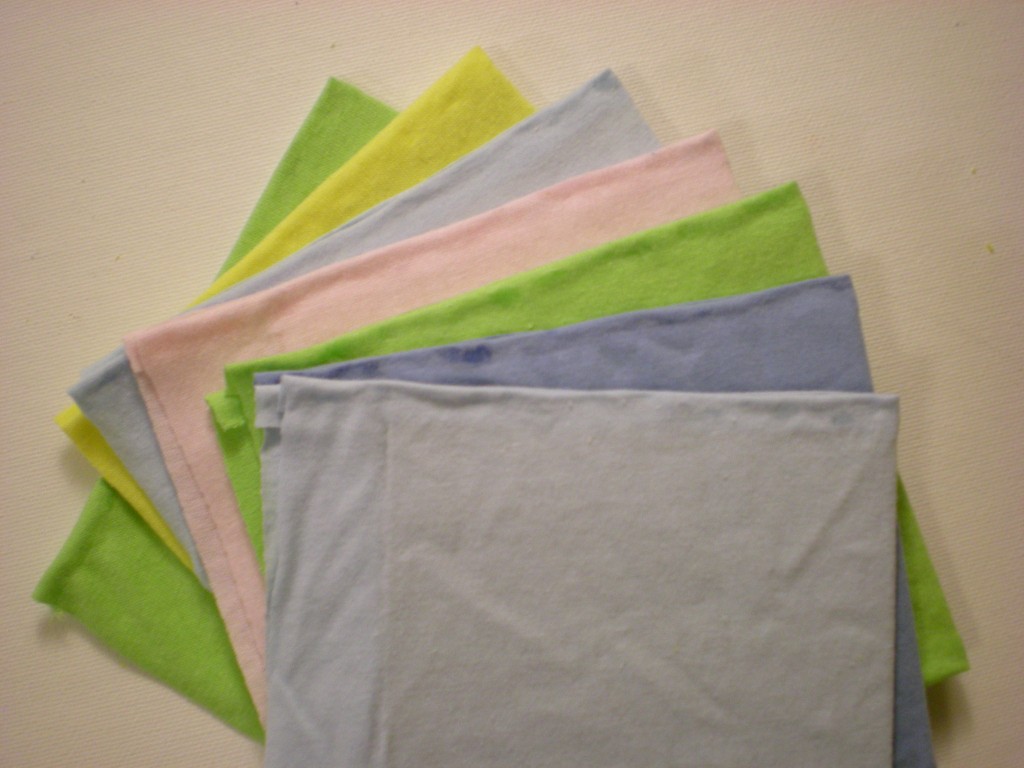
5. Repeat steps 2 through 4 until all of the cardboard squares are covered. These are the pages of the book.
6. Use the air-soluble ink pen to begin outlining the letters and images on the book pages.
7. Color in the lines with fabric paint!
8. Paint all the right-folio pages first (including the front cover), let them dry, then paint all the left-folio pages, making sure you match up all the letters and images.
9. Trim the raw edges (the side of the pages that will go into the binding) down to 1/2″. Then squeeze a line of glue along one of the edges you just trimmed and press it against the adjacent page. Keep gluing and adding pages (in the correct order!) until the book is complete.
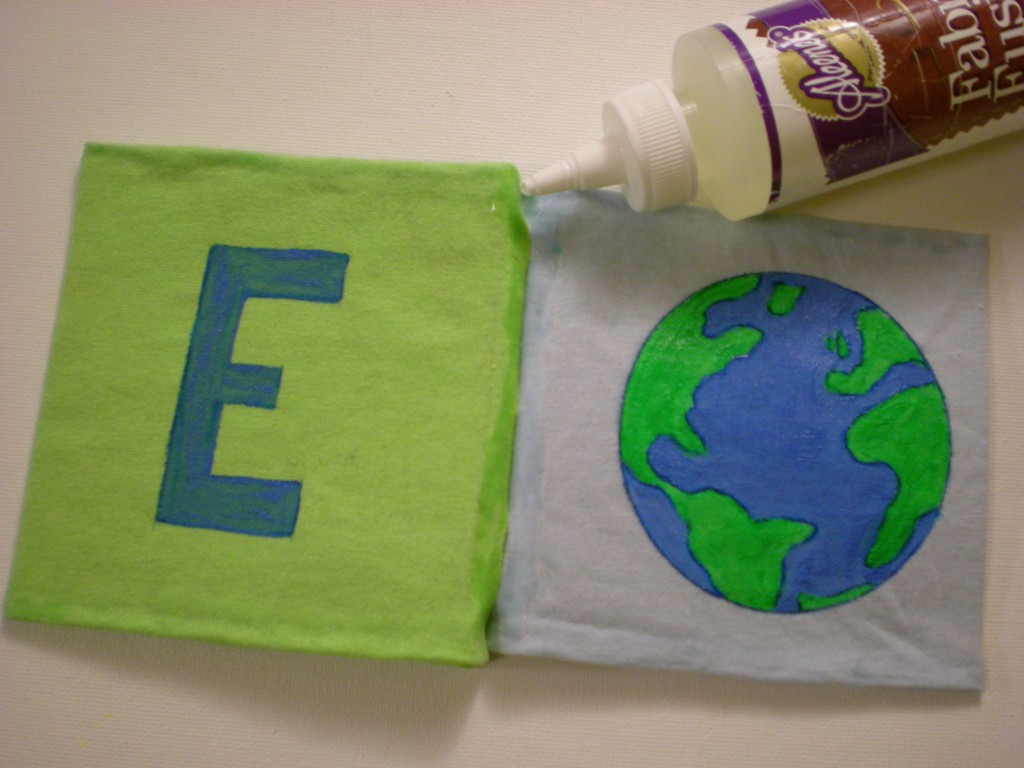
10. Let dry completely. Optional: Clip the binding closed with clothespins while it dries.
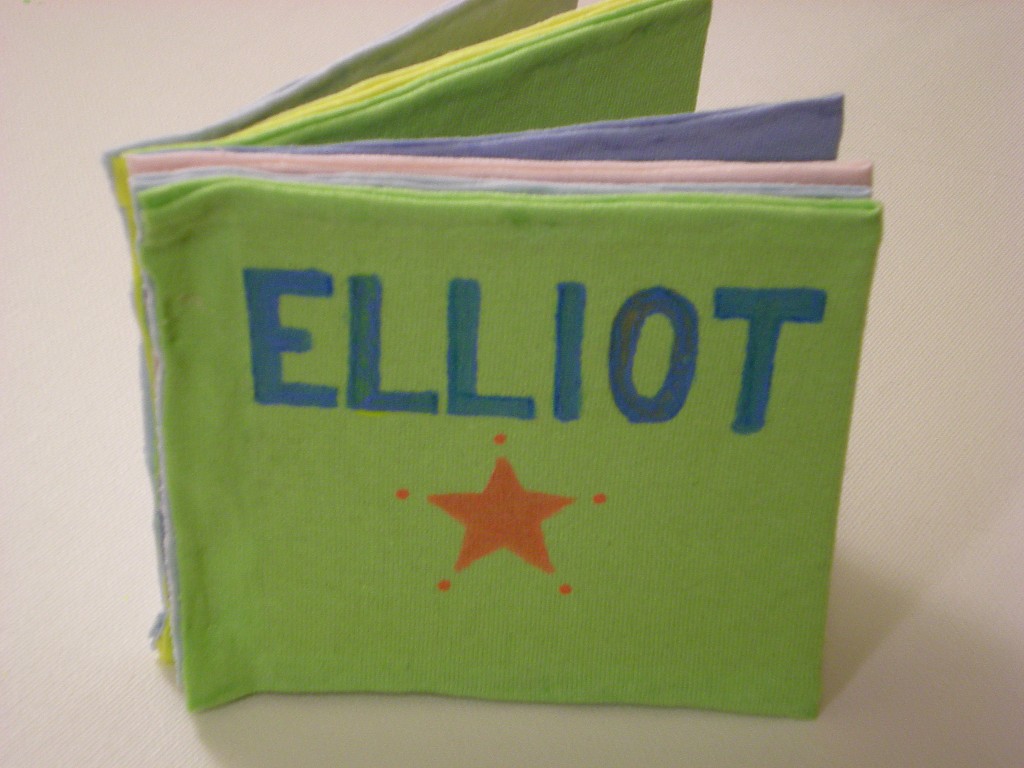
11. Then it’s story time! E is for earth. L is for light. L is also for love. I is for yummy ice cream. O is also for a delicious orange. T is for Tree (and Totally Terrific and….T-shirt book!).

[ 7 Comments | Posted on January 25th, 2011 ]

From Our Readers: Lauren!

Lauren was lovely enough to attend one of my book tour events in the Seattle area in summer 2009. Last spring she hit up Chapter 4: Kid Rock, in Generation T: Beyond Fashion, for all her baby showering needs that season. Here are the pretty sweet gifts that she stitched up:
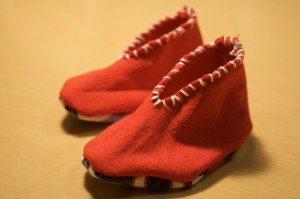
Playing Footsie baby booties (project #48).

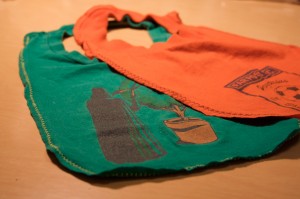
Baby Back Bib (project #53).

Baby Back Bib (project #53) with appliqué.

Too Cool for Drool burp cloths (project # 50) with colorful zigzag stitching.


[ 3 Comments | Posted on January 18th, 2011 ]