Posts Tagged ‘Transform a T-shirt’

How to: Rollover Tank Top

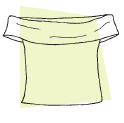
The Rollover tank top (project #42 in Generation T: 108 Ways to Transform a T-shirt) is located on pages 110 and 111 and was cut and stitched from my well-worn lavender Keep Earth Alive: RECYCLE T-shirt. Congratulations to Kiki, who wins a signed copy of Generation T: Beyond Fashion for being the first of our finalists to email me all the correct info!

And congratulations to the rest of you, too! Your sweet runner-up prize is this T-shirt tutorial for that Rollover tank top.

Materials:

1 T-shirt

measuring tape

scissors

tailor’s chalk

straight pins

needle

thread

Make it:

1. Lay the T-shirt flat and cut a 8″-wide loop off the bottom of the shirt. Set it aside.

2. Measure and mark 12″ from the new bottom of the shirt. Cut horizontally across at that mark through both layers of fabric. Then snip through the side of the loop, creating a long rectangular strip.

3. Lay the strip flat and mark a length equal to your bust measurement (x) along the long edge of the rectangle. Cut vertically to remove the excess fabric.

4. Fold the rectangle in half lengthwise, right sides together. Pin along the short ends and sew the edge with a whipstitch.

5. Remove the pins. Turn the resulting 12″-high tube right side out and lay it flat. Turn the loop from step 1 inside out and center it above the 12″ tube so that its bottom (cut) edge meets the 12″ tube’s top edge.

6. From both sides of the 12″ tube, measure 2 1/2″ in and mark with the chalk. Pin the tubes together between the two marked points and sew along the pinned edge using a whipstitch. Remove the pins.

7. Flip the shirt over and repeat step 6 on the back.

8. Try on the shirt and roll the top tube over 4″ to 5″ so the right side of the fabric is facing out. Rollover is complete!

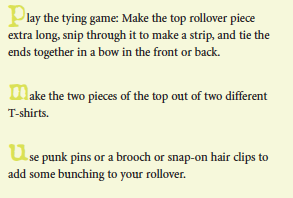
Variations:

This project is excerpted from Generation T: 108 Ways to Transform a T-shirt (Workman 2006).

[ 1 Comment | Posted on April 24th, 2011 ]

From Our Readers: Willow and Ella!

For their school Earth Day project this year, Willow and her pal Ella (who attended my bookstore event at Bayswater Book Co. in March, and who happen to attend the same elementary school that I graduated from!) decided to grab their scissors and encourage textile reuse by example. They rescued a whole slew of T-shirts from the backs of their closets and refashioned them, Generation T-style, into one-of-a-kind tops, skirts, and dresses. Spring wardrobe, here we come!

Thanks Willow and Ella for sharing a really great way to celebrate Earth Day–what about you? Think on it…you’ll have the opportunity to share it in the comments on tomorrow’s post!

[ Comments Off on From Our Readers: Willow and Ella! | Posted on April 21st, 2011 ]

The Spray (Paint)s of Our Lives…

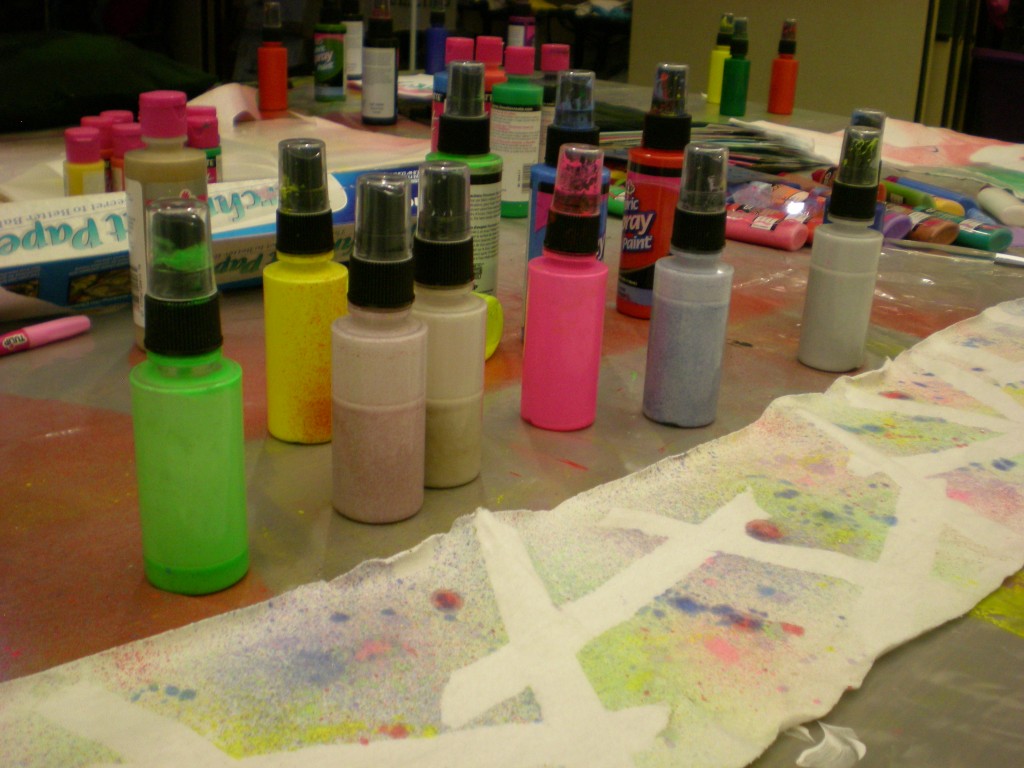
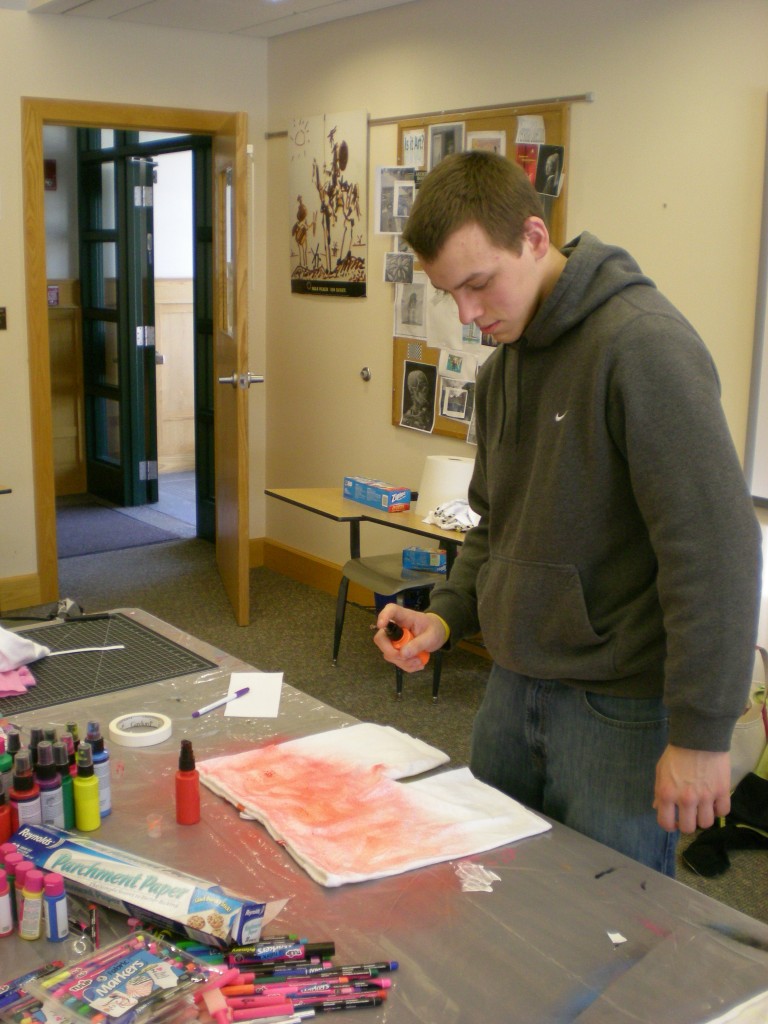
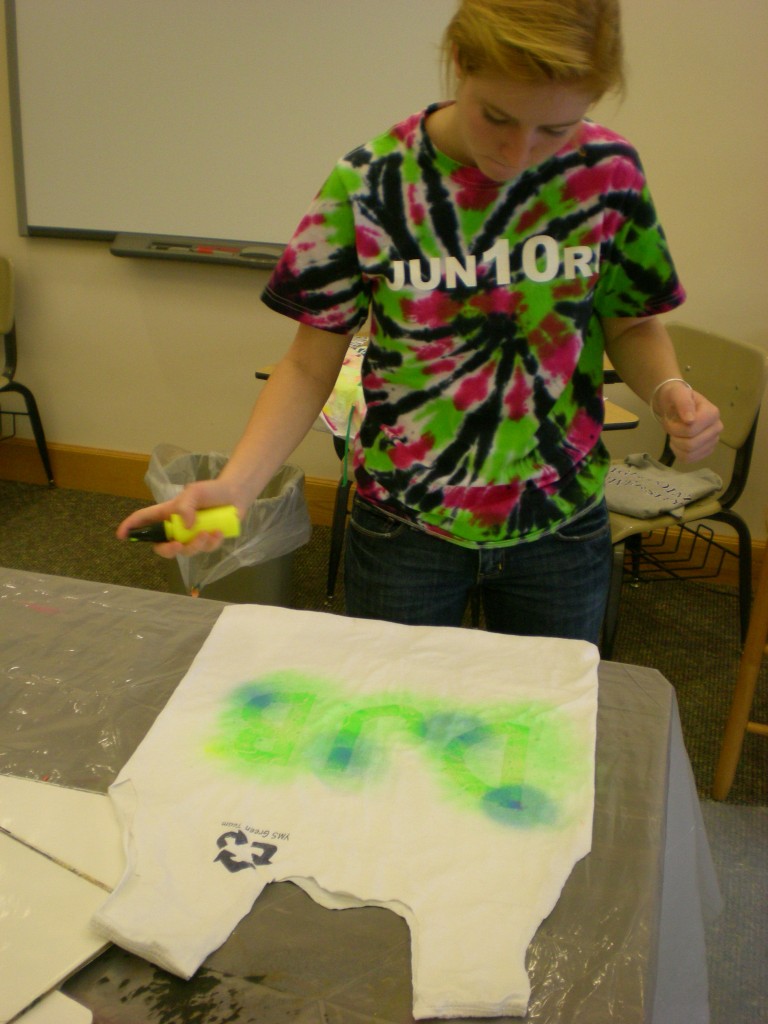
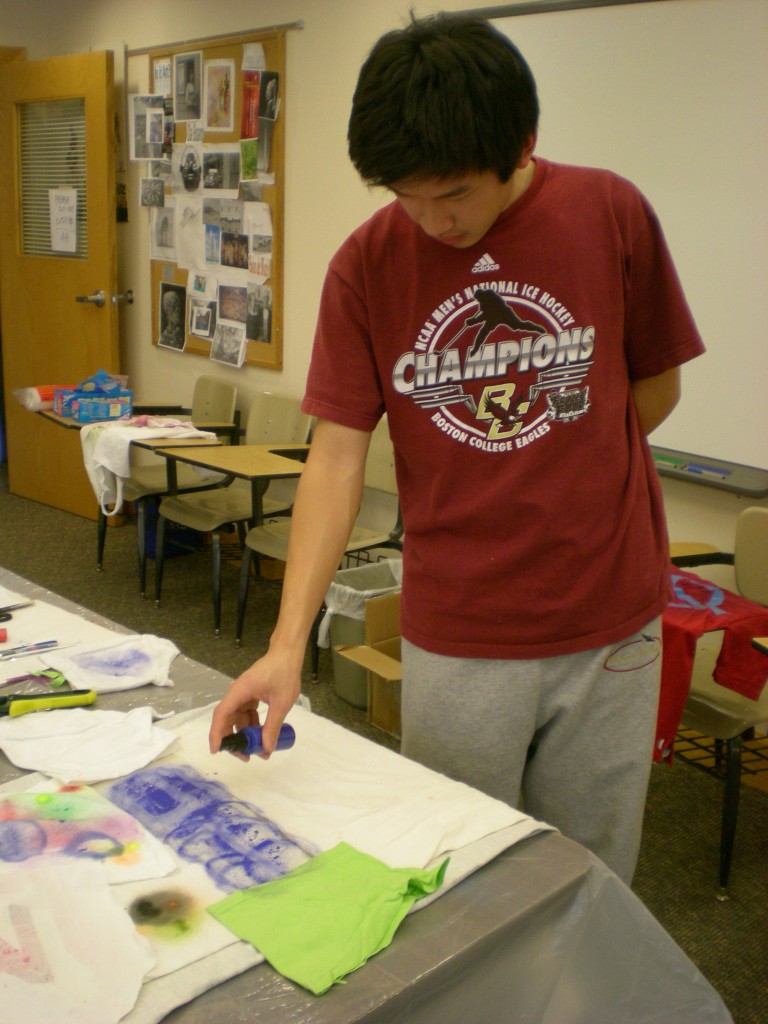
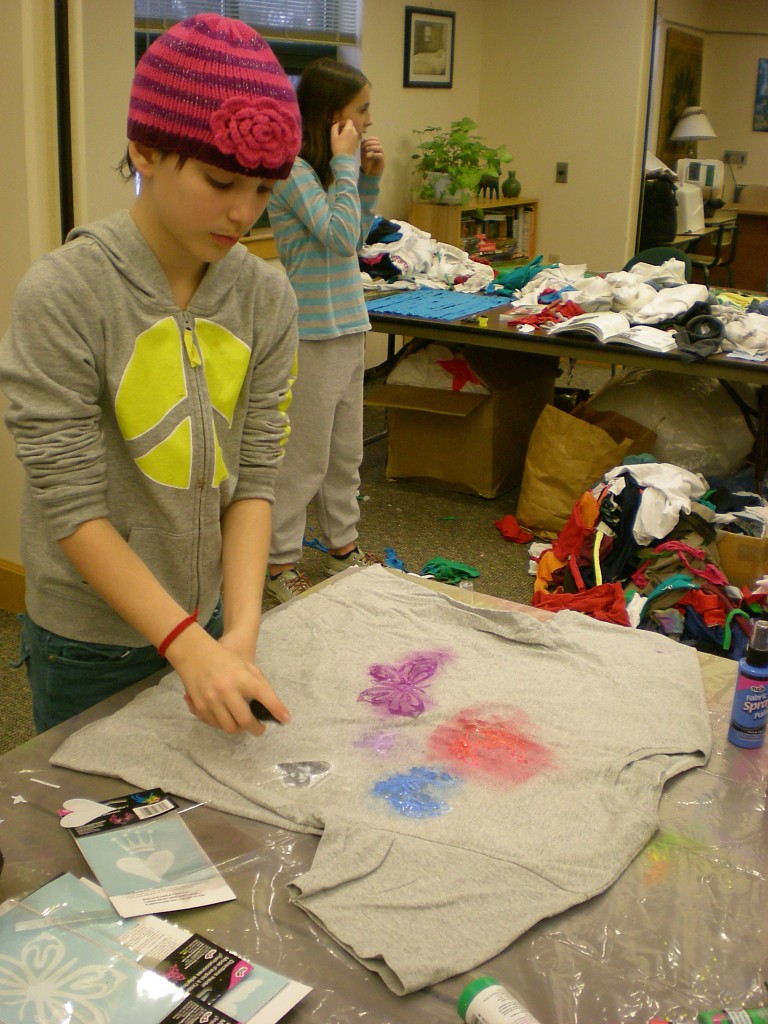
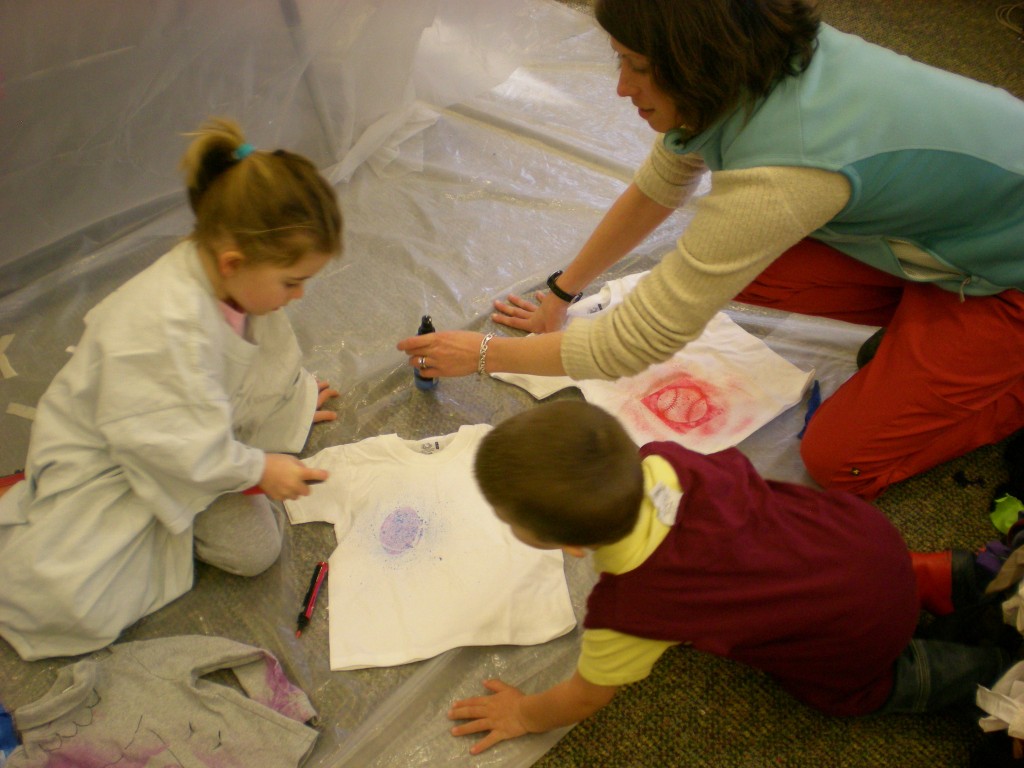
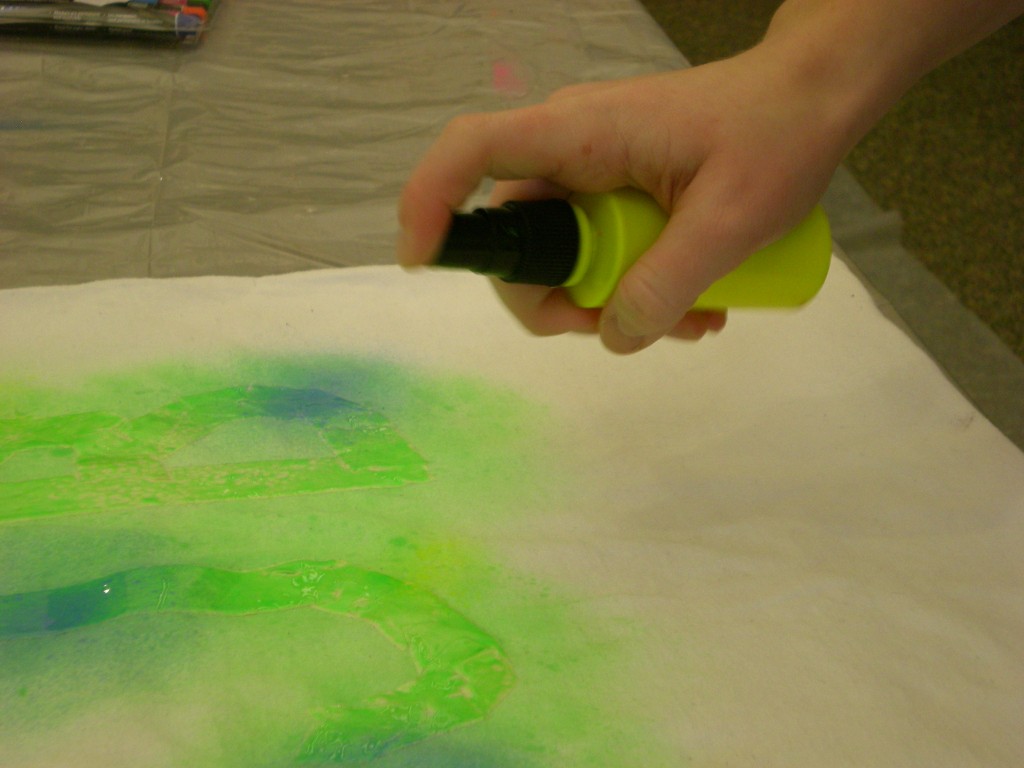
Like sand fabric paint through the hourglass a small nozzle, so go the sprays of our lives… Isn’t that how it goes? Last month I was up in NH for Artward Bound, where I was teaching T-shirt refashioning, and we set up a whole “wet station” dedicated to fabric pens, markers, stencils, and paints (thanks to sponsor iLovetoCreate)! And spray paints were decidedly the most popular kids in class. Students (of all ages, as you’ll see below) experimented with spraying freehand in tie-dye-like formations; they sprayed over reusable stick-on stencils; on foam stencils they brought from their dorms; they also experimented with making their own shapes and patterns using rolls of masking tape. Here’s a sampling of 10 ways to use your fabric spray paint!

Christian used masking tape over the backside of his boxer briefs (pattern based on Ansty Pants, project #57 in Generation T: Beyond Fashion)

Molly wrote the initials DJB with masking tape to personalize the grocery tote (Plastic Surgery, project #42 in Generation T: Beyond Fashion) she stitched up for her mom.

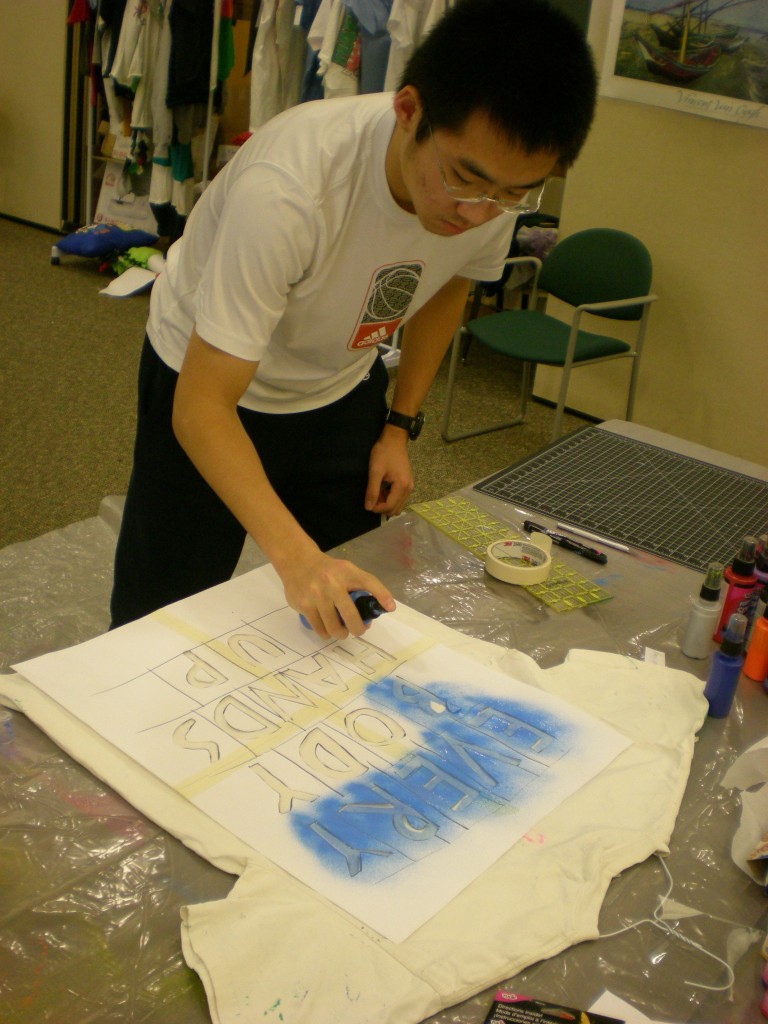
Kangdi diligently cut out all of the letter shapes from a larger sheet of paper we tiled together in order to fit the back of the T-shirt. “Everybody, hands up!” (On the front of the shirt, he used his hands as stencils — one guy who’s not afraid to get messy!)

Dan wanted to spray the number 35 for his DIY basketball jersey, carefully screening the rest of the shirt from excess paint with fabric scraps.

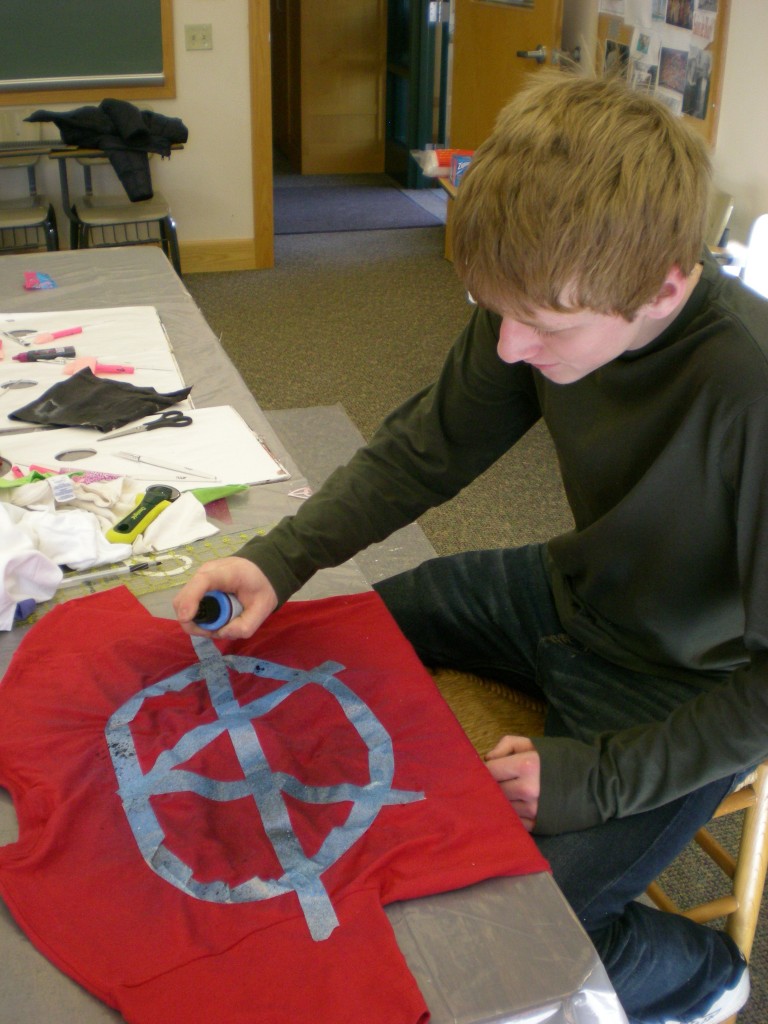
Ben expressed his anarchist tendencies in masking tape.

Even young Lindon, son of one of the faculty leaders, stopped by in a T-shirt smock to spray a football onto an old shirt.

Anna sought out the butterfly stencils to add color to the gray base T-shirt.

More footballs and baseball stencils for this young posse.

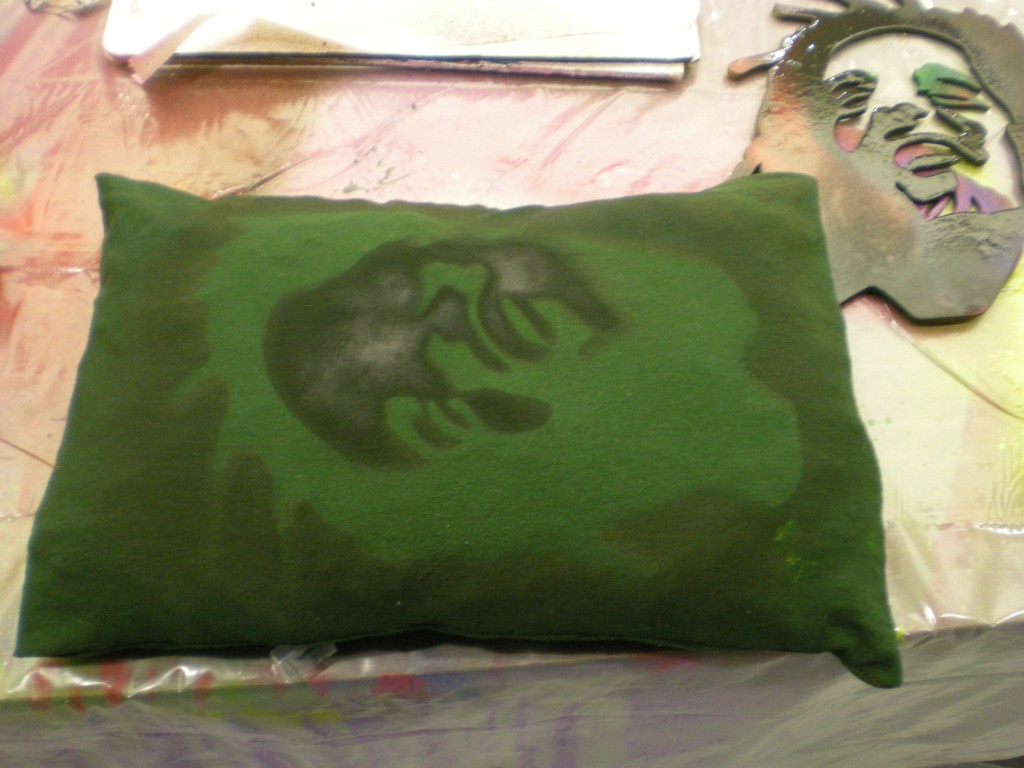
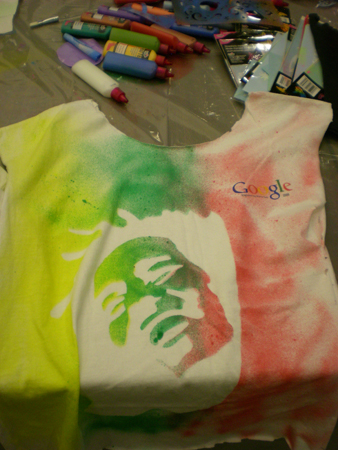
Michael brought his Bob Marley stencil from his dorm room — to make it a veritably Marley-fest. Pillows, T-shirts…

…and tank tops were just the beginning!

Thanks again to iLoveToCreate for the generous donation of spray paints, markers, and stencils for the workshops! As you can see, all the materials were put to wonderful and creative use!

What design would you spray paint? What technique would you use?

[ Comments Off on The Spray (Paint)s of Our Lives… | Posted on April 18th, 2011 ]

How To: T-shirt Boa Scarf!

Hey there, Generation T! Are you ready to get really knotty? Today’s T-shirt tutorial comes courtesy of one of our esteemed readers: Ms. Liz Russo of Craft-Stop. It’s the “Tic Tac Boa,” project #115 in Generation T: Beyond Fashion — the boa scarf is perfect for spring, infinitely personaliz-able (pick a color, any color!), great for using up scraps (cut strips from old T-shirt sleeves) — oh, and did I mention it’s no-sew? Well, it is. Settle down in front of a good movie while you complete all the knots (you won’t notice when your fingers start to cramp) or, if it’s warm enough where you are, kick back in a park, your backyard, or poolside!

Watch the tutorial here:

Thanks again to Craft-Stop for featuring one of our projects!

[ 7 Comments | Posted on April 12th, 2011 ]

From Our Readers: Dena!

If any of you missed the pictures Dena posted on the Generation T Facebook page a few weeks ago, well, you simply must check them out. To celebrate her 20th wedding anniversary, Dena made the T-shirt wedding gown (project #108 Tying the Knot from Generation T), which she fancied up with a few of her own modifications:

She gathered the top only a few inches in the front and added a corsage of rosettes. Because the skirt tends to get a little heavy (it is made of a whopping 6 T-shirts after all!), she also added a belt. She changed up the back a bit, and stitched her seams on the inside of the skirt. PS: Dena and her daughter Jaden designed the adorable “flower girl” dress together.

Dena didn’t go the whole white dress route when she got married, so this dress gave her that experience. She says, “I felt beautiful in it”–and no doubt comfortable, too!

We think you look stunning, Dena–and it sounds like you had a blast–happiest of anniversaries to you!

[ Comments Off on From Our Readers: Dena! | Posted on March 29th, 2011 ]

Sizzle Reel for Sew It All TV!

Check it out. The Sew It All TV sizzle reel is for reals hot and sizzlin’ with cameos by some of your favorite designers, crafters, and sewists!

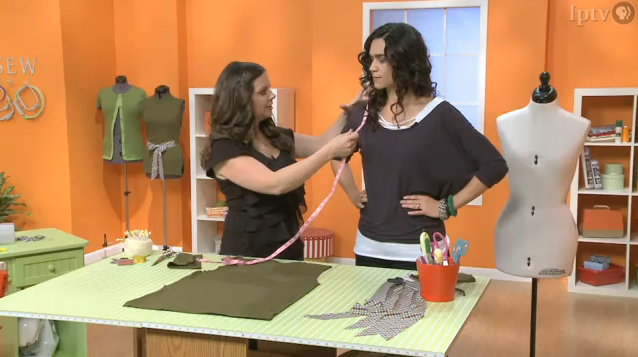
Host Ellen March’s guests for the first season include Suede (of Project Runway and, more recently, Simplicity patterns), Carmen Webber (also of Project Runway, and author of another T-shirt refashioning book you might know!), Kathy Cano-Murillo of the Crafty Chica blog and product line, and…well, you just might recognize a certain someone from these here parts, too (I submit exhibit A, below, into evidence).
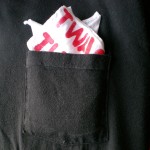
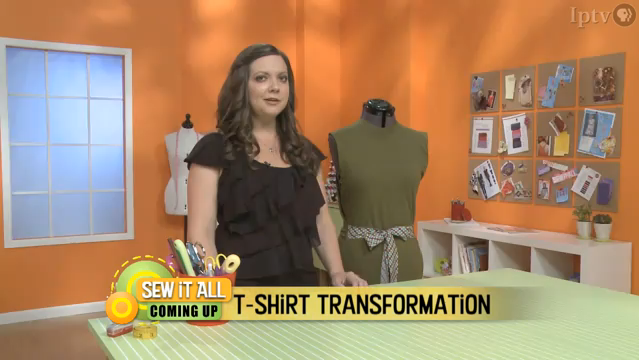
The show is airing on PBS this spring–check with your local station to see if if they carry it (and if not, request it here!). And mark my words, there will be T-shirt Transformation, oh yes, there will be T-shirt Transformation (submitting exhibit B, below).


[ 2 Comments | Posted on March 25th, 2011 ]

From Our Readers: Avery!

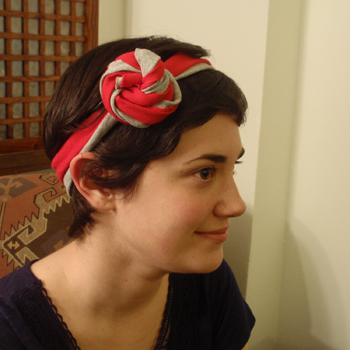
In honor of National Craft Month (yay!), Workman Publishing Co. (who published my two books), is featuring projects from some of their top DIY books throughout March. Up first was editorial department member Avery, who shared her process for making the “Banned for Life” headband (project #92 in Generation T). Click through for her full photo tutorial over at the Workman blog.

PS: Note that the T-shirts she used were two abandoned marketing tie-in tees she picked up from around the Workman office. (Keeping everything moving full circle!)

[ Comments Off on From Our Readers: Avery! | Posted on March 23rd, 2011 ]

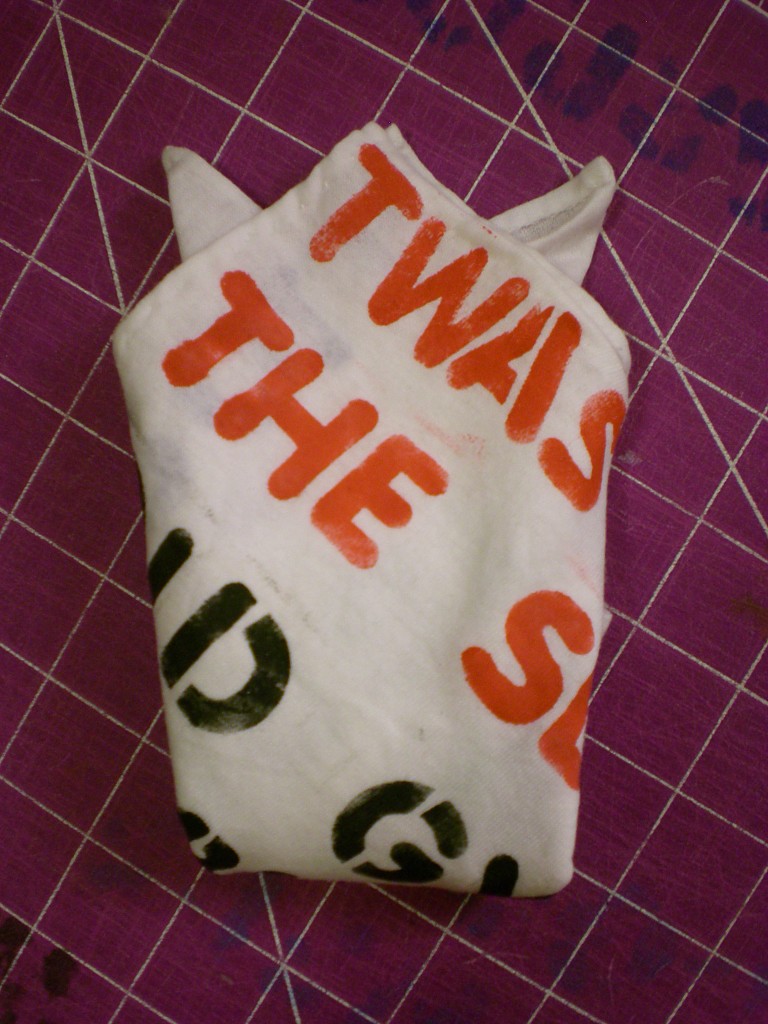
I Love to Create: A Poetic Pocket Square!

Looking ahead to April, it’s National Poetry month, and to celebrate, the Academy of American Poets is sponsoring National Poem in Your Pocket Day on April 14, 2011. Basically, you carry a poem around in your pocket, and take it out and share it throughout your day with friends, colleagues, and family. The poem can be an old classic, a modern ode, long, short, silly, or serious — Anne Sexton or Dr. Seuss, Will Shakespeare or Shel Silverstein,  Emily Dickinson or e.e. cummings… And if you can’t find a poem you’d like to share, write your own! But my point is, why limit the printed word to paper (or digital smart phone)?

Perhaps I’m taking this pocket thing too literally, but I do like to play with words and type — experimenting with the way the letters themselves can create fascinating visual patterns (even before we get anywhere near discussions of assonance, alliteration, and onomatopoeia!). A pocket square (or a hanky — just pop it in your purse!) is a more permanent way to commit to that poem. And, bonus: If you forget to take the poem out of your pocket before laundry day, you won’t end up with a pocket full of disintegrated, dried paper pulp.

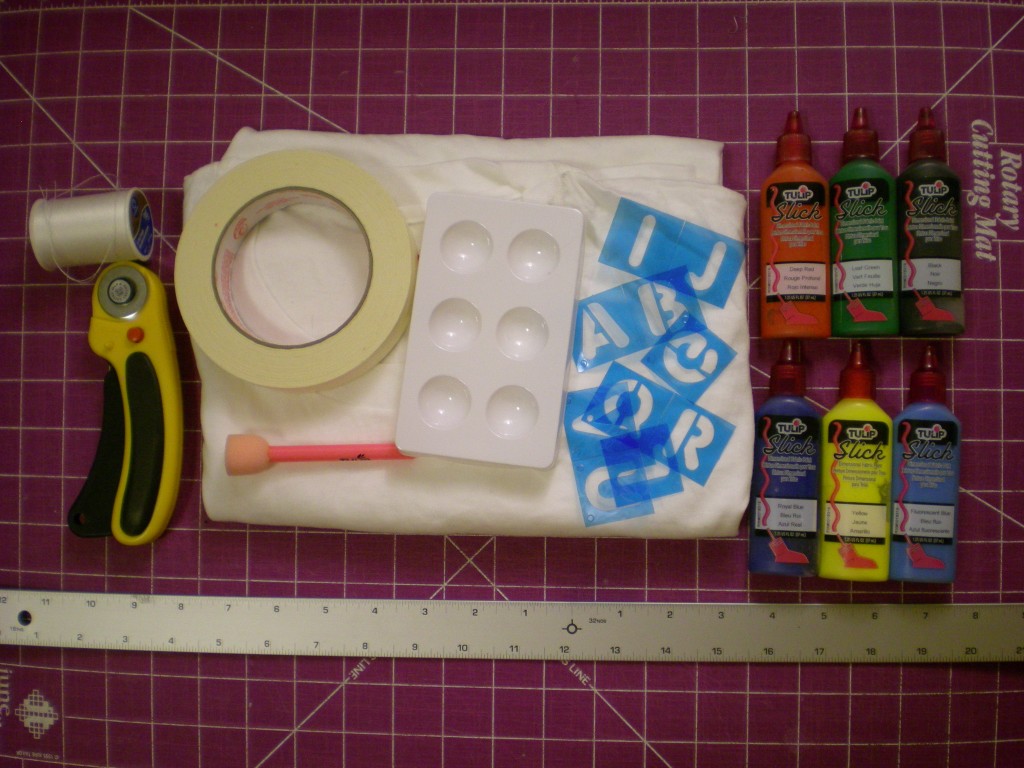
Materials:

-white or light-colored T-shirt

-rotary cutter, ruler, and cutting mat (or ruler, marker, and scissors)

-masking tape

-letter stencils

fabric paint (variety of colors)

paint tray (optional)

sponge brushes

-needle and thread (in a color to match the T-shirt)

Make It:

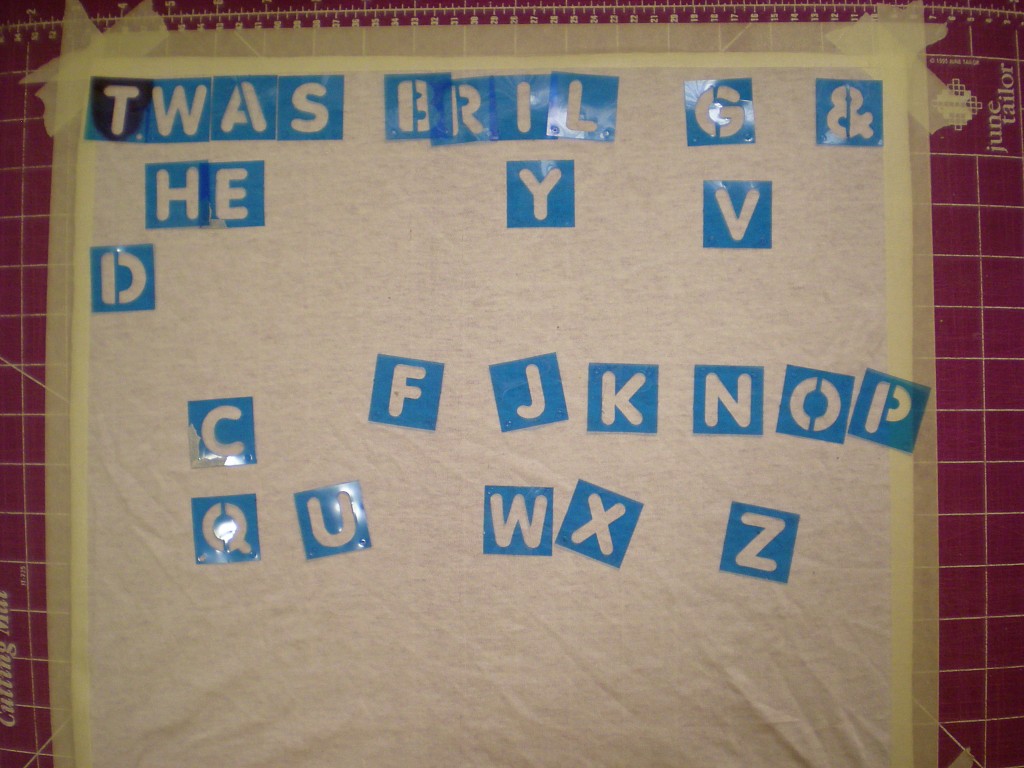
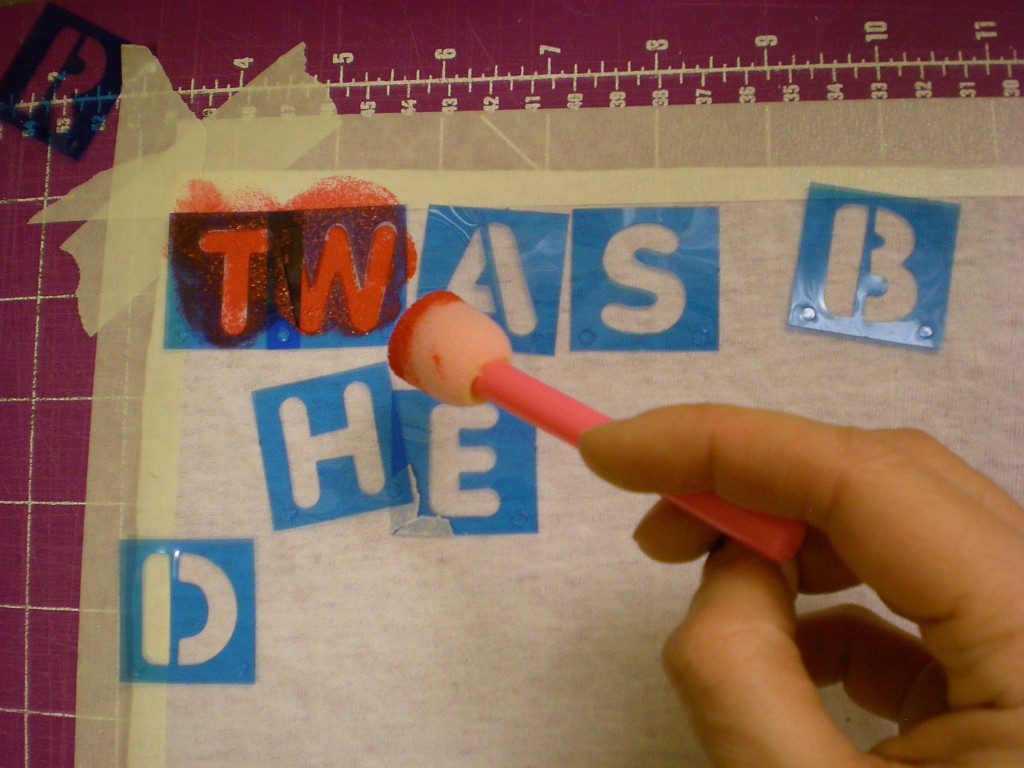
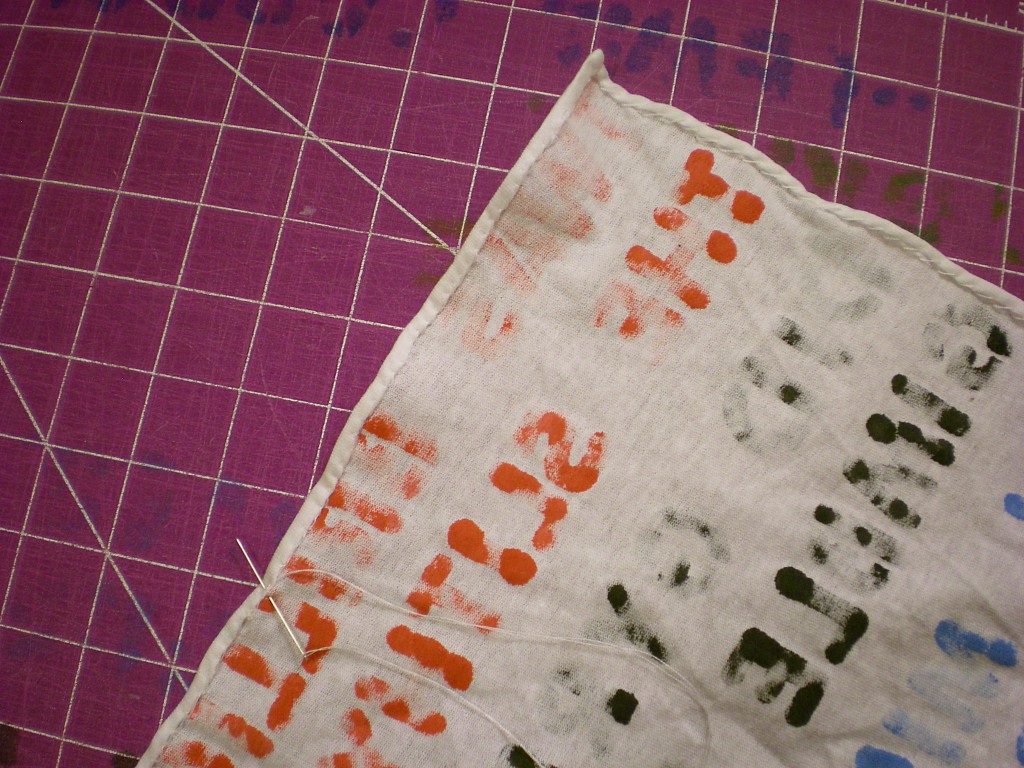
1. Cut a 17″ x 17″ square (or smaller, depending on your preference) from one layer of the T-shirt. Tape the edges of the square to your painting surface with masking tape. (This will allow for a margin as well as keep the fabric straight while you’re painting it.) Choose a poem or stanza and arrange the letter stencils on the T-shirt square. And don’t forget to save room to credit your poet! Note: The paint will bleed through (as evidenced in the following photos!) — use a paint surface that you don’t mind making permanently colorful!

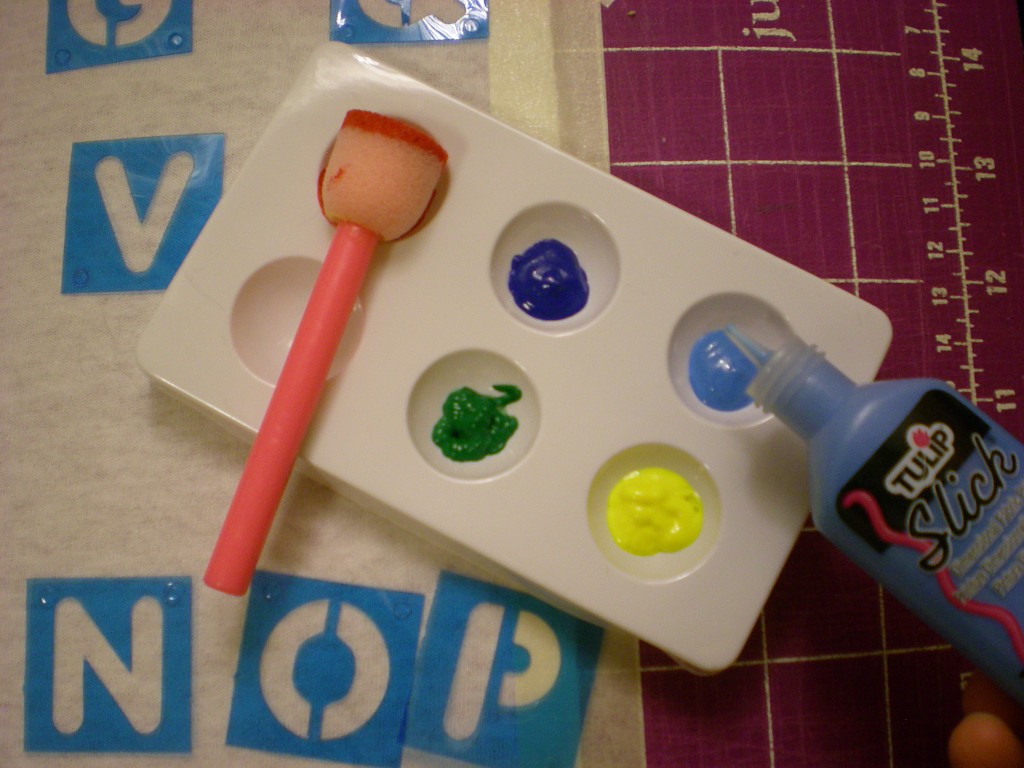
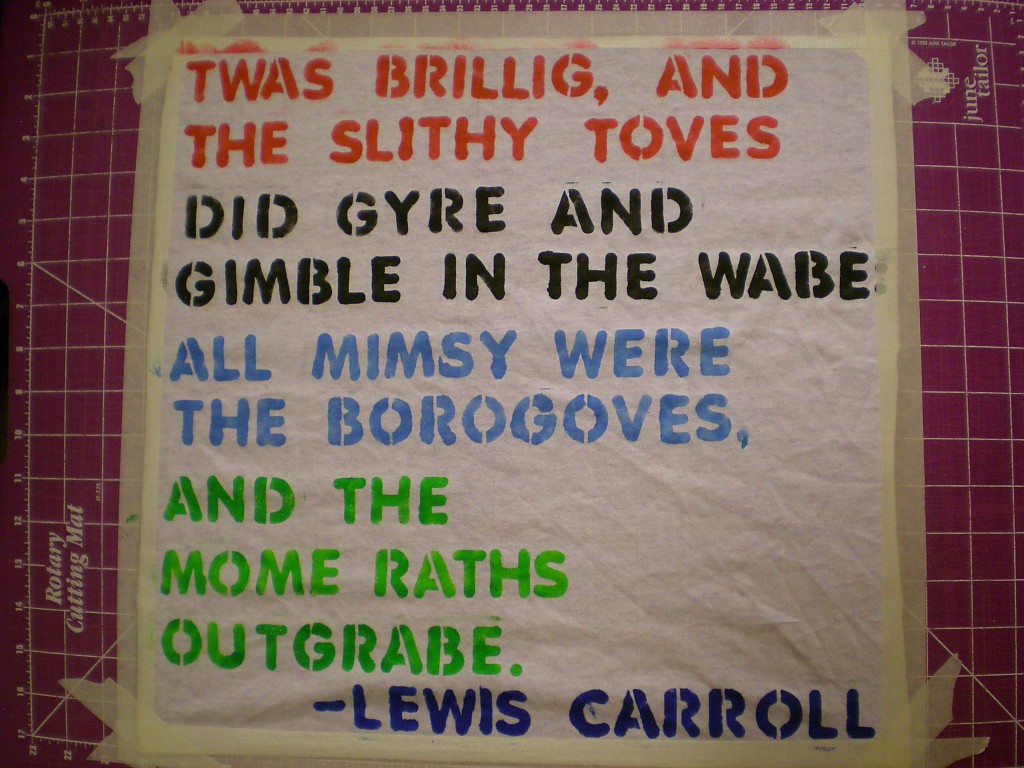
2. Select your paint colors. I chose to use a different color for each line of the poem to highlight the original line breaks. (P.S. Can you guess the poem, Wheel of Fortune-style, based on the letters placed above?)

3. Use the sponge brush to dab the paint over the stencil one letter at a time. Note: Some of the letters will need to be moved as you go, to ensure even spacing and to account for repeated letters.

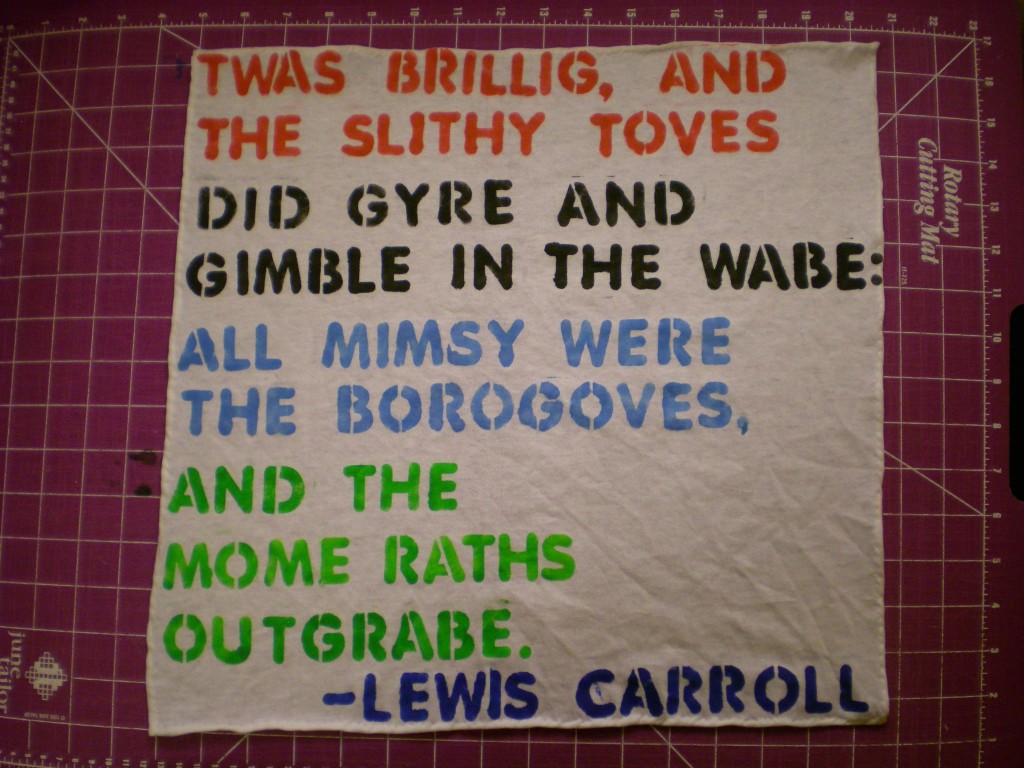
4. Continue painting, changing colors as needed, until the square is filled and/or your stanza or poem is complete. (P.S. Yes, it’s Lewis Carroll’s “Jabberwocky.”)

5. Remove all the letters and peel off the masking tape to release the T-shirt square. Let the paint dry completely. (Don’t forget to wash your fingers if you, like me, inadvertently gave yourself a rather colorful but clumpy-looking manicure!)

6. Thread the needle, knot the end and carefully turn the edges under twice. Use a slip stitch to sew the edges in place around the perimeter of the T-shirt square.

7. Tie off the ends, snip your threads, and look online to….

8. …learn to fold (and unfold and fold and unfold–and read–and fold again) your poetic pocket square! So, is that a poem in your pocket, or are you just happy to see me?

Variations:

-Use fabric markers in lieu of paint and stencils to fit more text (and/or more stanzas) on the square.

-If poetry’s not your thing, paint or print a quotation that inspires you!


[ 3 Comments | Posted on March 22nd, 2011 ]

How to: T-shirt Hooded Scarf

Hat plus scarf? Yes, please! Pack just one item and save space for other necessary springtime accessories. In honor of the first full day of spring (the official start to the new season) and our bidding goodnight to winter, I present “Hoodnight Moon,” project #27 from Generation T: Beyond Fashion. This hooded scarf will bring out the kid in you. Pretend that you’re a mysterious spy in a foreign land… Wrap yourself up and hide from that not-yet-summery-breeze… Wear it to walk your dog, keep a low-profile at school, or take a late-night trip to the deli to buy a pint of ice cream and the next morning’s paper.

Make it:

Excerpted from Generation T: Beyond Fashion (Workman, 2009).

[ 5 Comments | Posted on March 21st, 2011 ]

Sittin’ on the Dock of the Bayswater Book Co.

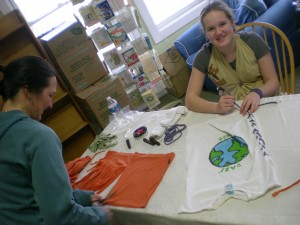
It’s hard to look ahead to T-shirt weather when there’s still more than a foot of snow on the ground, but it didn’t seem to bother the folks in New Hampshire who stopped by Bayswater Book Co. on Saturday for the Generation T Tee Party!

Some nice shout-outs by the local papers made for a cozy crowd, and a handful of scissors made the T-shirt sleeves fly!

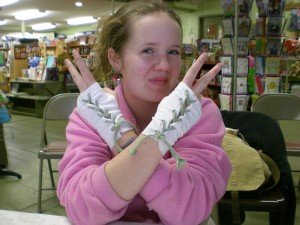
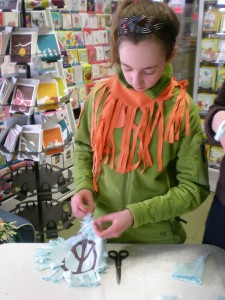
Bridie was my fabulous model for the halter top demo. Then she and her mom, Katie, who brought T-shirts from home to transform, made the Mane-iac scarf (project #91 in Generation T: Beyond Fashion) and the Outer Lace tank top (project #16 in Generation T).

Bridie peaced out, turning her discarded T-shirt sleeves into a pair of laced up Gimme Some Glovin’ glovelets (project #103 in Generation T: Beyond Fashion). Then Katie refashioned a Back in Action tee (project #101 from Generation T: Beyond Fashion) to wear to teach yoga classes next week.

Ella fashioned a Mane-iac scarf, too, and then made a no-sew knotted pillow (Pillow Talk, project #30 from Generation T: Beyond Fashion) out of a T-shirt she had outgrown (definitely keeping with the peace theme, too!).

And several Tee Party-goers went home with their own signed copy of Generation T and Generation T: Beyond Fashion!

Then it was back to Holderness School for the second week (and the second eco-fashion show) of Artward Bound.

[ 3 Comments | Posted on March 18th, 2011 ]