Posts Tagged ‘T-shirt transformation’

NH: Live Free and DIY!

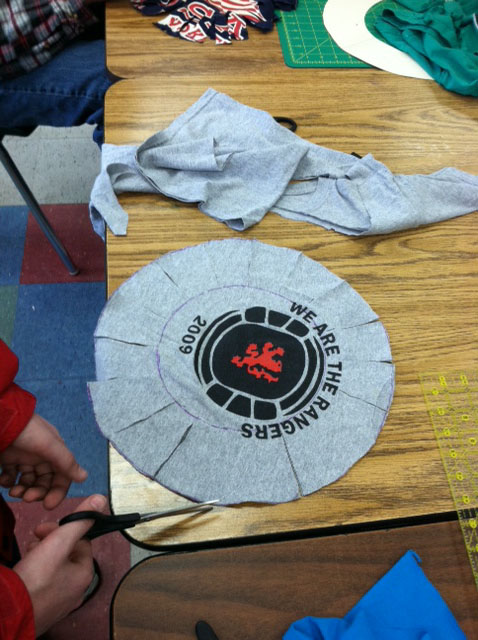
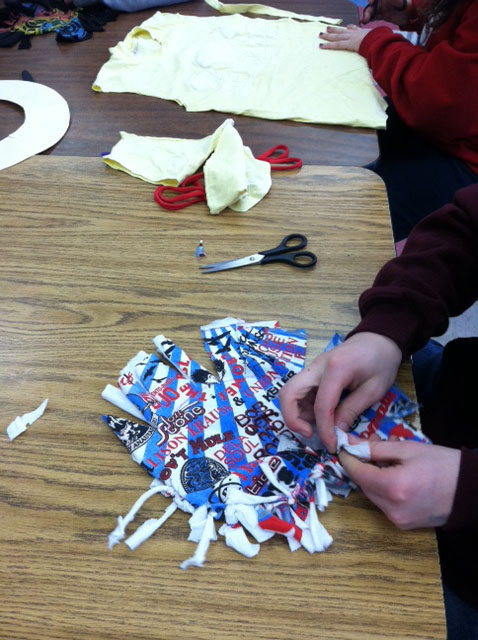
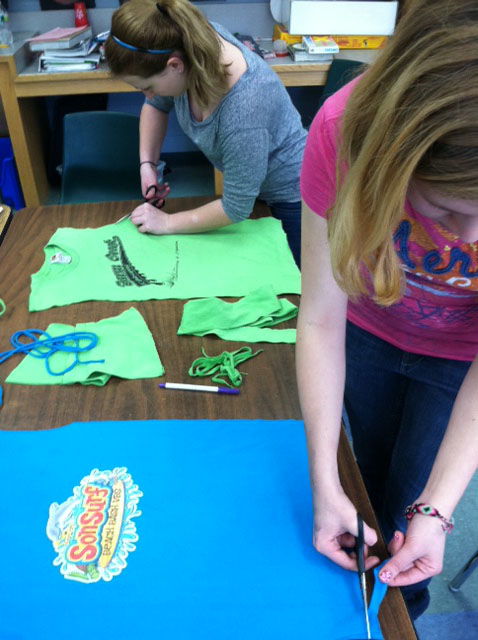
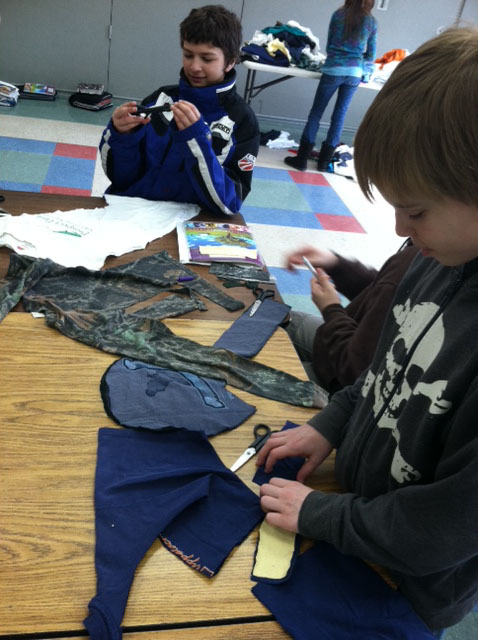
Isn’t that how the motto goes? I’m back home in NYC, but my heart is still up in New Hampshire, and it feels like my scissor hand is still twitching in my sleep after all the T-shirt refashioning we did! Altogether, the students at the Kenneth A. Brett School upcycled (new vocabulary term for many of the kids in my group!) more than 150 T-shirts over the four days. Below are some of the highlights from the last two days of my artist-in-residency! (And if you want more proof of the fun we had, check out the photos posted over at the Tamworth Arts Council blog.) I miss these kids already…

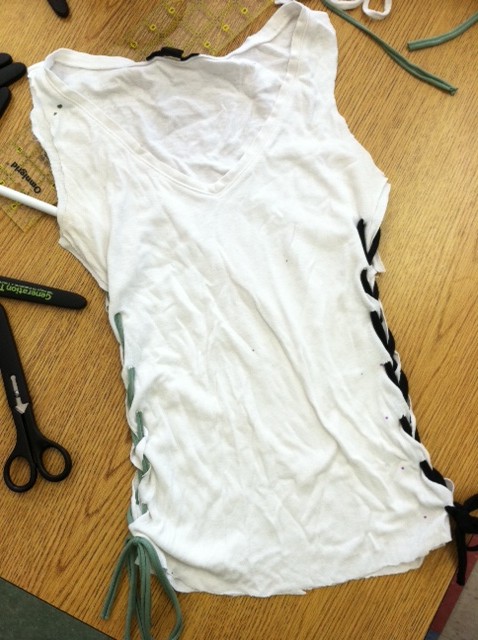
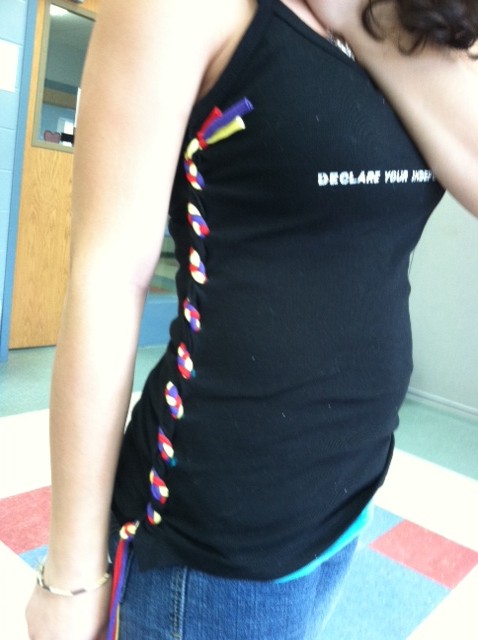
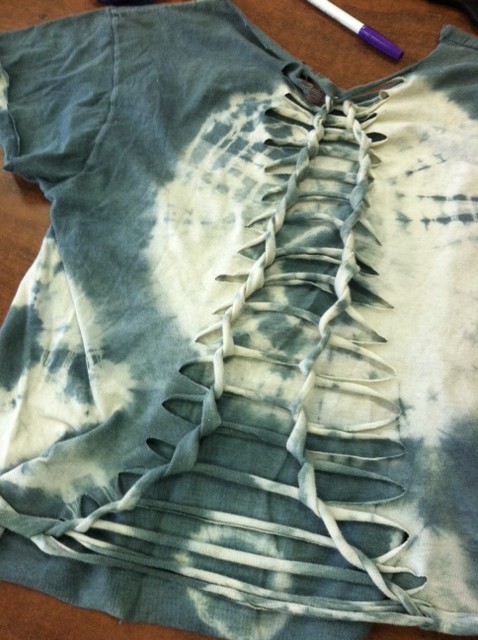
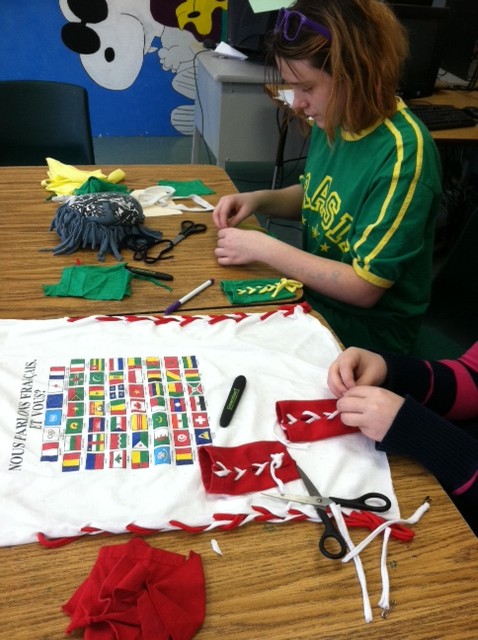
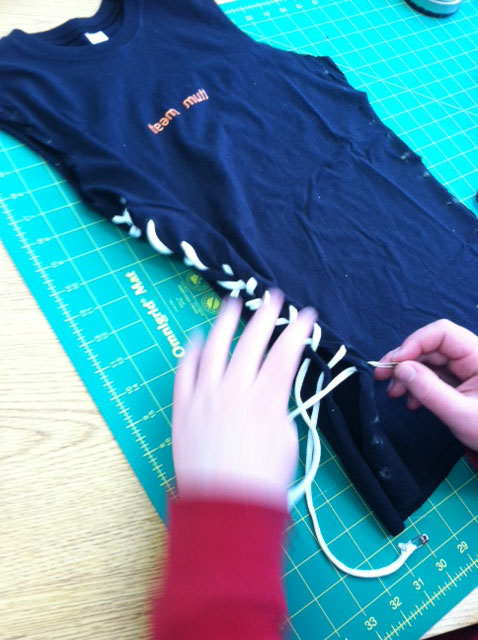
A lace-up tank top with mismatched sides (#16 in Generation T); another lace-up top with braided multi-colored stitching.

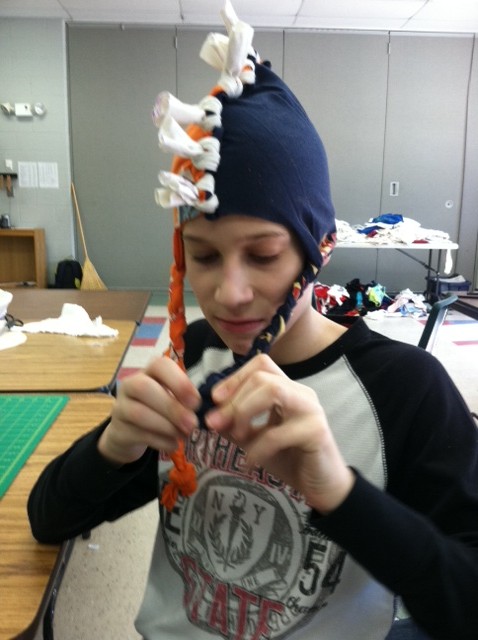
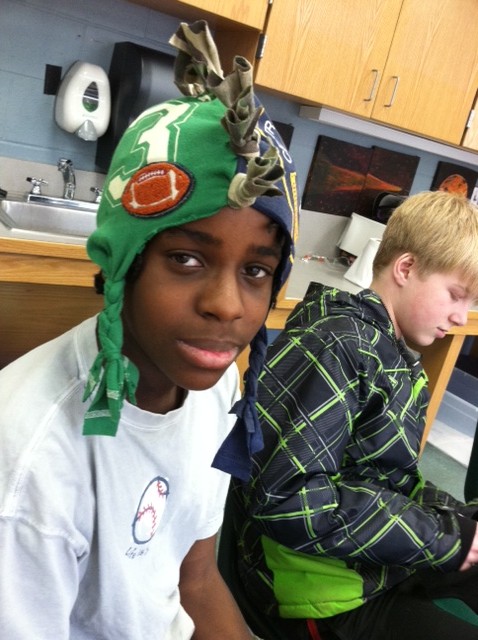
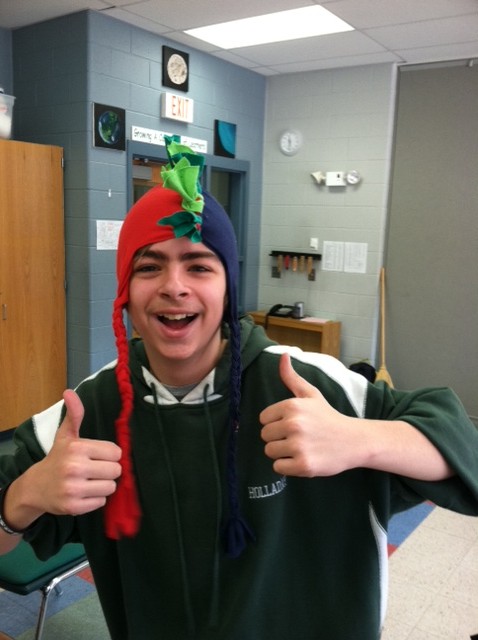
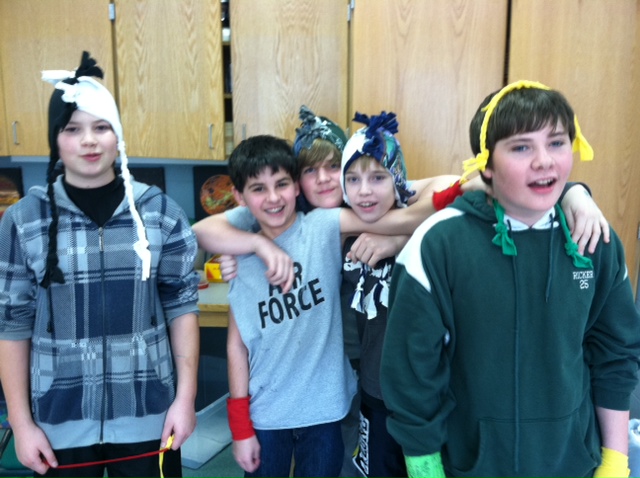
Some in-process braiding and knotting — to complete the finishing touches on two “Mohawk Mo’ Rock” no-sew hats (project #72 in Generation T: Beyond Fashion).

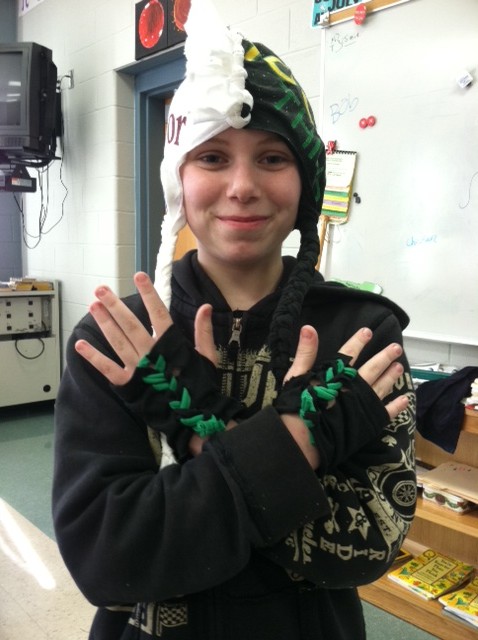
Two finished, fringed hats!

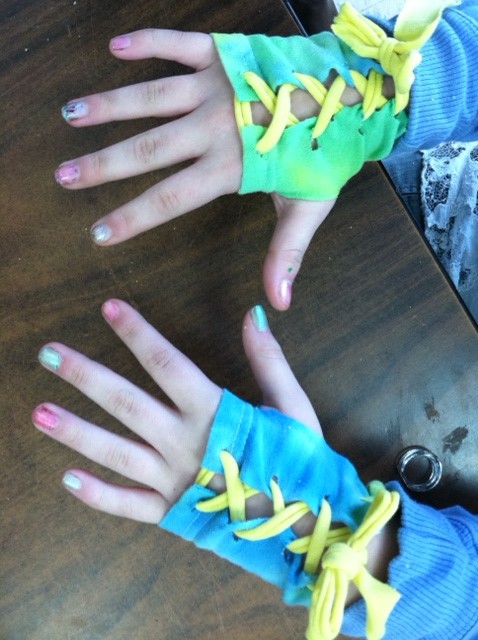
But what’s a finished hat without matching glovelets (#103 in Generation T: Beyond Fashion)? Or a pair of tie-dyed glovelets without multicolored fingernails?

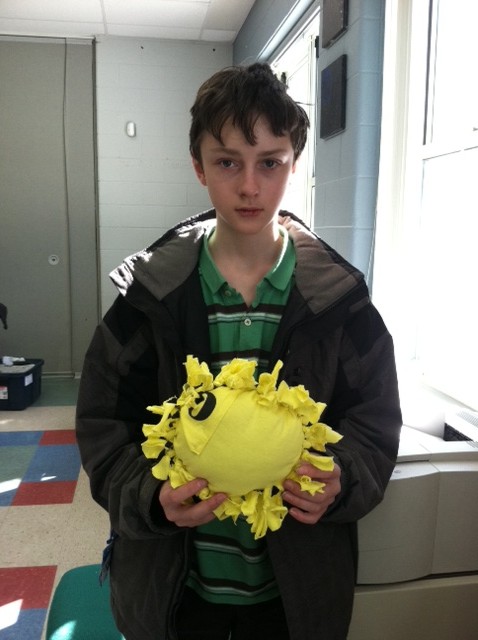
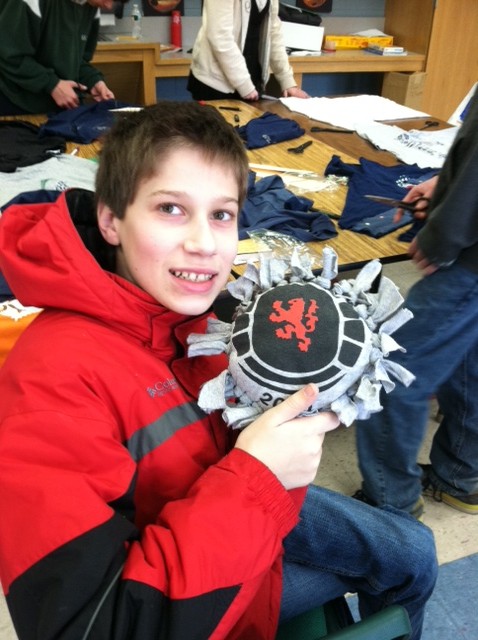
Going with the tie-dye theme, here’s a tie-dye version of Back in Action (#101 in Generation T: Beyond Fashion); plus a sunshine-filled pillow (#30 in Generation T: Beyond Fashion)!

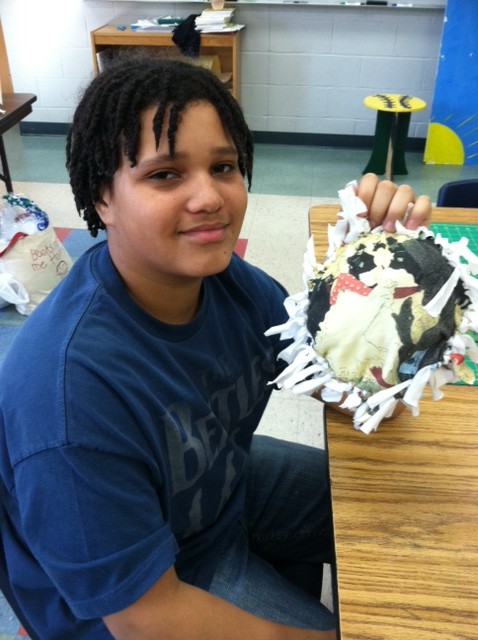
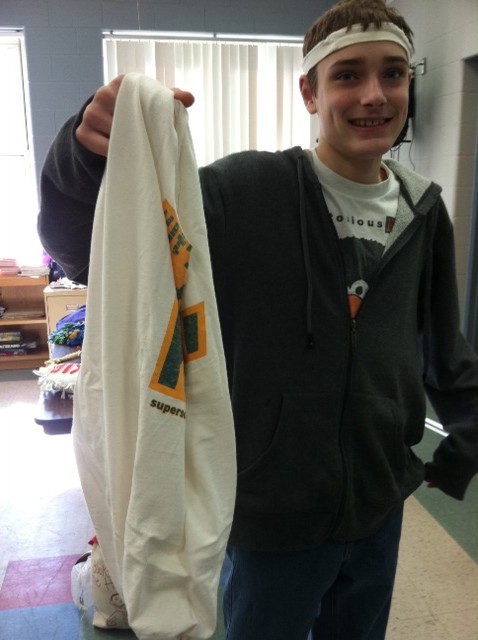
Another completed pillow; a matching totebag (for his mom to use while grocery shopping) and headband (for him).

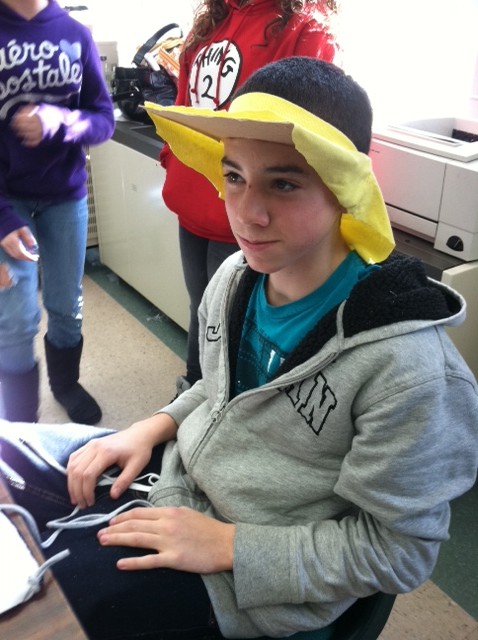
Some in-progress laced-up glovelets; an innovative visor made from the neckband of a T-shirt (with sun-shielding neck protection, of course!).

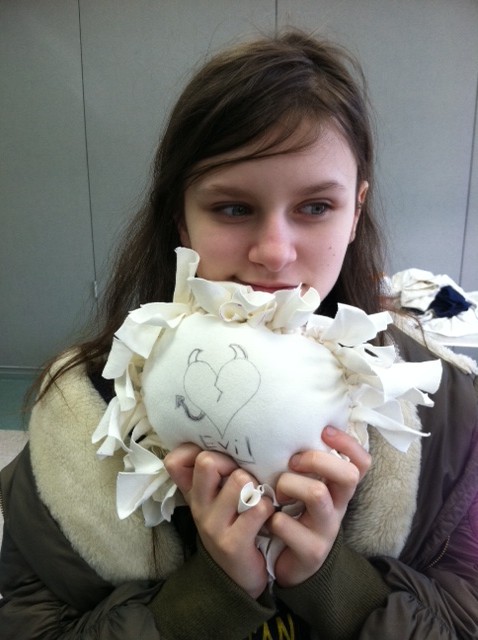
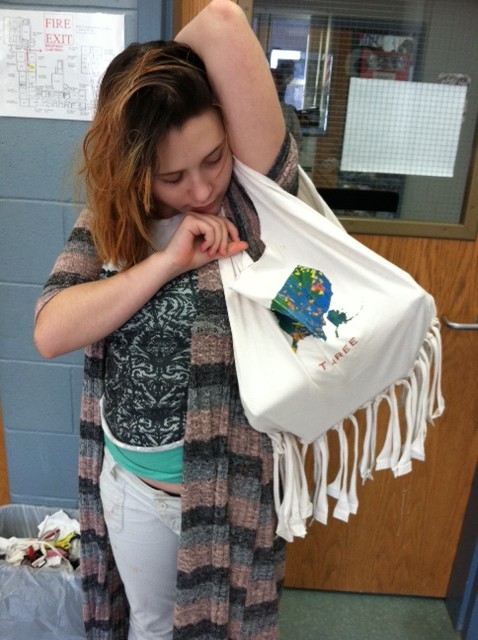
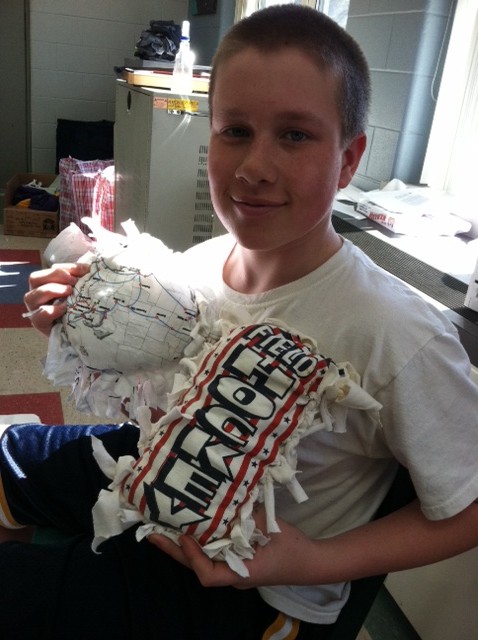
A pillow for catnapping; a no-sew tote bag–already filled with books!

DIY hats, tank tops, headbands, and wristbands…

Pillows, pillows, and more pillows!

Hats, hats, and more hats!


[ 4 Comments | Posted on March 14th, 2012 ]

Refashioning T-shirts with Students in NH

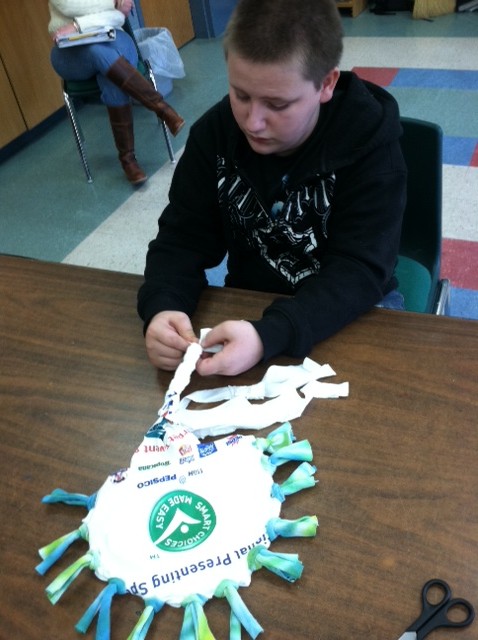
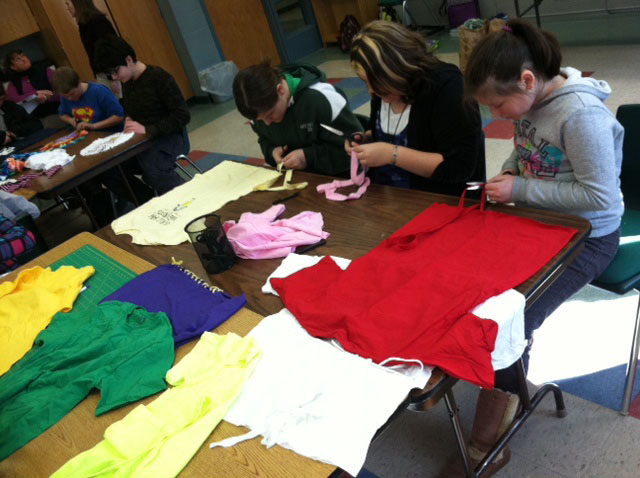
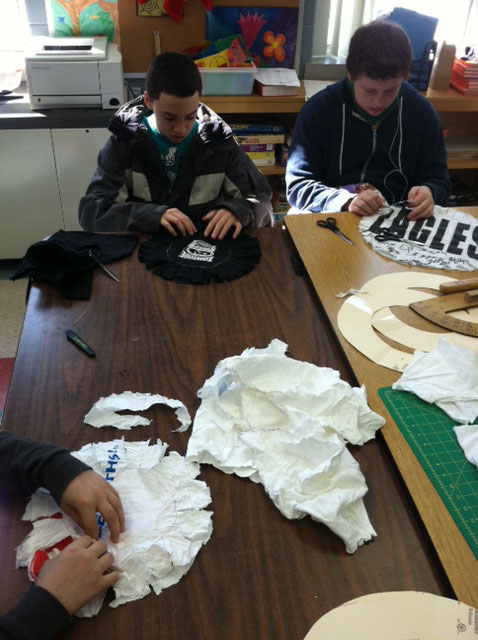
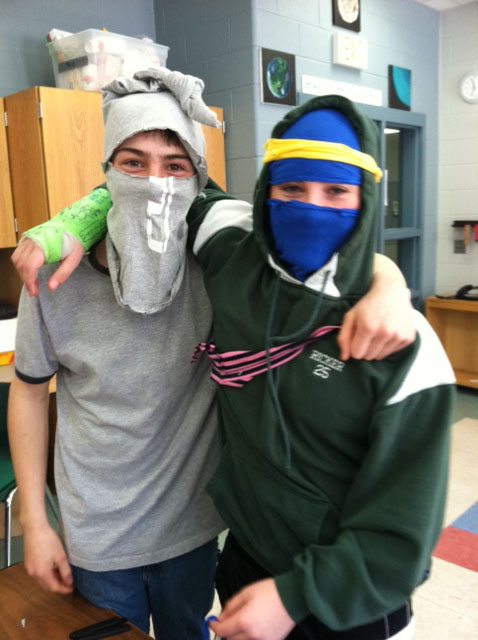
After my artist-in-residency at Holderness School last March, I was invited to take part in a program at the Kenneth A. Brett School this winter (thanks to the Art Council of Tamworth). Here are some highlights from our first two days with the 6th, 7th, and 8th graders. On Day 1, students made either a no-sew pillow (project #30 from Generation T: Beyond Fashion: 120 New Ways to Transform a T-shirt) or the Outer Lace tank top (project #16 from Generation T: 108 Ways to Transform a T-shirt). On Day 2, they chose between making a no-sew mohawk-style hat (project #72, GT:BF) or the Back in Action tee (project #101, GT:BF). And a few students were inspired to use their scraps to become ninjas! Here they are getting crafty:

Stay tuned for Days 3 and 4! More crafty times ahead…

[ 1 Comment | Posted on March 8th, 2012 ]

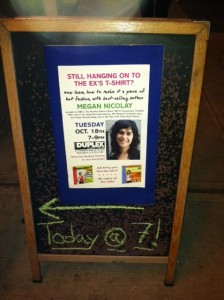
Tee Party at The Duplex NYC!

Here are some belated highlights from the Tee Party we hosted at The Duplex in NYC in October!  I thought it might be just the thing to inspire a last-minute craft night to finish up those DIY holiday gifts (and don’t forget to download the free Generation T gift tags in the right column of the website to attach to all of your fabulous reconstructed T-shirt projects).

We made stylish no-sew scarves (and for those cracking open your books, it’s the Mane-iac scarf, page 235 in Generation T: Beyond Fashion).

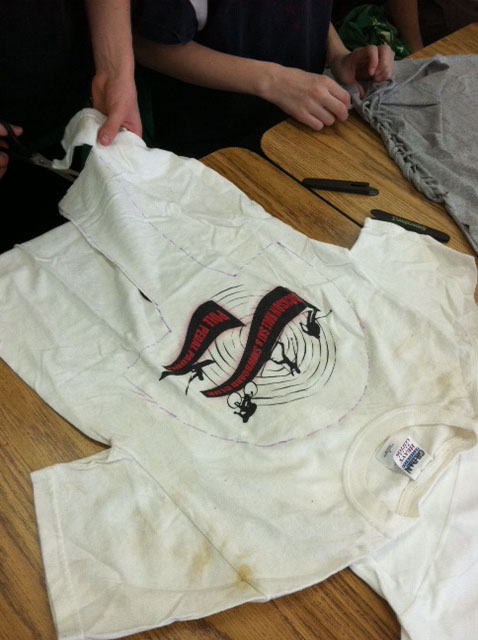
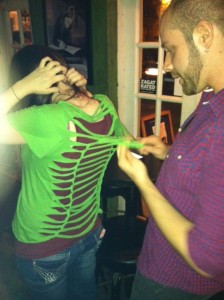
Sassy no-sew tops, too! This couple made the Back in Action tee (page 260 in Generation T: Beyond Fashion).

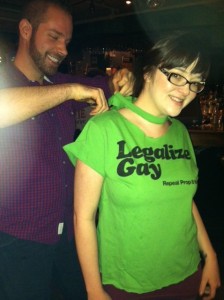
Then there was the Pinup Girl halter top, page 28 in Generation T: Beyond Fashion — and a mash-up of the Makes Me Wanna Collar and the Back in Action T-shirt (shown above), pages 38 and 260 in Generation T: Beyond Fashion.

A variation of the Outer Lace sleeveless top, page 56 in Generation T: 108 Ways to Transform a T-shirt (check out all the scraps re-purposed as bracelets, too). And, my good friend, host and bartender for the evening, Matthew!

So keep stockpiling your old T-shirts! Because you never know when the next Tee Party invite will arrive in your inbox…

[ Comments Off on Tee Party at The Duplex NYC! | Posted on December 16th, 2011 ]

Sew It All TV on PBS!

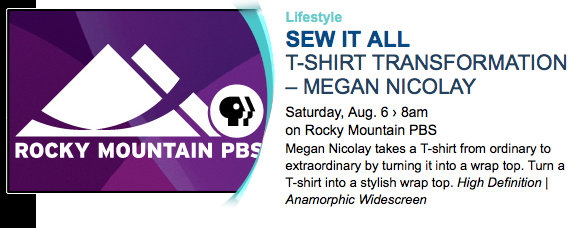
Hey Coloradans! Did any of you happen to catch Megan and Generation T on Sew It All with host Ellen March Saturday morning (August 6, 2011)  on your local Rocky Mountain PBS station? This was an especially poignant airing of the show since we filmed the episodes in Golden, Colorado almost a year ago!

Check with your local station to see if if they’re airing the show (and if not, request it here!).

[ Comments Off on Sew It All TV on PBS! | Posted on August 8th, 2011 ]

I Love to Create: Superhero Arm Warmers!

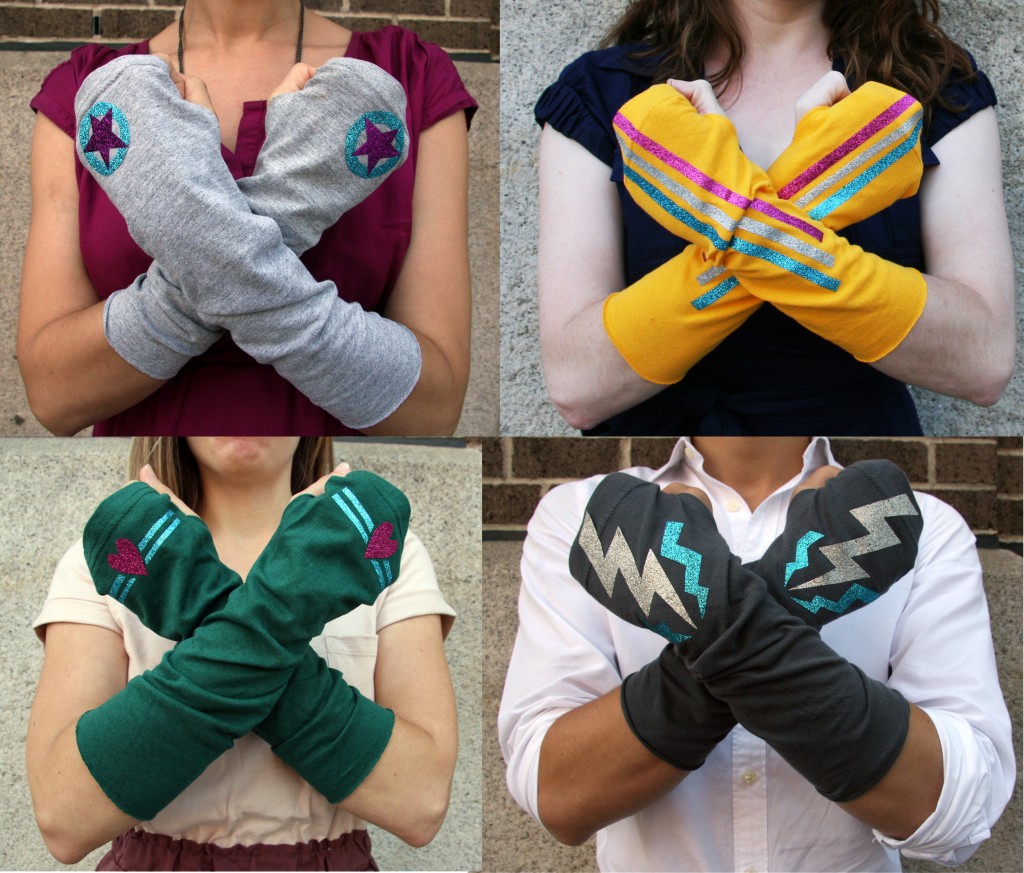
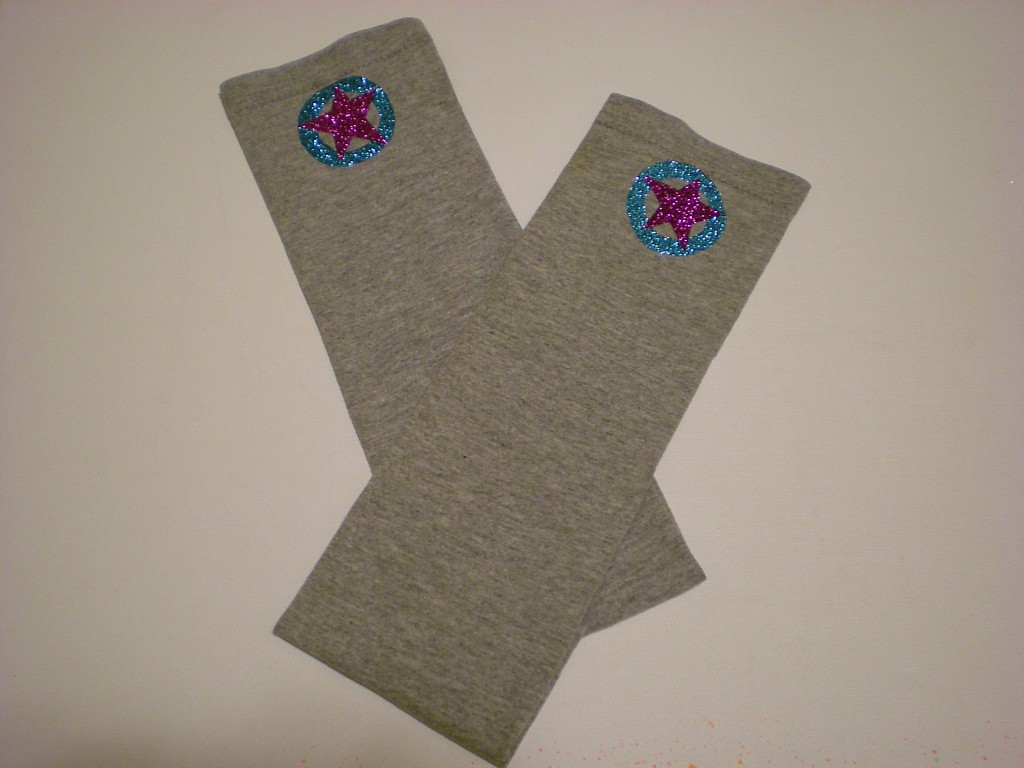
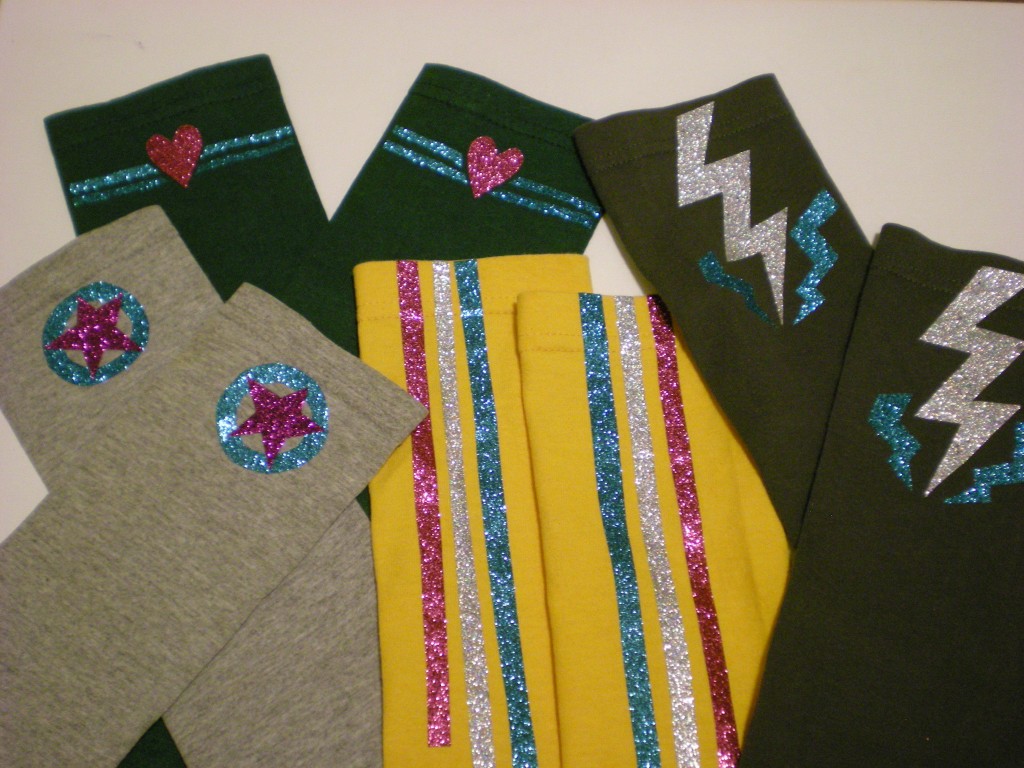
This T-shirt transformation project is my favorite of the accessories in my first book. They’re the Go-go Gauntlets (project #73) from Generation T: 108 Ways to Transform a T-shirt. They’re super easy to stitch up in an afternoon, and even easier to embellish with iron-on glitter sheets–which seriously increase the superhero factor.

These arm warmers are especially good for:
1) Completing late night deadlines (reports, papers, presentations, tax filing, etc.).
2) Healing goose-bumped flesh in the over-air-conditioned spaces of warm-weather climates.
3) Protecting long-armed folks from that pesky draft caused by the gap between the glove and sleeve in cold weather climates.
4) Shielding the knuckles of bicyclists from biting winds when they ride really fast.
5) Executing superhero power stances.

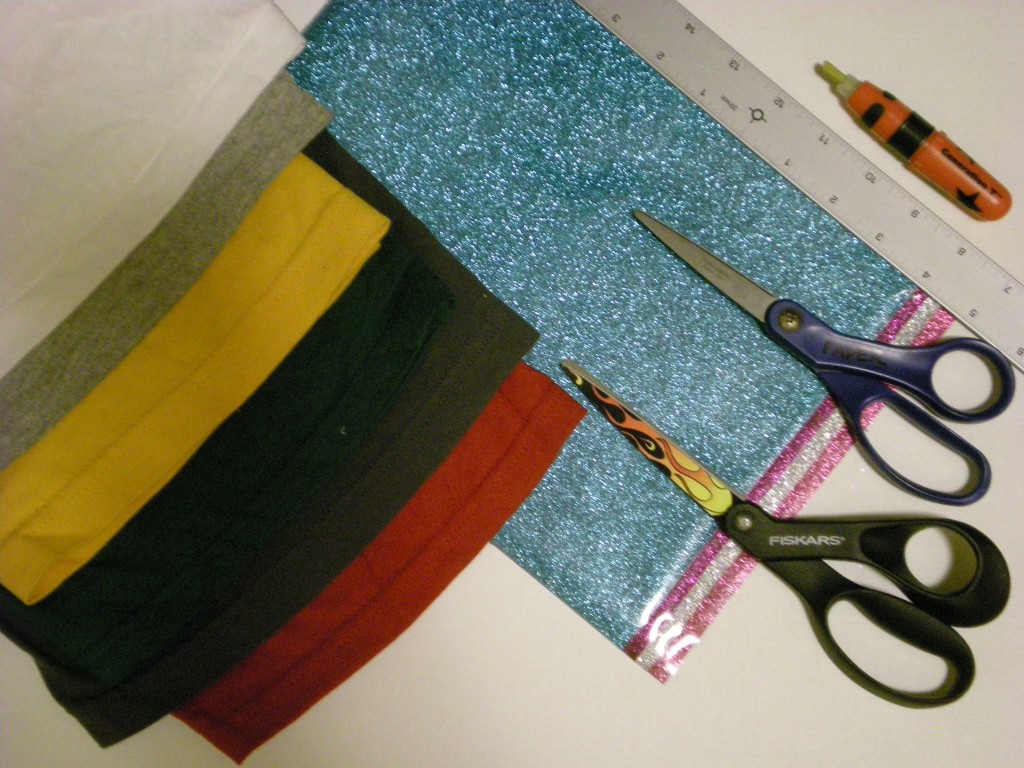
Materials:
-1 or more old T-shirts (with the bottom hem intact)
-Fabric marking tool
-Ruler
-All-purpose scissors
-Fabric scissors
-Needle and thread (or sewing machine)
Tulip Fashion Glitter Shimmer Transfer Sheets
-Pressing cloth
-Iron

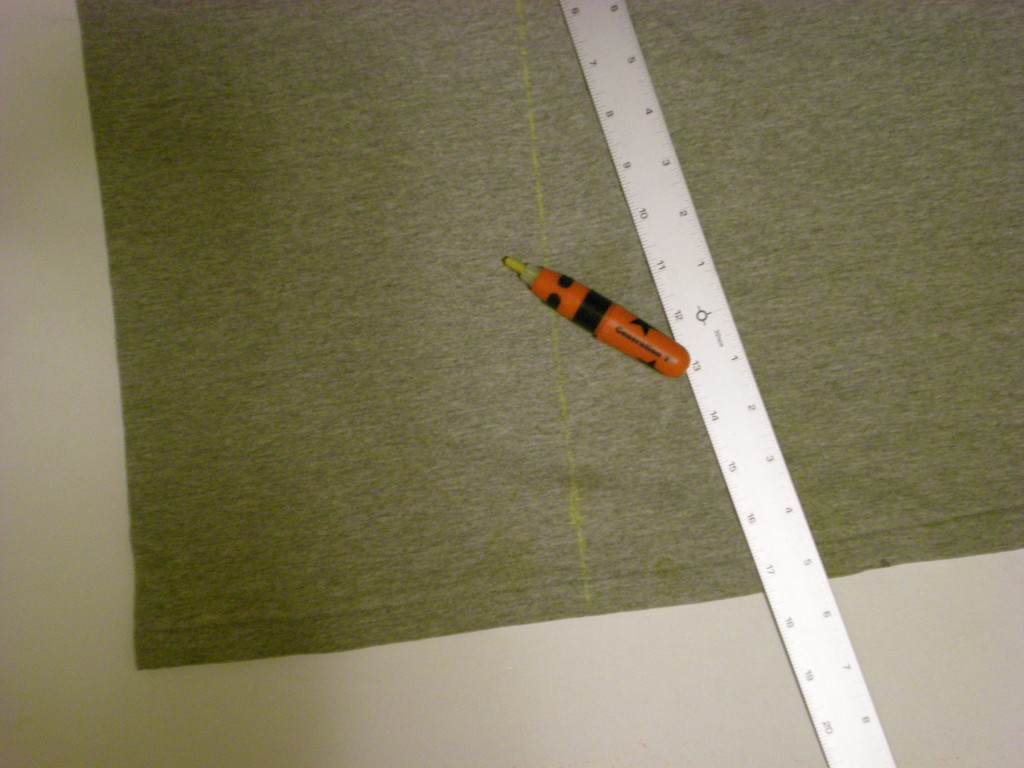
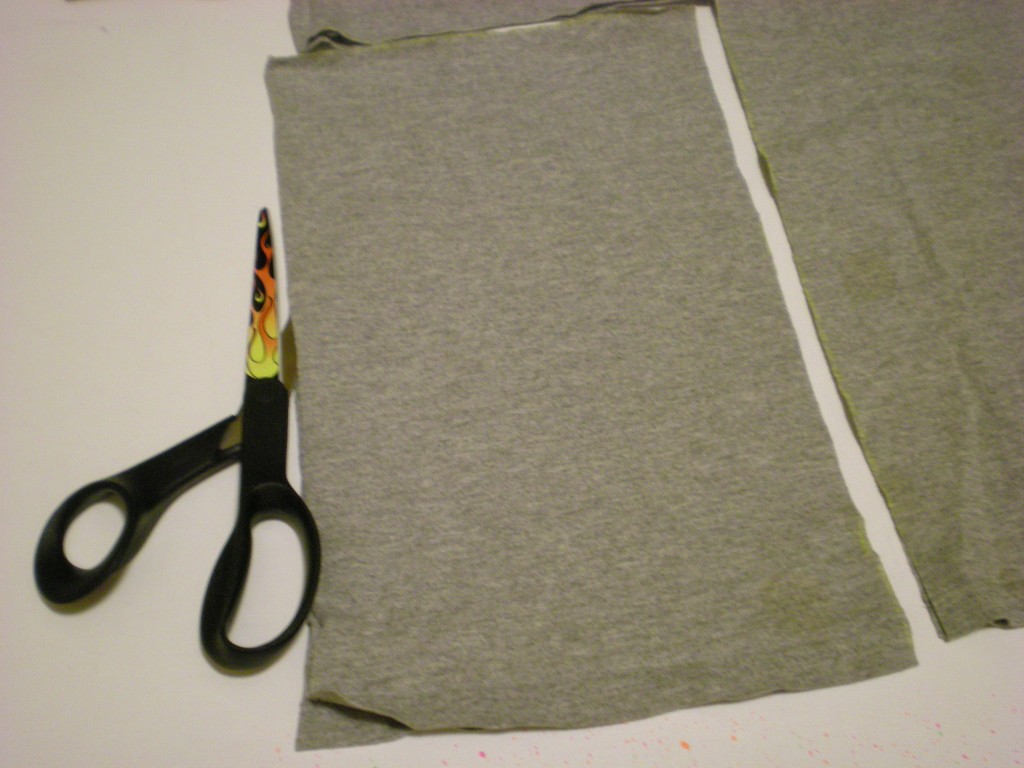
1. Measure the distance around the middle of your forearm (x). Mark a rectangle x” wide and between 11″ and 14″ tall that lines up along one of the side folds of the T-shirt and extends up from the bottom hem.

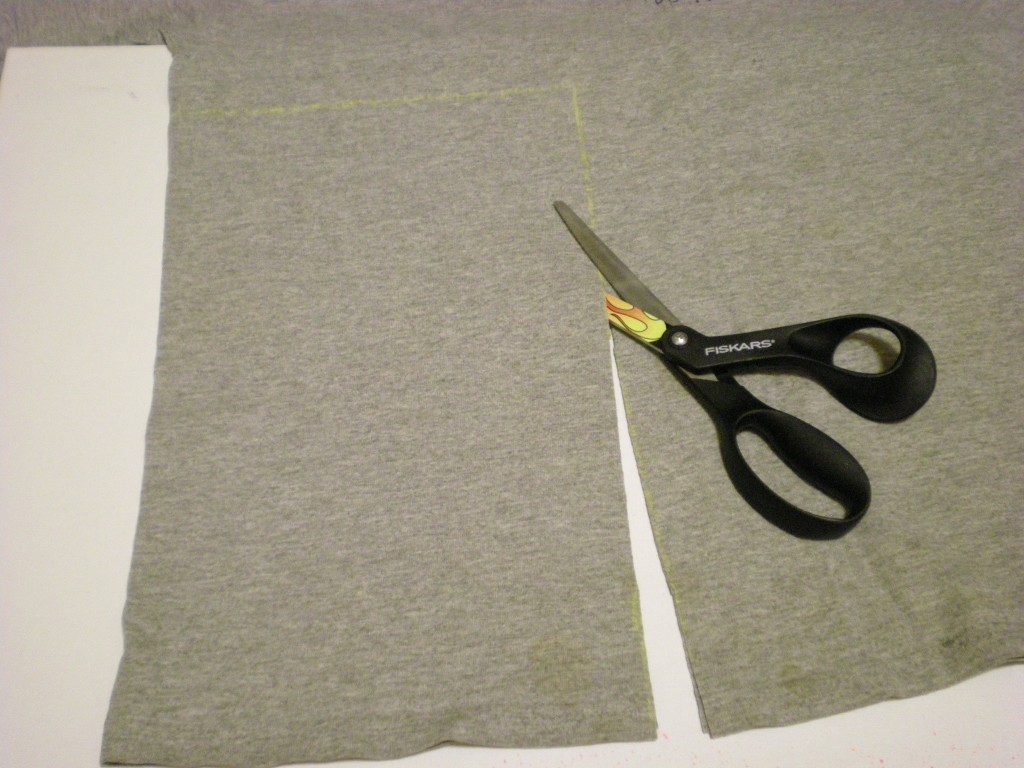
2. Use the fabric scissors to cut out the rectangle through both layers.

3. Cut open the side, along the fold of the shirt.

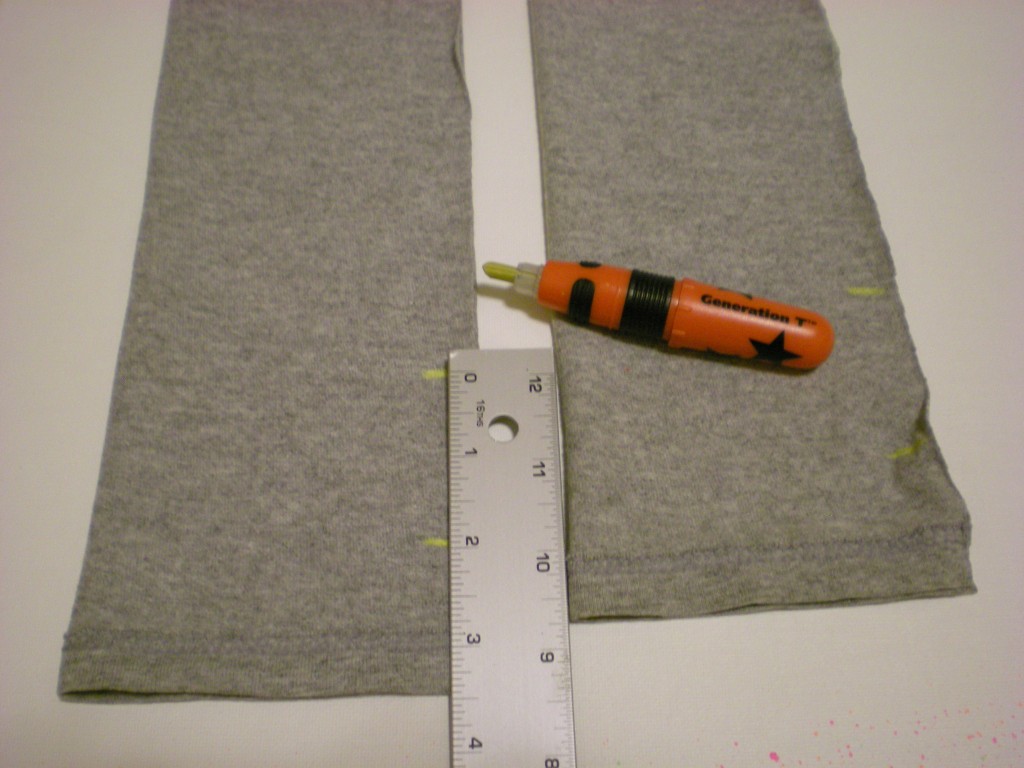
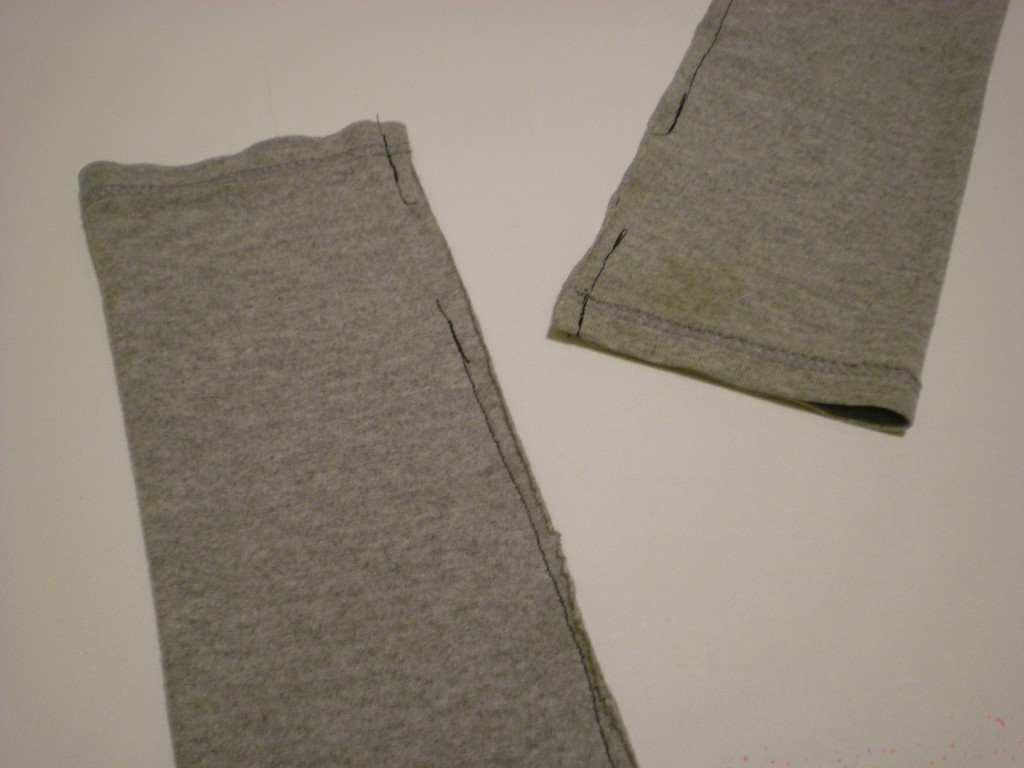
4. Fold each rectangle, right sides in, and make two marks along each of the open edges that measure 1 1/2″ and 3 1/2″ from the hem.

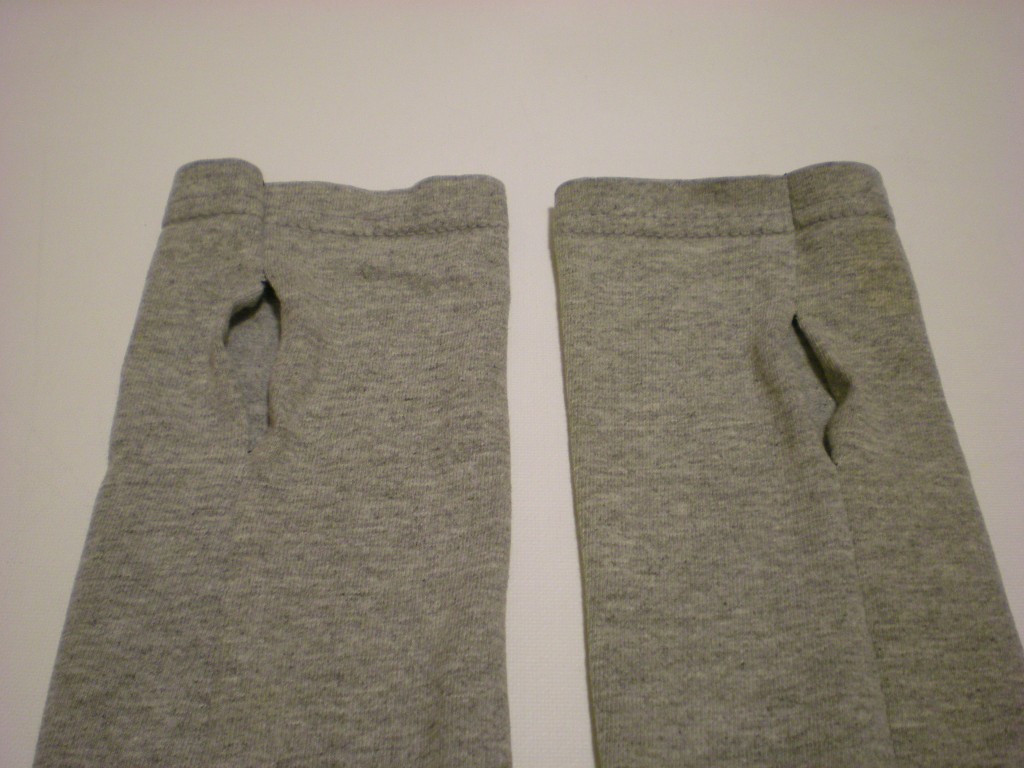
5. Stitch along the open edge, about 1/4″ from edge, leaving an opening (for the thumbs!) between the two marks.

6. Turn the arm warmers right side out and orient the thumb holes about one-third from the edge.

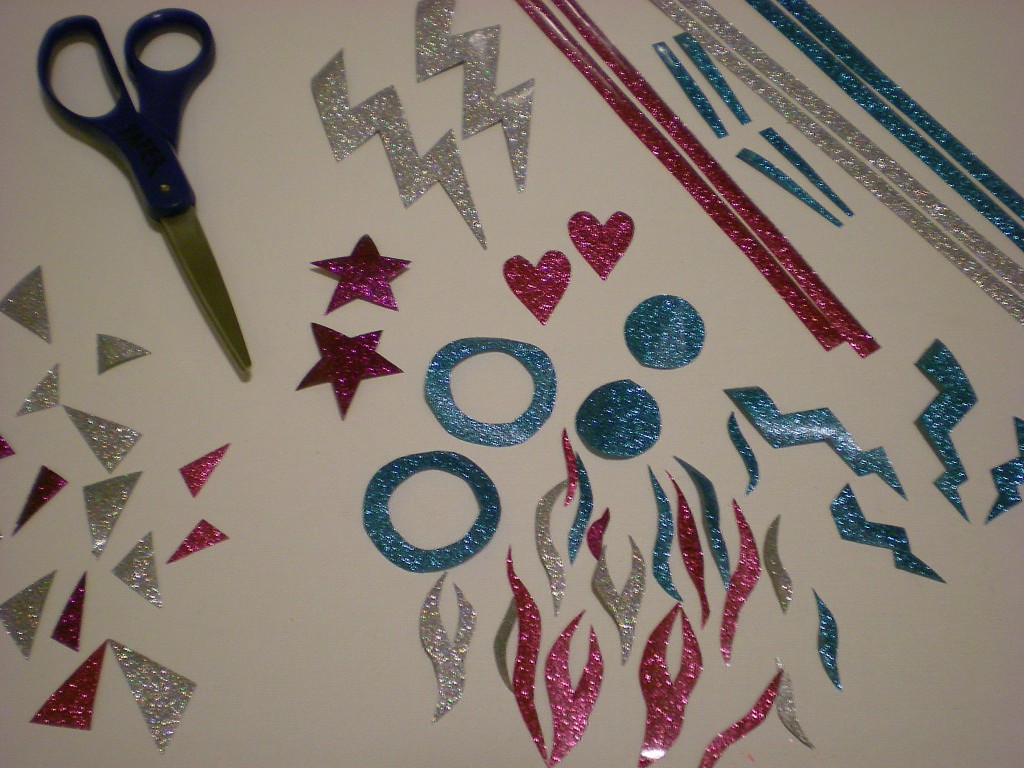
7. Use all-purpose scissors to cut out fun shapes from the iron-on glitter sheets (in pairs, if you want your arm warmers to match).

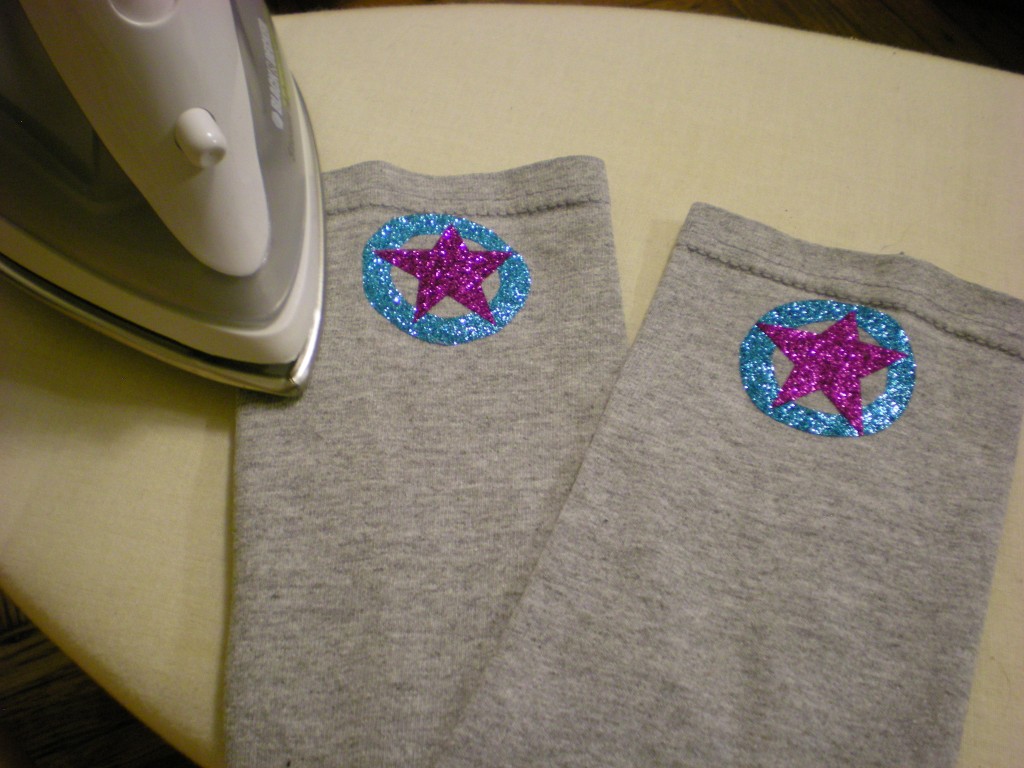
8. Keeping the arm warmers oriented as they were in Step 6, flip them over and arrange the glitter shapes near the hem. Peel away the shiny surface layer from the shapes, lay a pressing cloth over the arm warmers (being careful not to disturb the placement of the shapes), and press firmly with the iron for about 40 seconds. Repeat if necessary to set the glitter transfer.

9. Turn off and unplug the iron. Try on your new pair of superhero arm warmers!

10. Use all the shapes you cut out in Step 7 to make more!

Optional: Use remaining T-shirt scraps to make a matching superhero mask or headband!


[ Comments Off on I Love to Create: Superhero Arm Warmers! | Posted on July 26th, 2011 ]