Posts Tagged ‘T-shirt headband’

From Our Readers: Valerie!

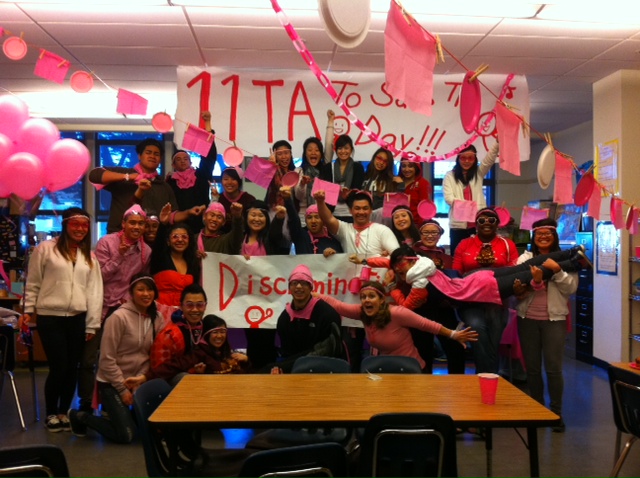
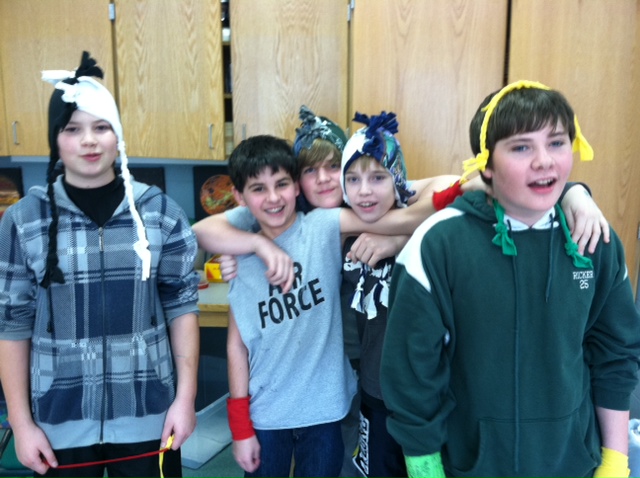
I love it when the T-shirt refashioning community rallies for a cause. Sure, Earth Day is around the corner, and the more old T-shirts that can be saved from the trash bin, the better, but this amazing photo from Valerie, a high school teacher in the Bay Area, really warmed my heart. Valerie’s homeroom group used the Generation T books as inspiration to craft pink superhero capes, pink headbands, pink hats, and pink belts from old T-shirts in honor of Pink Tsunami, a school-wide event created to rally against bullying of LGBT students.

The day, which was founded in response to an incident involving a boy being bullied for wearing pink, has become an annual tradition at the school (which has been featured before on Generation-T.com!) — and this particular photo was from a February 2011 celebration. T-shirt sleeves were transformed into hats, scraps were braided into headbands and belts, and students wore handmade superhero capes all day to show support for the anti-bullying message. And, of course, they had a blast doing it.

[ Comments Off on From Our Readers: Valerie! | Posted on April 1st, 2013 ]

iLoveToCreate: Happy Shiny Pixie Headband!

I attended a photo shoot recently and was inspired to make this headband after I saw a similar one in the stylist’s stash of goodies! While hers was glittery gold and mine is iridescent (I also doubt that hers was fashioned from an old T-shirt sleeve), it’s the Lady-liberty-inspired shape that’s so compelling.

I mean, it’s so bright and sunshine-filled (and a little prehistoric?), and I have to admit, though I was begging for cool temperatures back in the heat waves of July (and couldn’t be happier that nature has complied!), the shorter days are already threatening to change my mood. I’m already missing the sun! This happy, shiny, pixie headband brightens up the day wherever you are.

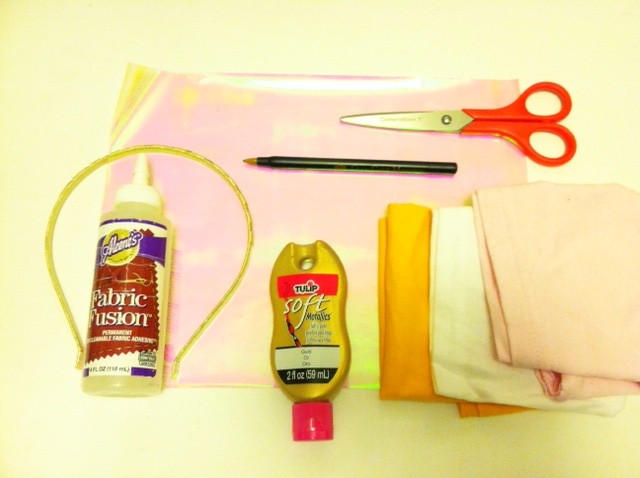
Materials:
-T-shirt sleeve (or T-shirt scrap of equivalent size)
-scissors
Tulip Fashion Glitter transfer sheets
-ballpoint pen
-ruler
Aleene’s Fabric Fusion
-warm iron and pressing cloth
Tulip Soft Fabric Paint in gold metallic (optional)
-toothpick (optional, to use as a paint applicator)
Make it:
1.
Cut out the underarm seam of the sleeve, and lay it flat, right side up. Measure, mark, and cut two 1 1/4″-wide to 1 1/2″-wide strips from the iron-on transfer sheets.
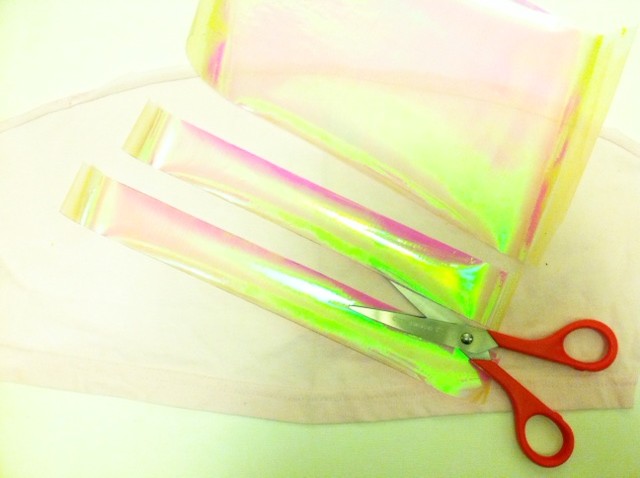
2. Sandwich the two strips together and cut out a series of triangles from one edge (through both layers), leaving a zigzag that runs the width of the strips.
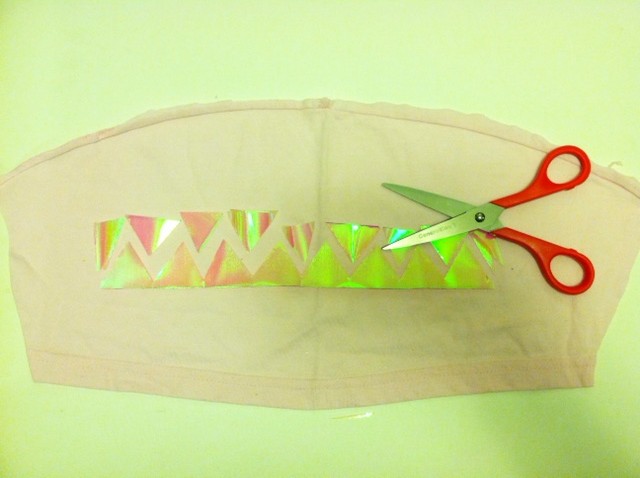
3. Separate the strips and align them along the straight edges, about 3/8″ apart. Use a pressing cloth and iron the strips onto the fabric.
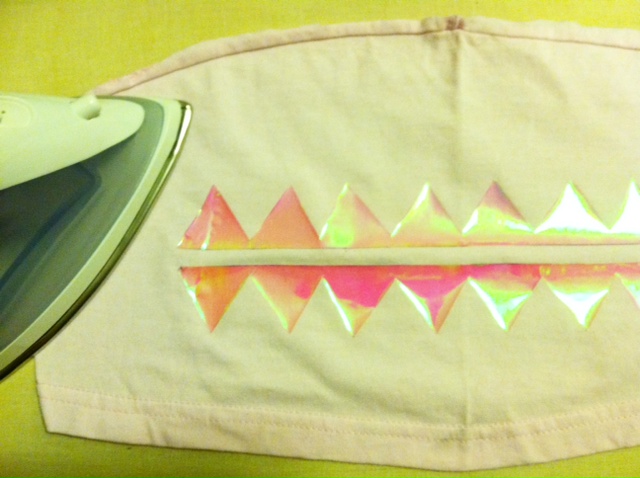
4. Make parallel cuts through the fabric, separating each pair of triangles from the row of zigzags.
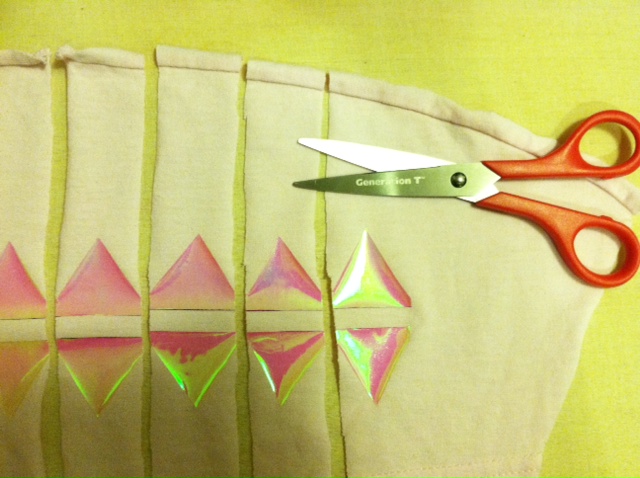
5. Determine how many rays of sunshine you’d like (I debated between 5 and 6, and ultimately went with 6), and arrange them evenly around the arc of the headband. Working one ray at a time, spread fabric glue evenly along the inside of the headband, and wrap the flexible fabric piece around the headband, lining up the triangles. Apply glue evenly to the inside of the strip of fabric and press the triangles together (the triangles should seal beyond their edges).
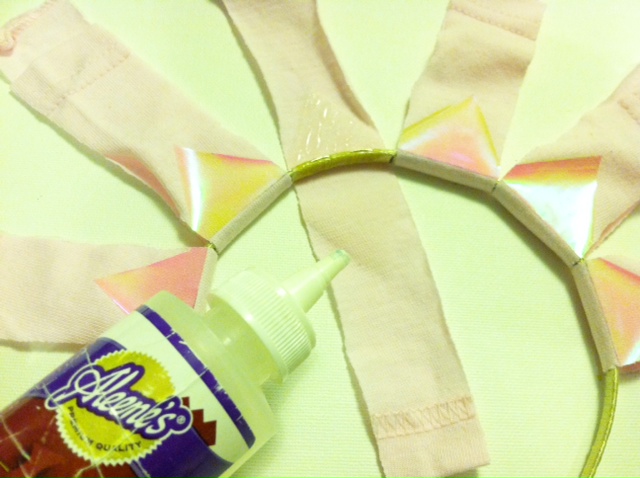
6. Finish gluing each ray, and let them dry flat. (Note: If the fabric is pulling apart, use a clothespin or paperclip to pinch it while it dries.)

7. When the glue is completely dry, trim the fabric to the edges of the triangles.
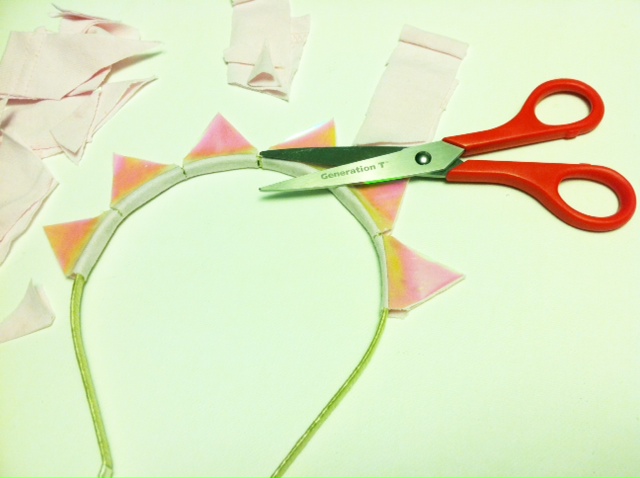
8. As an optional finishing touch, apply the metallic paint carefully with a toothpick along the fabric edges of the rays. Let it dry.
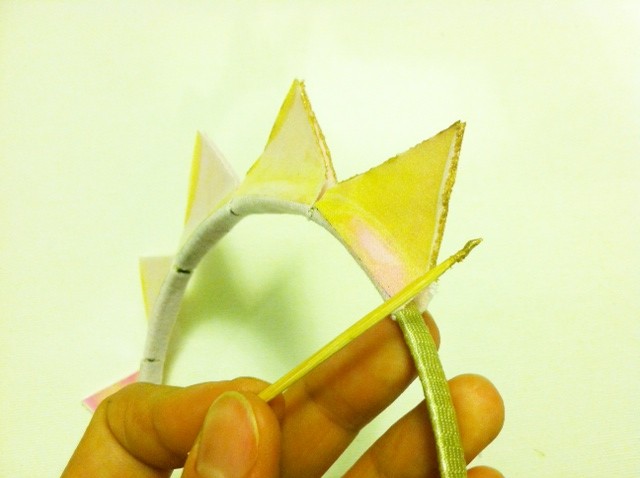
9. Try on the headband to spread a little sunshine both indoors and out!


[ 4 Comments | Posted on September 25th, 2012 ]

T-shirt Spiral Statement Earrings

Ages ago, I promised variations on my Softie Spiral Headband made from T-shirt coils. Well, at long last, here’s one take — a pair of colorful, bold, statement earrings. As a DIY project, they’re a nice alternative to the headband (if you’re too impatient or too short on time to make all the coils required for the bigger project!).

Materials:
-T-shirt scraps in different colors (T-shirt hems with the stitching cut off are perfect!)
-Fabric scissors
Aleene’s Fabric Fusion or similar fabric adhesive
-Ruler
-1 pair earring posts and backs
Aleene’s Jewel-It Embellishing Glue or similar jewelry adhesive

Make It:
Simply follow the instructions for making a T-shirt coil in the spiral headband tutorial. Make three pairs of same-sized and like-colored coils. (In this example, that means: two matching blue coils, two matching gold coils, and two matching pail yellow coils.)

To make sure that the two blue coils end up the same size, start by cutting the T-shirt strips to the same length. The top coil in the earring should be the smallest, with each coil getting gradually larger as you move down the length of the earring (the yellow one is about 1 3/8″ in diameter, the gold one is about 1 1/2″, and the blue one is about 1 3/4″).

Use the Fabric Fusion to glue the coils in a row, rotating the coils so that the ends of the T-shirt strips get “buried” in the seam. Then glue an earring post to each of the small coils (close to the edge, at the top of the earring, as shown) using the jewelry glue.

Allow the glue to set completely, then attach the earring backings, and you’re ready to wear or gift them!

Note: If these earrings are too big for your style (they do measure about 4.5″ long), you can make them smaller — just keep the same basic ratio between the sizes. Alternatively, you can make single coil earring studs for an even faster result!

[ 1 Comment | Posted on June 4th, 2012 ]

NH: Live Free and DIY!
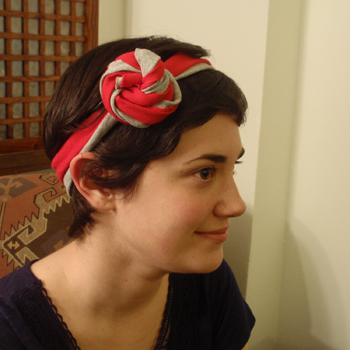
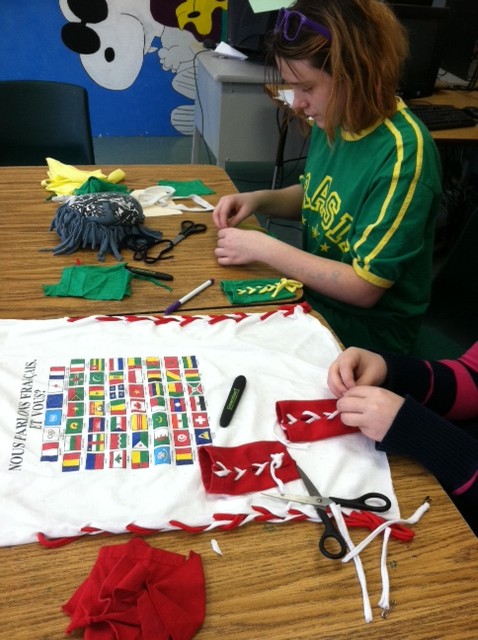
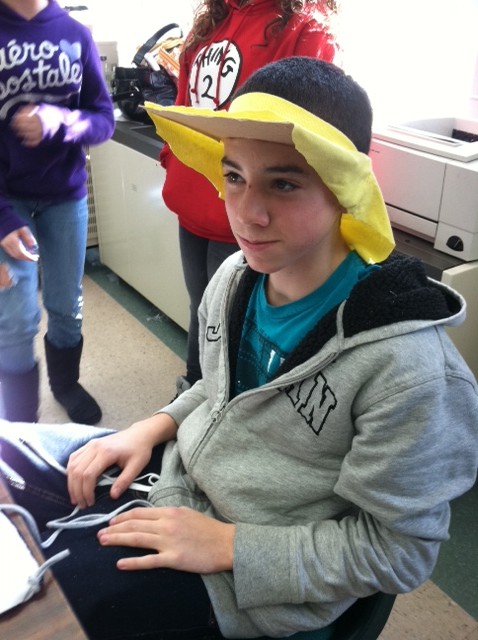
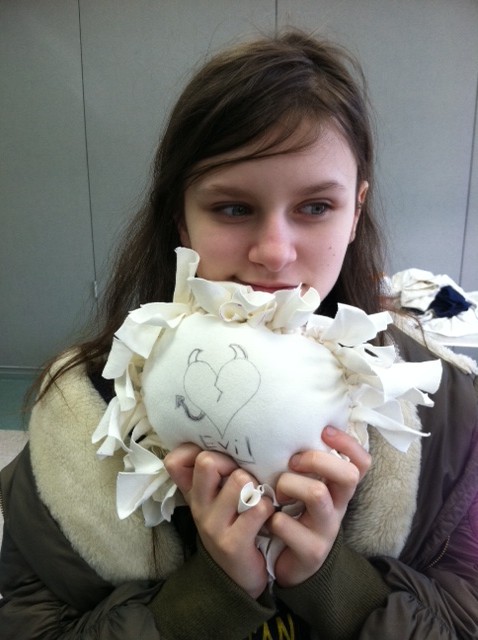
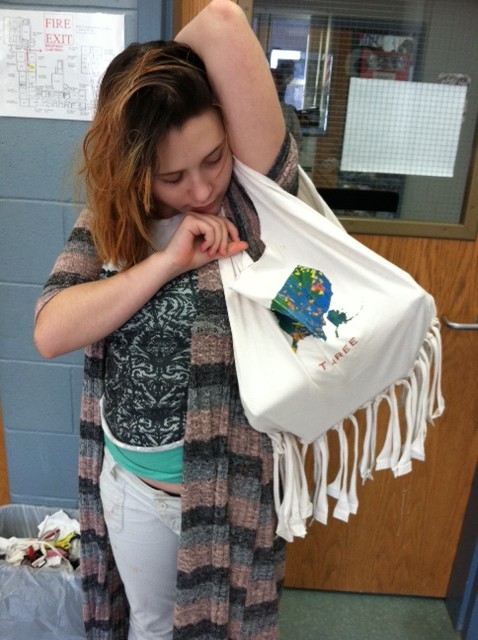
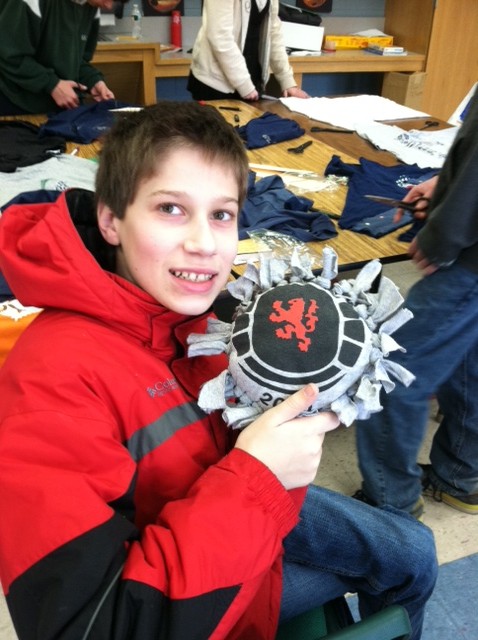
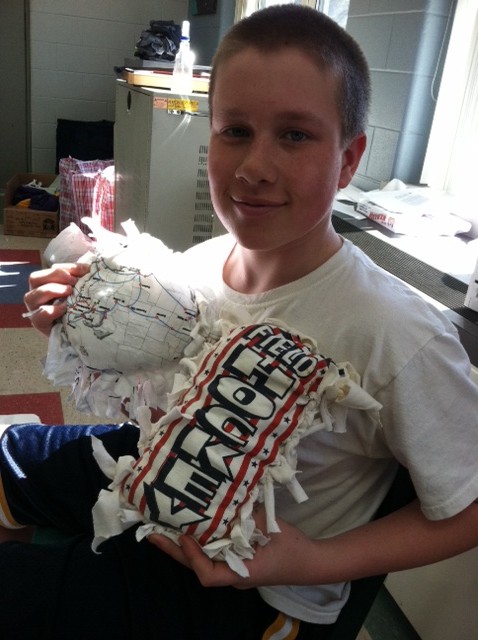
Isn’t that how the motto goes? I’m back home in NYC, but my heart is still up in New Hampshire, and it feels like my scissor hand is still twitching in my sleep after all the T-shirt refashioning we did! Altogether, the students at the Kenneth A. Brett School upcycled (new vocabulary term for many of the kids in my group!) more than 150 T-shirts over the four days. Below are some of the highlights from the last two days of my artist-in-residency! (And if you want more proof of the fun we had, check out the photos posted over at the Tamworth Arts Council blog.) I miss these kids already…

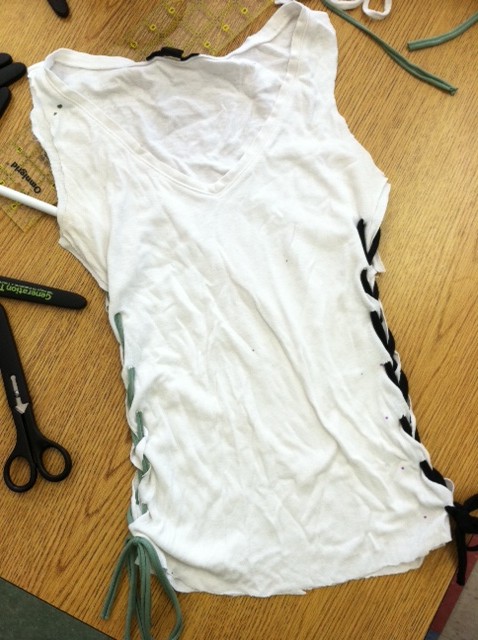
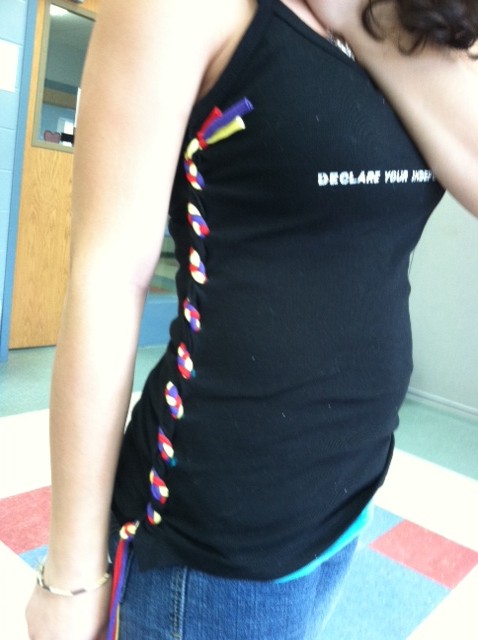
A lace-up tank top with mismatched sides (#16 in Generation T); another lace-up top with braided multi-colored stitching.

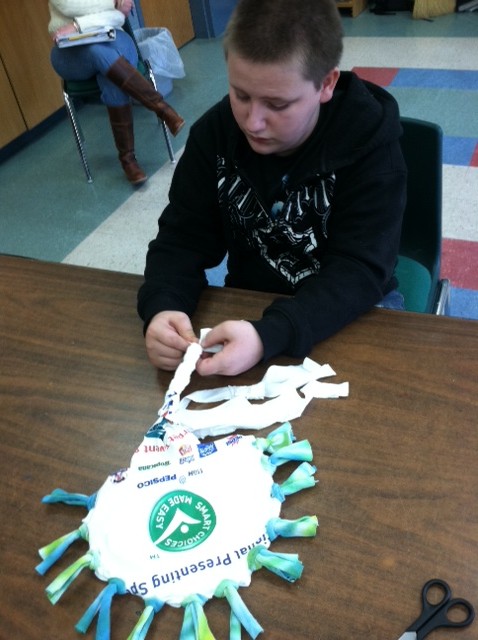
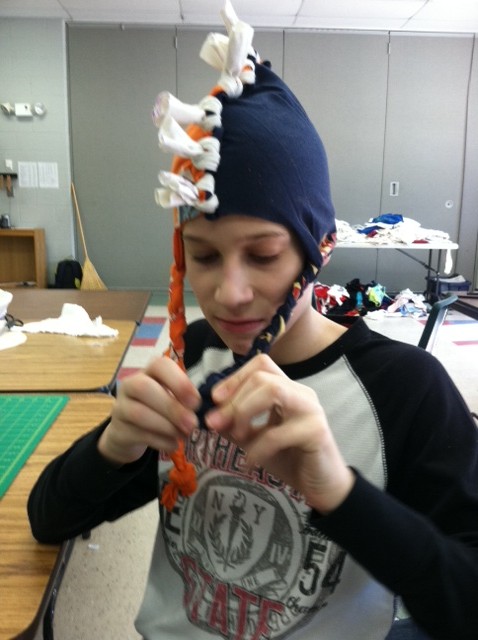
Some in-process braiding and knotting — to complete the finishing touches on two “Mohawk Mo’ Rock” no-sew hats (project #72 in Generation T: Beyond Fashion).

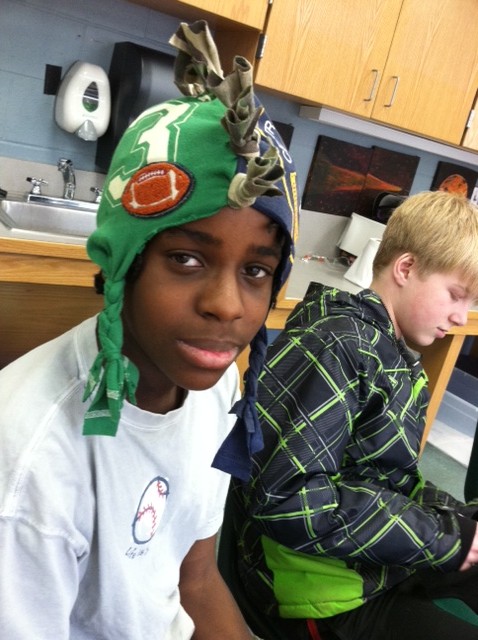
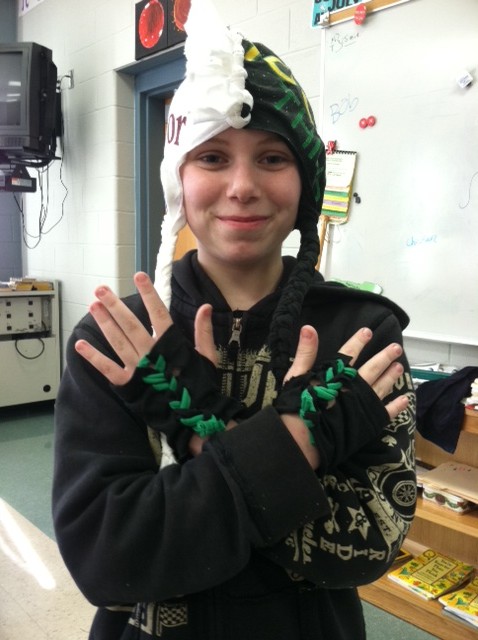
Two finished, fringed hats!

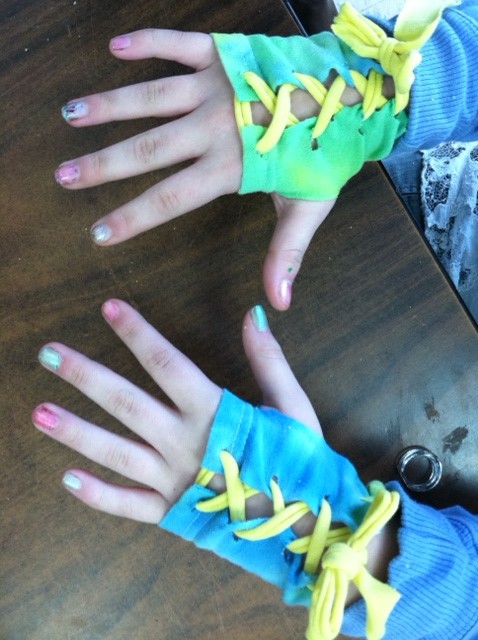
But what’s a finished hat without matching glovelets (#103 in Generation T: Beyond Fashion)? Or a pair of tie-dyed glovelets without multicolored fingernails?

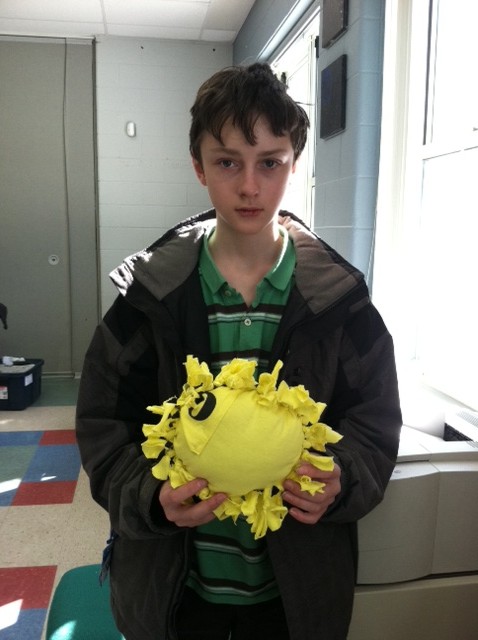
Going with the tie-dye theme, here’s a tie-dye version of Back in Action (#101 in Generation T: Beyond Fashion); plus a sunshine-filled pillow (#30 in Generation T: Beyond Fashion)!

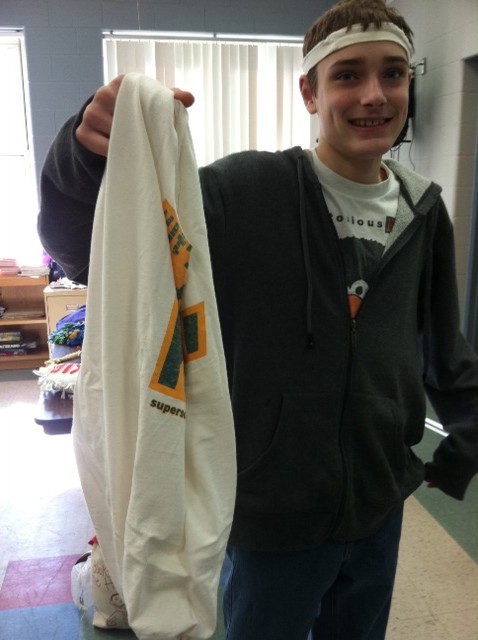
Another completed pillow; a matching totebag (for his mom to use while grocery shopping) and headband (for him).

Some in-progress laced-up glovelets; an innovative visor made from the neckband of a T-shirt (with sun-shielding neck protection, of course!).

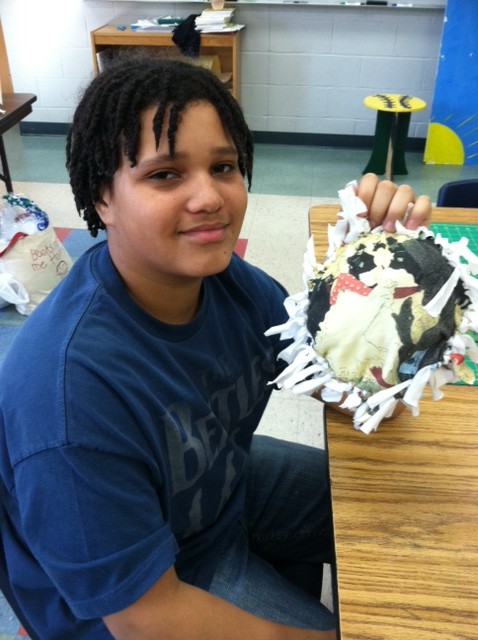
A pillow for catnapping; a no-sew tote bag–already filled with books!

DIY hats, tank tops, headbands, and wristbands…

Pillows, pillows, and more pillows!

Hats, hats, and more hats!


[ 4 Comments | Posted on March 14th, 2012 ]

From Our Readers: Avery!

In honor of National Craft Month (yay!), Workman Publishing Co. (who published my two books), is featuring projects from some of their top DIY books throughout March. Up first was editorial department member Avery, who shared her process for making the “Banned for Life” headband (project #92 in Generation T). Click through for her full photo tutorial over at the Workman blog.

PS: Note that the T-shirts she used were two abandoned marketing tie-in tees she picked up from around the Workman office. (Keeping everything moving full circle!)

[ Comments Off on From Our Readers: Avery! | Posted on March 23rd, 2011 ]

12 Holiday T-shirt Projects!

To celebrate and count down the 12 days until Christmas (yikes), here’s a roundup of 12 T-shirt crafts we love over here at Generation T (and yes, we might be biased on a few of them, but we can’t help it). So if your halls aren’t completely decked, here are some last-minute fixes that will make you sing fa-la-la-la-la, la-la-la-la. Or at least do re mi fa so la teeeee…. Wow, this holiday punch is tasty!

1. T-shirt wreath by Tara Gentile at ScoutieGirl. A colorful (no-sew!) decoration that won’t smell as sweet, but you also won’t have to sweep up dried pine needles in two weeks!

2. T-shirt stockings by Megan Nicolay at Generation T (or by Kathy Cano-Murillo at CraftyChica). Two takes on that old classic–the holiday stocking–made from a classic old T-shirt.

3. T-shirt garland by Ash and Kimmy at GreenEyedMonster. A festive pom-pom decoration that can be brought out year after year–for the tree, for the mantle, for a little window dressing!

4. T-shirt advent calendar by Megan Nicolay at Generation T. You might remember seeing this one during last year’s solstice giveaway–and you better get cracking in order to make and fill this one up in time for a countdown!

5. T-shirt hat by Kalleen from AtSecondStreet. A cute brimmed hat for the milder winter weather–bonus points if you add ear flaps! Or this one by Whitney Moss and Heather Flett at RookieMoms–forget ear flaps, this one’s got ears (and yes, we give you permission to make it in an adult size).

6. T-shirt snowflake by Megan Nicolay at Generation T (project #4 in Generation T: Beyond Fashion). Forget the overplayed sparkly Santa sweater, make a T-shirt snowflake as unique as you are! ::sigh::

7. T-shirt knotted scarf by Gwenstella at BecauseSheStartedKnitting for her. And for him: a Fringy T-shirt scarf by Paul Overton at DudeCraft. Or any of these three scarves, by Megan Nicolay at Generation T (on Threadbanger)!

8. T-shirt mittens by Ashley at LilBlueBoo. Okay, okay, so she makes them from sweatpants (which might be warmer than T-shirt), but the tutorial and techniques still apply since they’re both knit fabrics!

9. T-shirt Christmas tree skirt by Megan Nicolay at Generation T (project #43 in Generation T: Beyond Fashion). And, we’ll have a no-sew variation to post very soon–stay tuned!

10. T-shirt necklace by Melissa Esplin at ISLY. Sometimes it’s not enough to deck the halls or trim the tree–you need to deck yourself for all those holiday parties!

11. T-shirt headband by Megan Nicolay at Generation T for iLovetoCreate. See number 10. Now it’s time to add the tree topper! (Tee topper?)

12. T-shirt apron by Disney at RufflesAndStuff. Or this one by Kayla at KaylaKsThriftyWays if you’re short on time. This was tough: it was between the apron and the T-shirt oven mitt–for all the holiday cookie baking, of course!

Happy last-minute crafting to you! What are your favorite holiday T-shirt tutorials? What have we missed that you would like to see on this list?

[ 3 Comments | Posted on December 14th, 2010 ]

I Love to Create: Softie Spiral Headband

Yes, Thanksgiving is nearly upon us, but I’m already looking beyond the food coma to the holiday party scene! A little bit of proper party headgear puts me in the mood. You can make this headband in an afternoon and be party-ready by evening. Make one in bright tones, and you’ll be able to transcend the cold weather and be positively springlike!

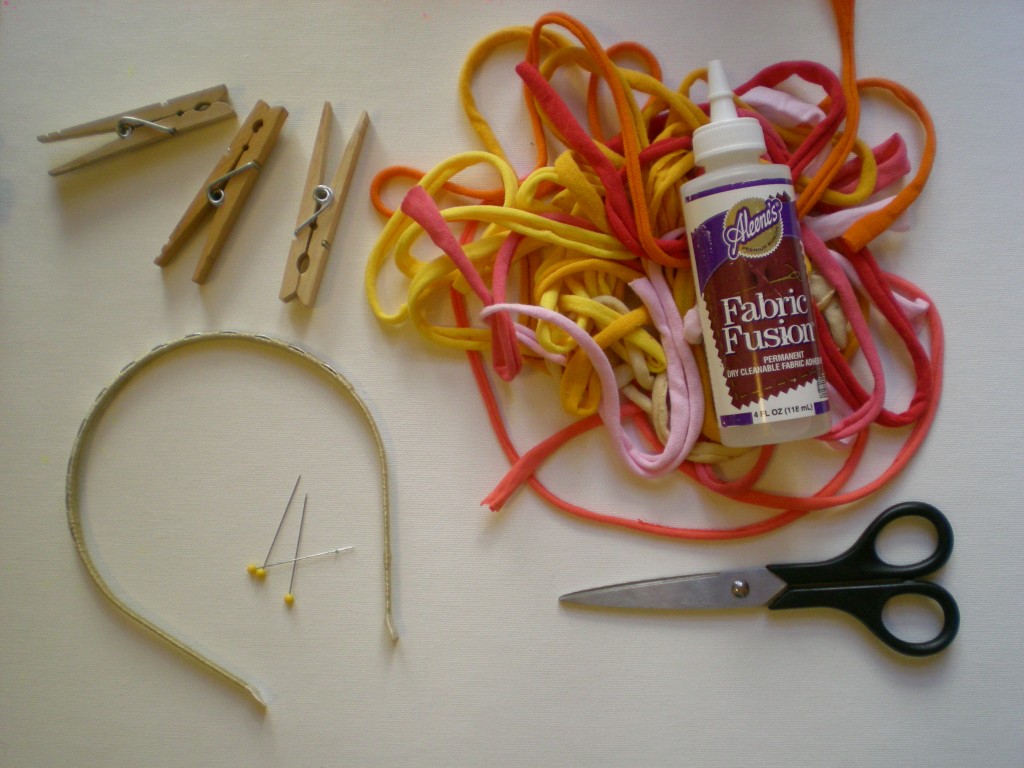
Materials:

-1″-wide T-shirt strips of varying lengths (in complementary shades)

-Aleene’s Fabric Fusion Permanent Dry Cleanable Fabric Adhesive

-fabric scissors

-1 fabric-coated plain headband (preferably with a metal base)

-clothespins

-straight pins (optional)

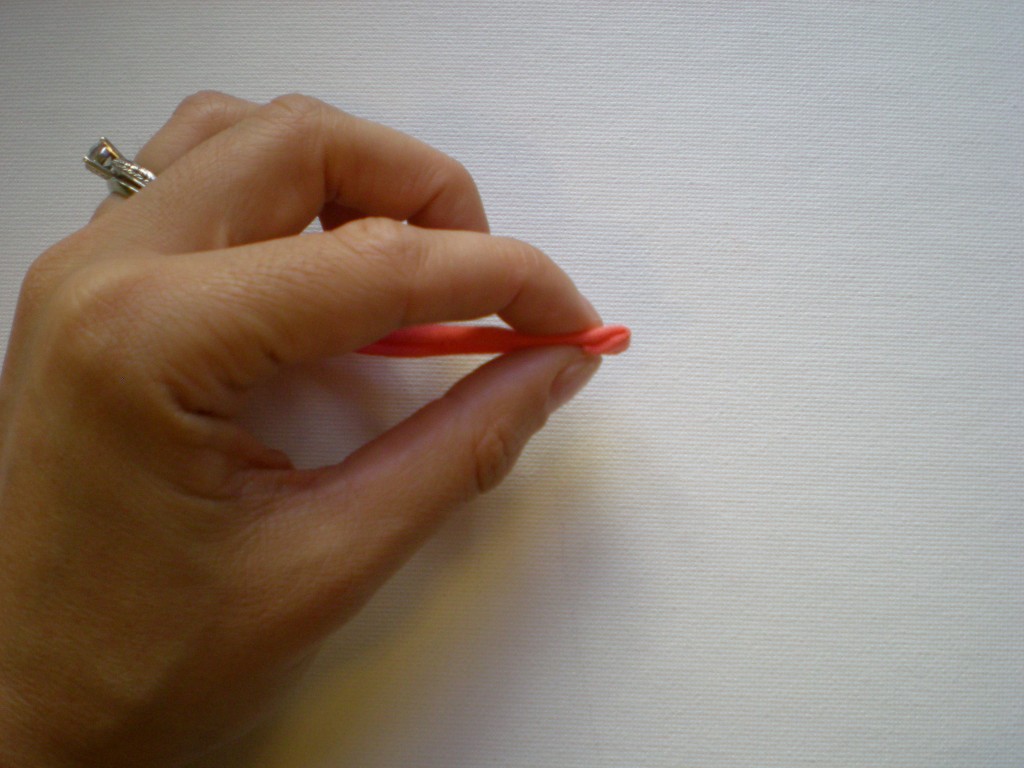
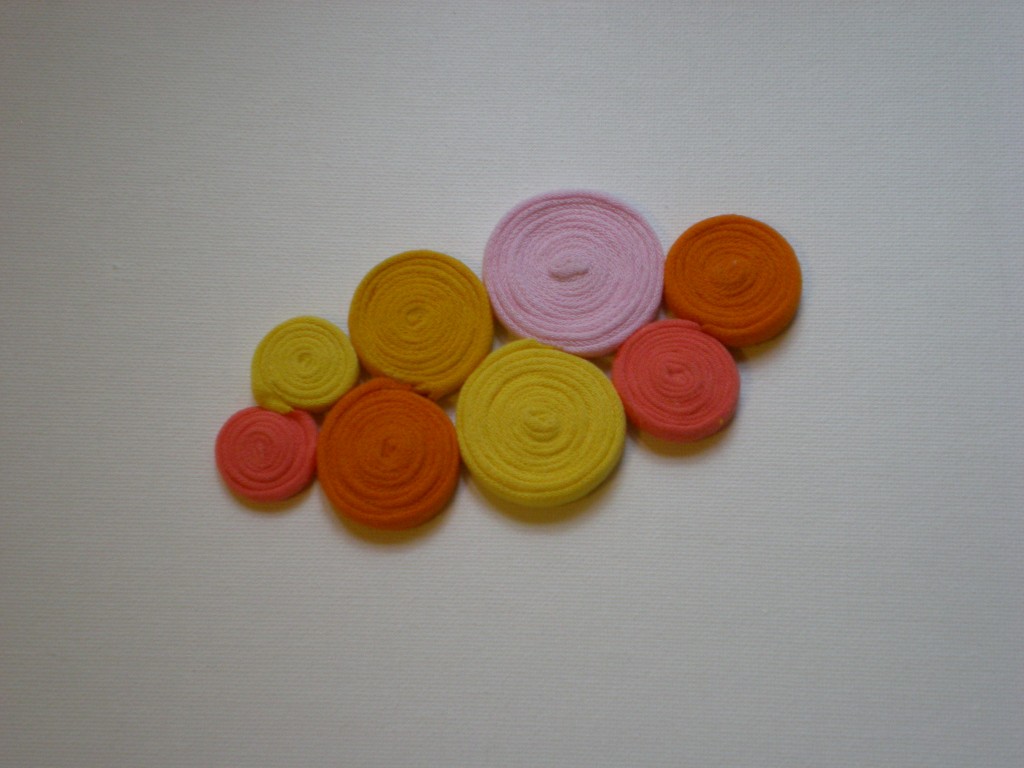
1. Gather the T-shirt strips. (A T-shirt hem works well — just cut off the stitching and stretch it out!) Select one strip, squeeze a dab of Fabric Fusion on the inside end and fold it over on itself.

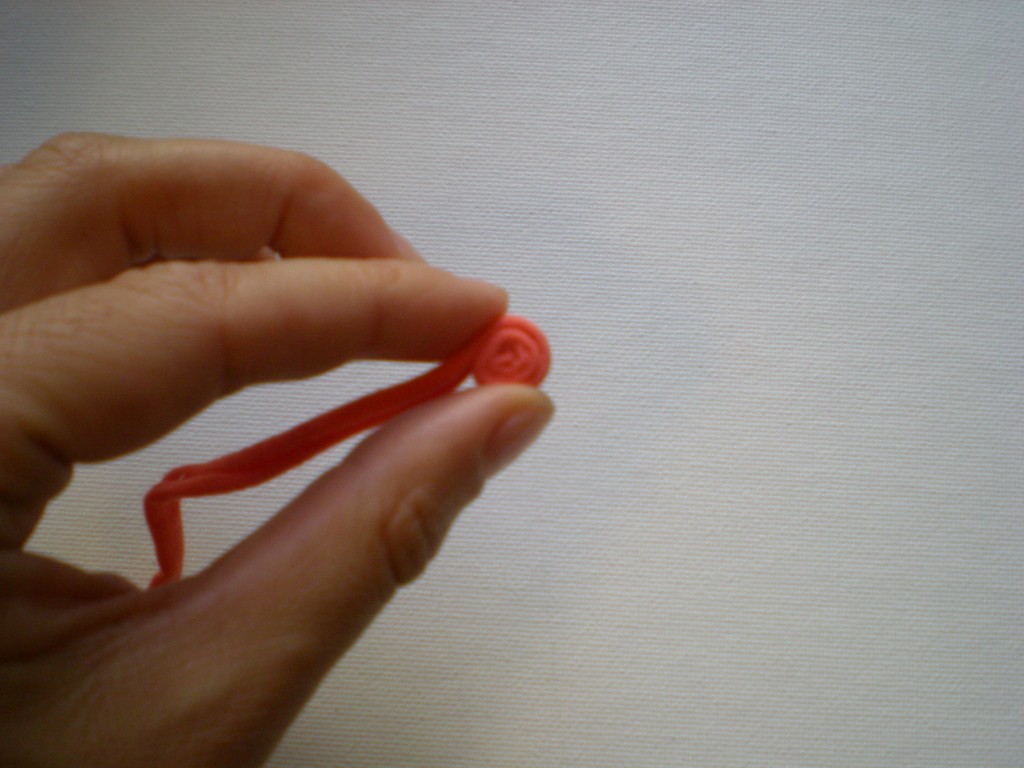
2. Gently squeeze more glue around the outside of the fold and coil more fabric into the glue.

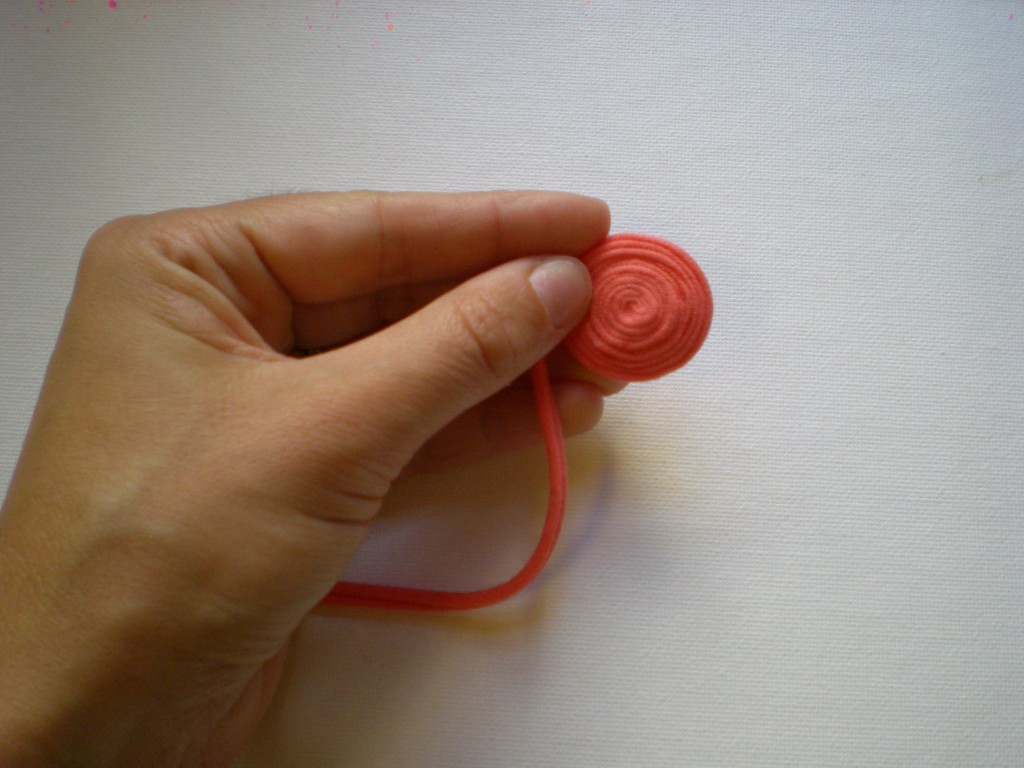
3. Continue gluing and coiling until you have a 1″ to 1.5″ fabric disc. Then snip the end at an angle and apply a bit of extra Fabric Fusion to make sure it flattens against the edge of the disc.

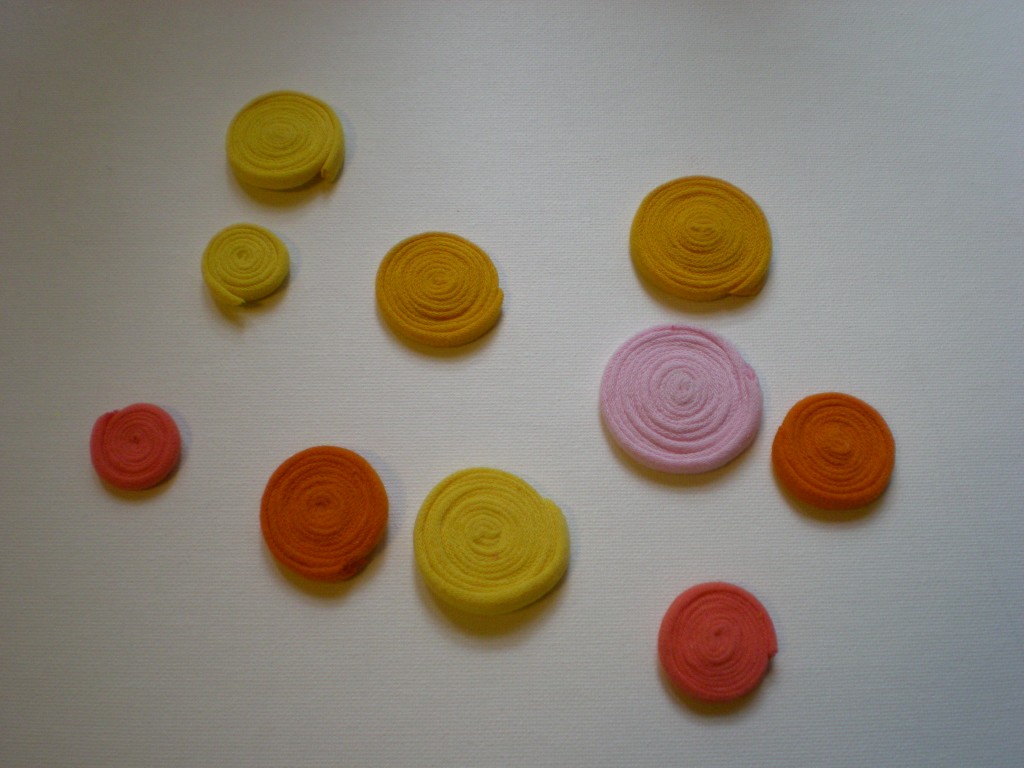
4. Repeat steps 1 through 3 to make seven to nine more discs! Optional: Use straight pins to keep the ends of the coils in place while they dry.

5. Arrange the discs in a pattern you like and glue them together at the intersections. Let the panel dry.

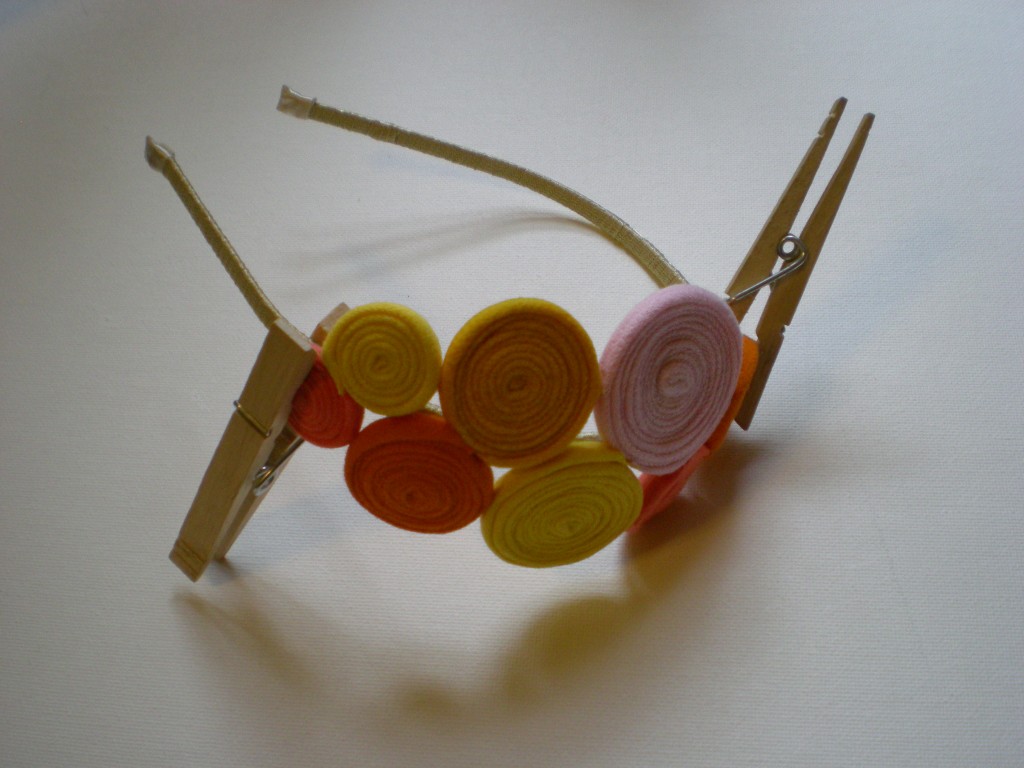
6. Apply glue along the top edge of the headband and gently press the panel against the headband.

7. Clip it in place with clothespins (so you don’t have to hold it in place). Let it dry.

8. Wear it hair up or down!

*Stay tuned for some crafty coil variations in the coming weeks!

[ 8 Comments | Posted on November 23rd, 2010 ]