I always bring a craft project when I visit my niece, Dorothy. One time it was Embroidery Day, another it was Felt Cat Ear Day…this time it was Tie-Day Day! Our goal, which we nobly chose to accept: to tie-dye an entire wardrobe. As you can see, we got pretty darn close…
So, despite all my T-shirt proclivities, I have to confess I actually have never tie-dyed in my adult life. I don’t know what made me think that it would be so hard, but honestly, the only thing that could have made this easier was a nice picnic table outside to craft on (and that’s just me asking for a luxurious upgrade).
The takeway: Tie-dye. Is. So. Easy.
I would go so far as to say it’s foolproof! Next time you have a family reunion, skip ordering the printed T-shirts: Set up a tie-dye station for all the siblings and cousins–by morning, you’ll have a full set of T-shirts perfect for a very colorful family portrait!
Materials:
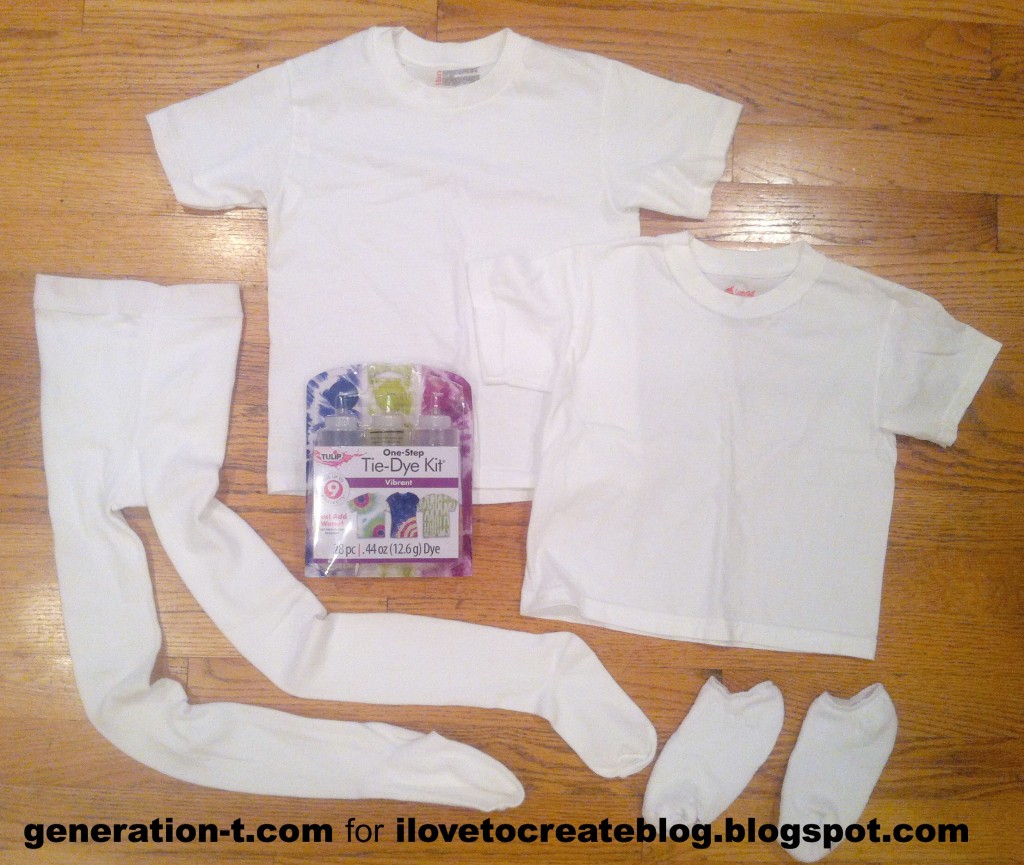
–Tulip One-Step Tie-Dye Kit (color: “Vibrant” — includes rubber bands, bottles, dyes, two pairs of plastic gloves, and an instruction/inspiration sheet)
-Cotton things to dye: We picked T-shirts (in two sizes, for the two cousins), tights, and socks!
-plastic table cloth or plastic garbage bag to cover your work surface
-paper towels
-plastic cling wrap or zip-lock bags
Note: If you’re working with new T-shirts, pre-wash and dry them to make sure any shrinking that’s going to happen has happened!
Make it:
Hop on over for the how-to at the I Love to Create Blog! (Plus a cute photo-bomb by my niece.) We tie-dyed spirals onto T-shirts, sunbursts onto tights, diagonal stripes onto another T-shirt, horizontal stripes onto socks, and a bullseye design onto yet another T-shirt.
After her cousin, Niko, woke up from his nap, it was time to try on the matching Swirl design tie-dye T-shirts!
Did I mention tie-dye is also great for obscuring grass stains? An added bonus, for sure! There’s definitely more tie-dye to come this summer — and quite likely in my size this time.


