Posts Tagged ‘T-shirt crafts’

DIY Toothy T-shirts

Whether you’re celebrating Shark Week, looking for a rainy day activity, or in search of a costume that even kids who aren’t into wearing masks can get behind, this toothy long-sleeved T-shirt is the ticket. Far from being holiday-exclusive–bust out your shirt any time you’re playing a spirited round of “Top o’ the Food Chain.” Toothy T-shirt generation-t.com
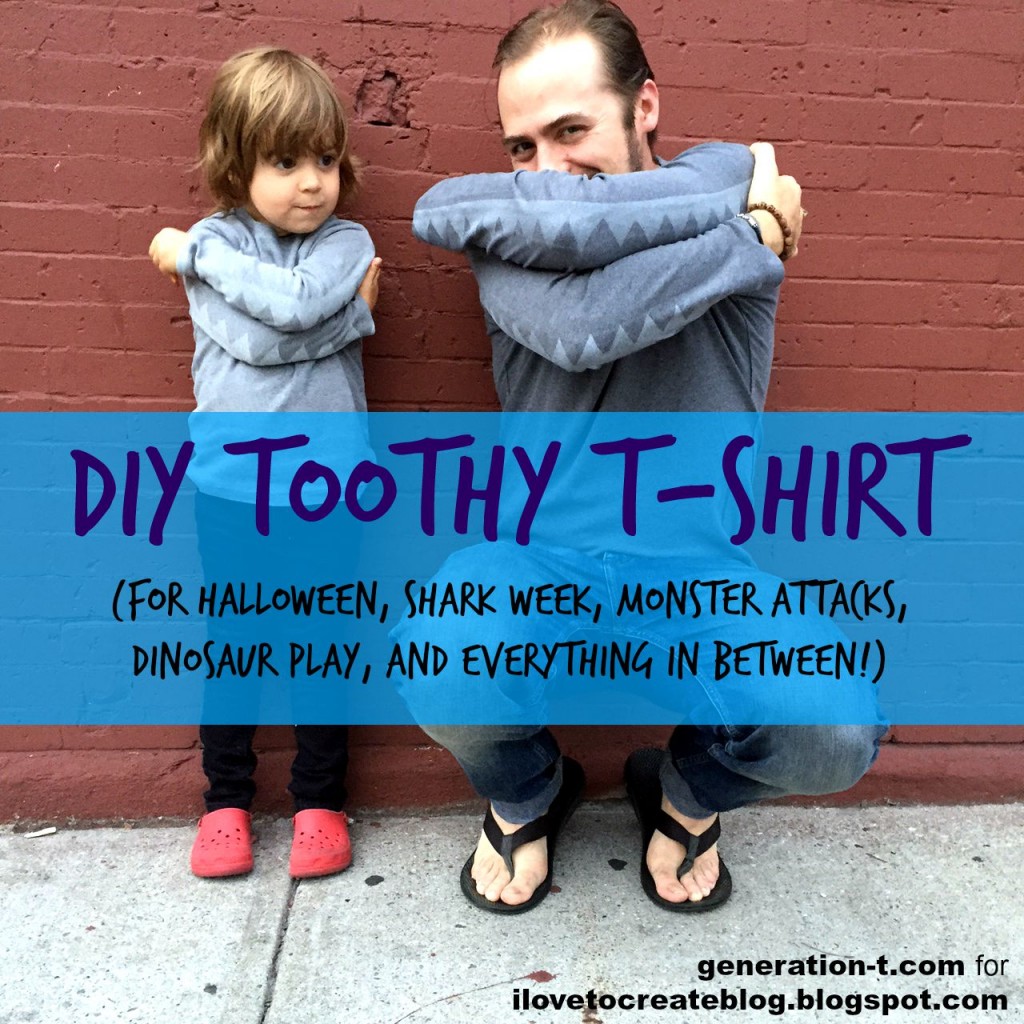
I stuck with gray, white, and silver to summon my boys’ inner sharks, but you could easily adapt your color palette to include dragons, dinosaurs, or even a Gruffalo (and, it should be noted, it can be made in multiple sizes)!
megan-nicolay-blog-footer

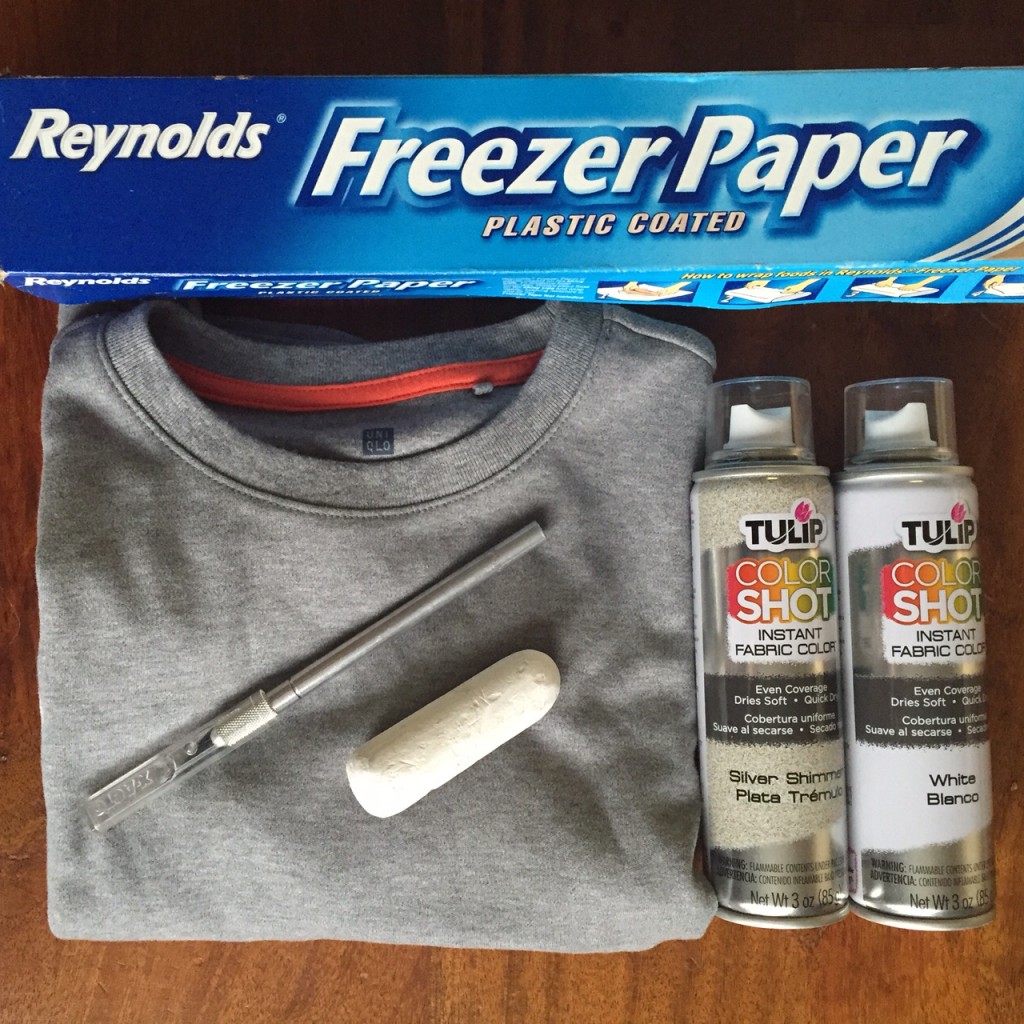
Materials:
-Long-sleeved T-shirt (in a plain color; I chose gray)
-Chalk or disappearing ink fabric pen
-Freezer paper
-Pen or pencil
-Craft knife and self-healing cutting mat
-Iron
Tulip Color Shot Instant Fabric Color (fabric spray paint; I chose white and silver)

Toothy T-shirt materials

Make it:
1.
Have the intended recipient try on the shirt. Placing opposite hand on opposite shoulder, have him/her line up his/her elbows. Use chalk or a disappearing ink pen to mark an upper and lower set of teeth along each arm. Remove the T-shirt and set it aside.

2. Measure the length of one shirt sleeve.

3. Draw and cut a zigzag line the length of the sleeves on freezer paper to create a teeth template. Draw and cut a second template for the opposite sleeve.

Toothy T-shirt 1-3 generation-t.com

4. Lay the T-shirt flat, line up the freezer paper template with the chalk markings from step 1, and use a warm iron to press the template onto each sleeve. (Use additional freezer paper to mask other parts of the shirt that you don’t want painted.)

5. Outside, or in a well-ventilated area, spray Tulip Color Shot Instant Fabric Color. Let dry for 5 minutes, then spray again. Let dry completely.

6. Have the intended recipient(s) try on the shirt, fold up his/her arms, and CHOMP away.Toothy T-shirt 4-6 generation-t.com

Toothy T-shirt3 generation-t.com

[ Comments Off on DIY Toothy T-shirts | Posted on September 23rd, 2015 ]

Sparkle Snowflake T-shirt

I have a thing for snowflakes. I do. And winter solstice seems the perfect occasion to share this snowflake T-shirt with you (maybe it will encourage actual snowflakes to fall!). A little sparkle glams up a plain T-shirt, and you can dress it up with a skirt or down with jeans to suit the mood or the occasion.

Snowflake Tshirt FinalA generation-t.com

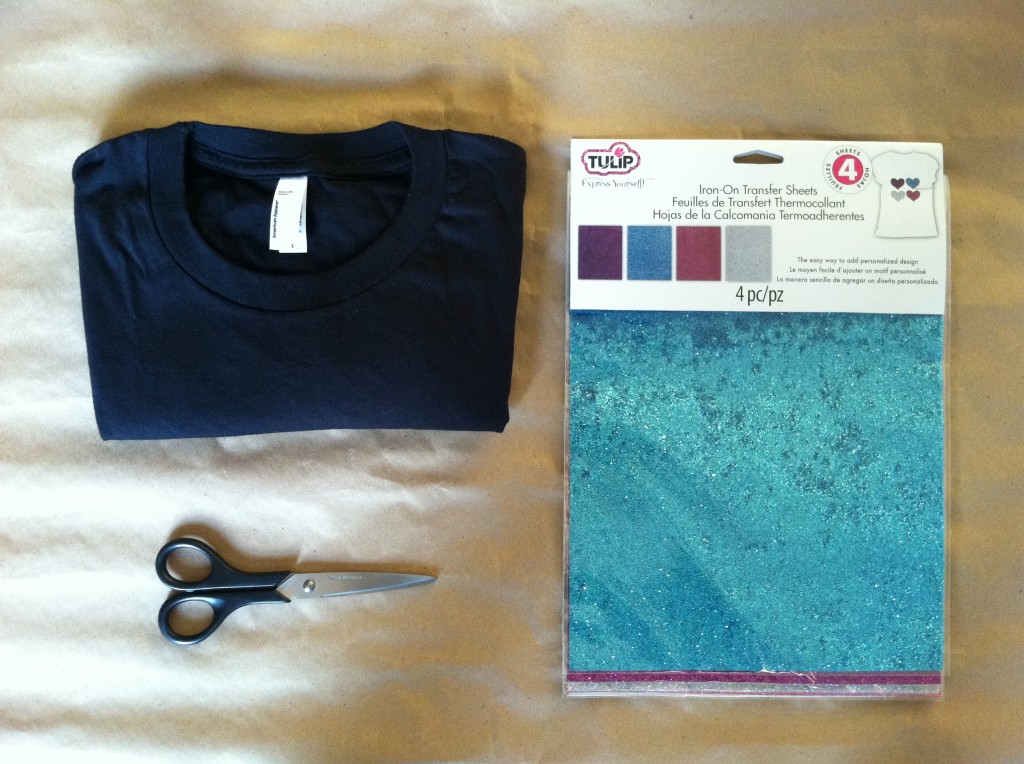
Materials:
-plain T-shirt
Fashion Glitter Iron on Shimmer Sheets
-scissors
-iron and press cloth 

MaterialsA

Make it:
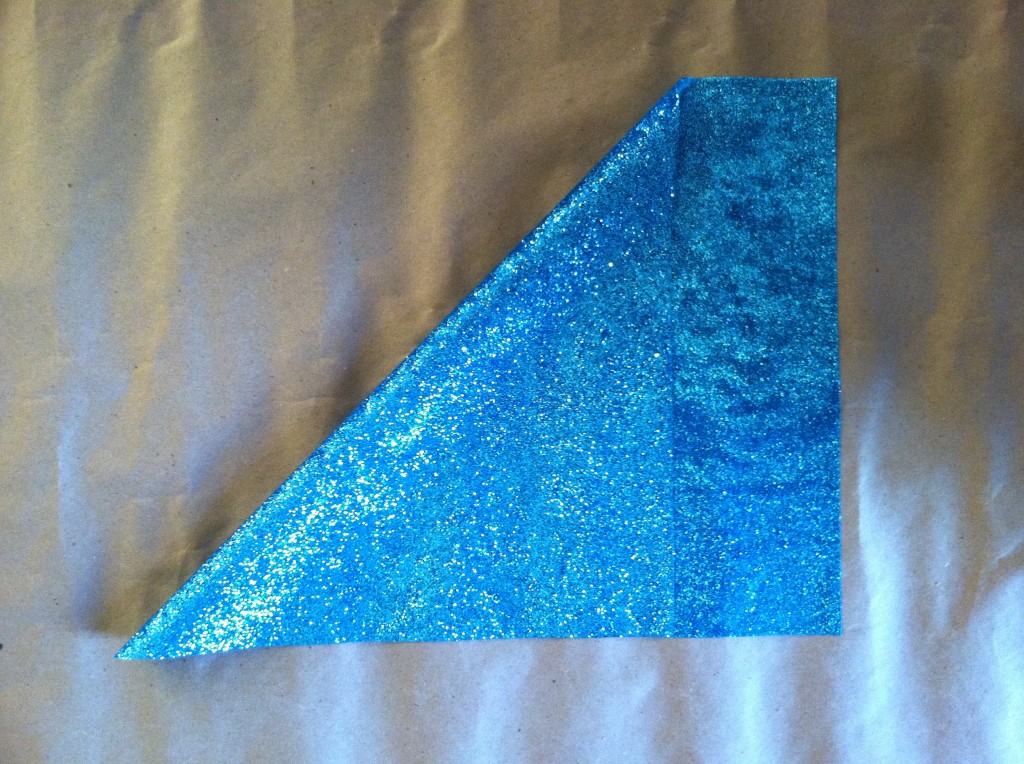
1. Fold one corner of the shimmer sheet down on the diagonal.

Step2

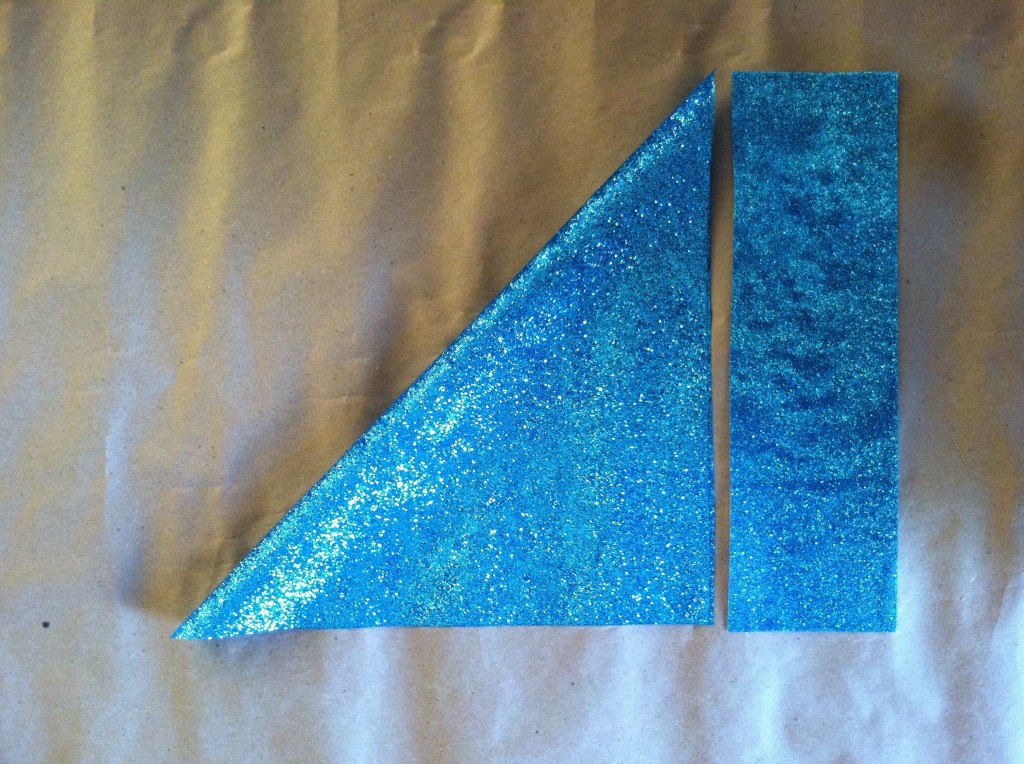
2. Trim the excess to square it off.

Step3

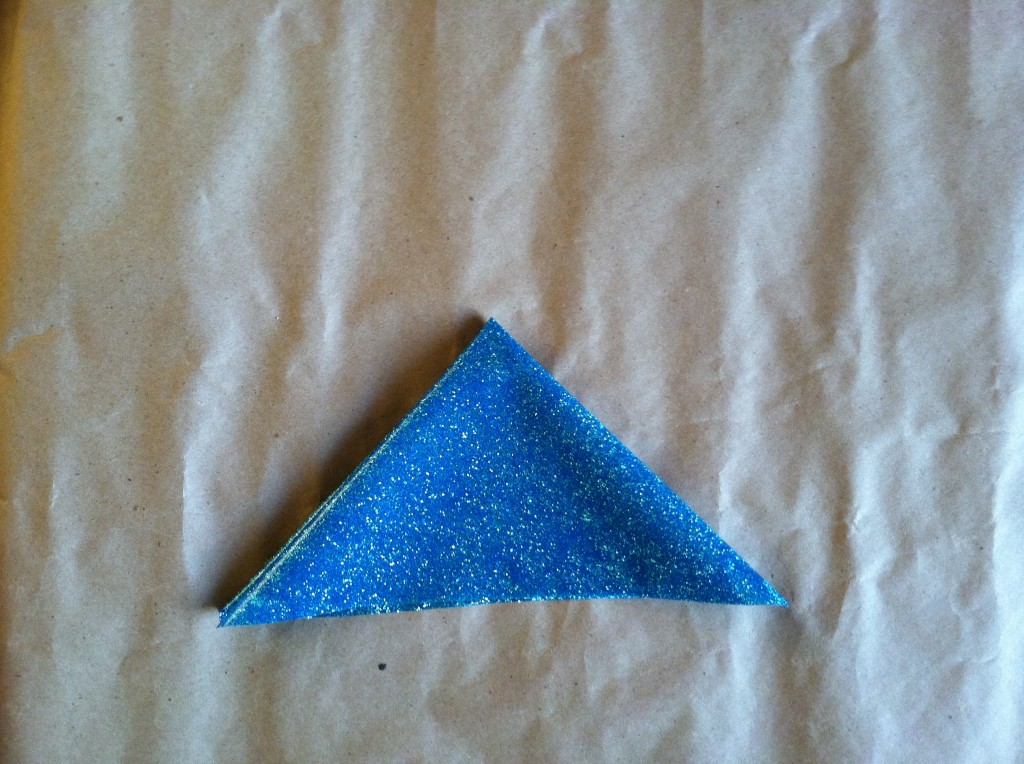
3. Fold the folded triangle in half again.

Step4

4. And in half again.

Step5

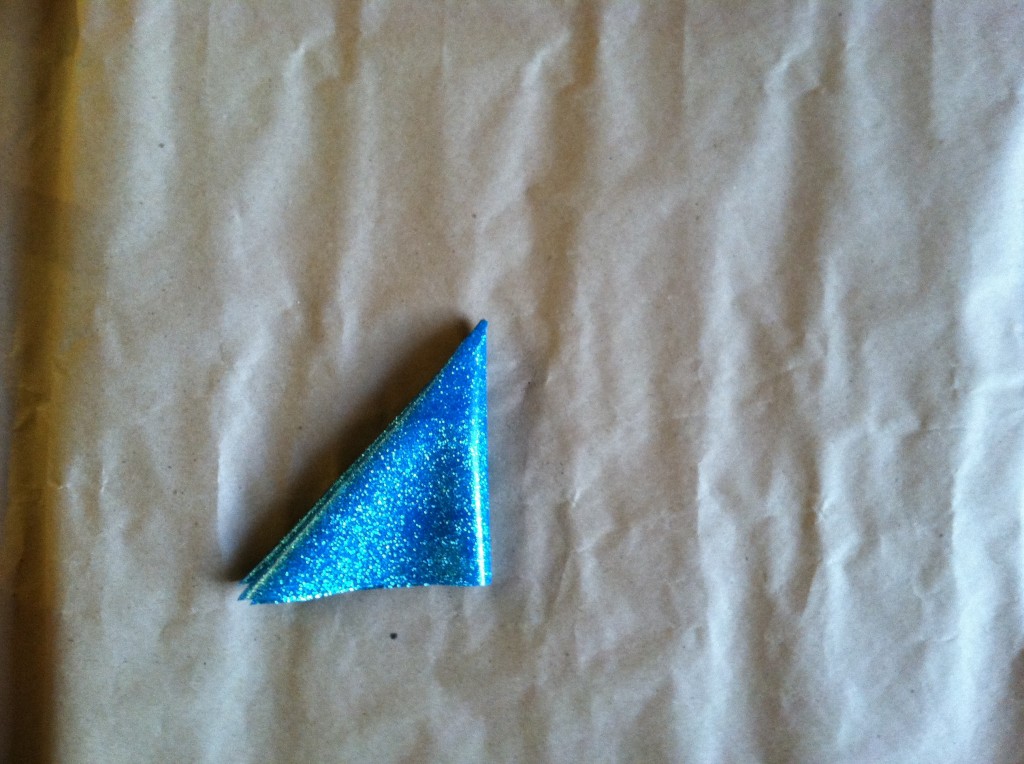
5. And in half one more time.

Step6

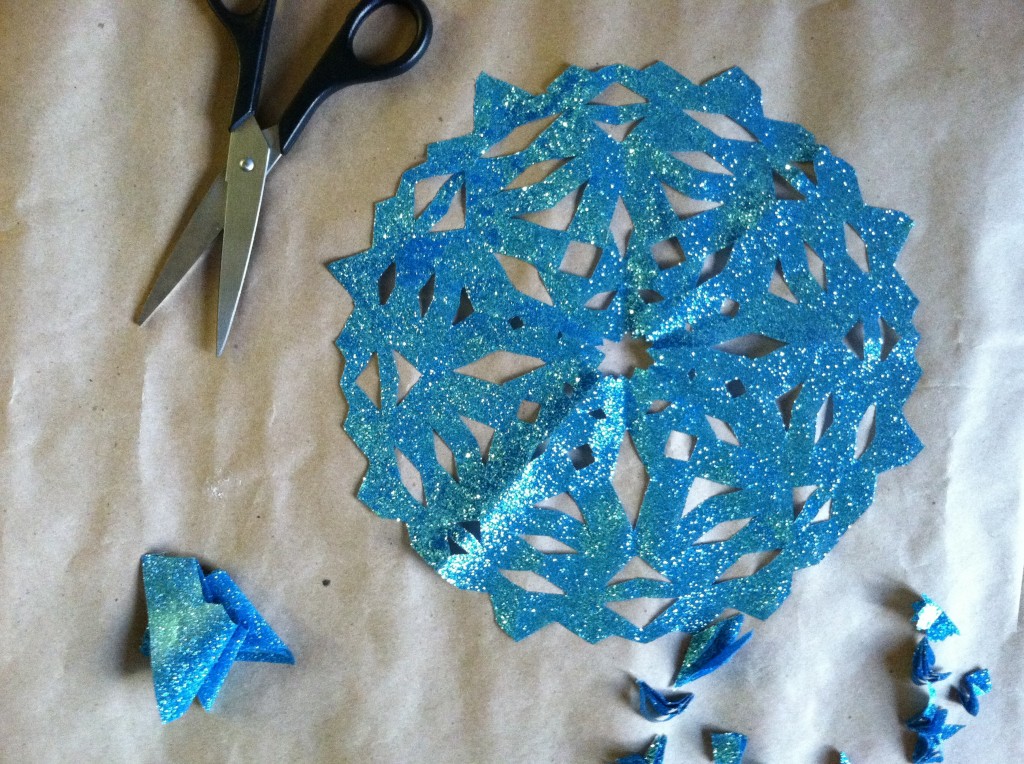
6. Pinch the layers together and cut out shapes from the two folded edges, doing your best to go through ALL layers.

Step7

7. Unfold the snowflake, and tidy up any mismatched cutouts.

Step8

8. Place the snowflake on the T-shirt, plastic side down, and iron it on using a press cloth.

Step9

9. Peel back the press cloth to make sure all edges are stuck. Try it on!

Snowflake T-shirt FinalB generation-t.com

Sparkle Snowflake T-shirt stepsA generation-t.com

[ Comments Off on Sparkle Snowflake T-shirt | Posted on December 23rd, 2014 ]

DIY T-shirt Light Switch

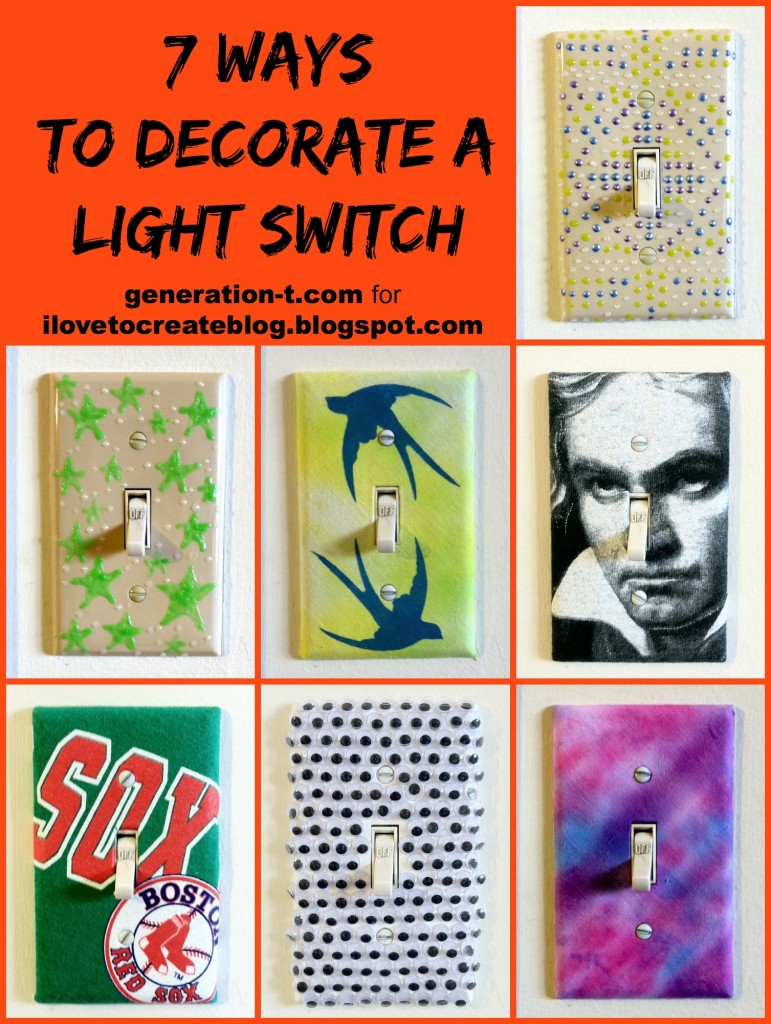
A light switch plate is a pretty sweet blank canvas — small in dimension and fairly low-stakes (in case the creative process doesn’t go as planned). But when it does work, what fun! I started by picking through my T-shirt stash, but ended up far beyond there — click through at the end of the post to see a few other creative switch plate options!

Materials:
-T-shirt with small logo or text
Aleene’s Turbo Tacky Glue
-Blank light switch plate
-Craft knife and cutting mat

Switch tshirt final generation-t.com

megan-nicolay-blog-footer-1

Make it:
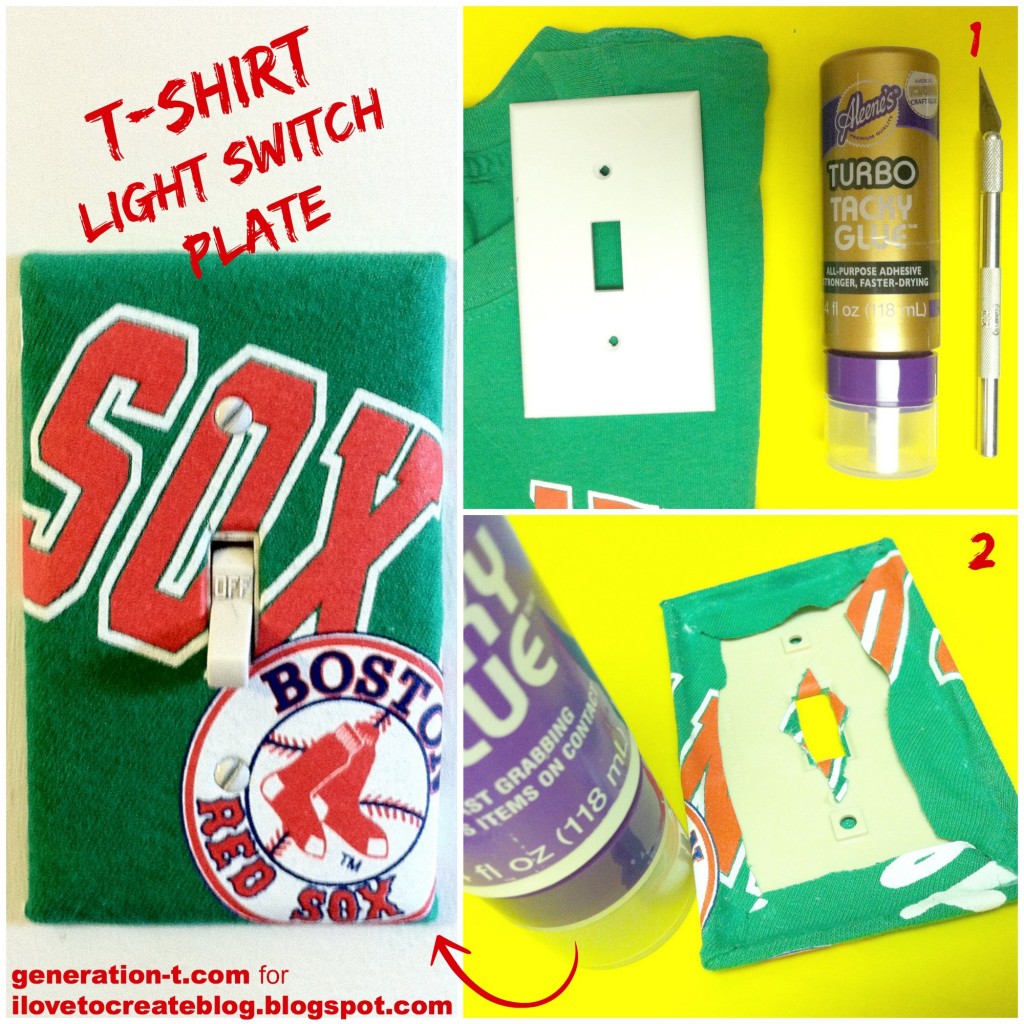
1. Select a T-shirt or T-shirt scrap and loosely cut out the logo portion. (My T-shirt “excerpt” is clearly from a Red Sox shirt — GO SOX!)

2. Apply glue lightly and evenly to the front of the switch plate, and press it down onto the back of the T-shirt fabric, leaving a 1″ margin on all sides. Trim off the corners and cut an X from corner to corner inside the light switch opening. Fold back the edges and fold back the cut triangle pieces in the center and glue.

3. Let dry completely, and attach your T-shirt light switch plate to the nearest light switch!

For 6 More Ways to Decorate a Light Switch Plate, click through to my tutorials over at the iLoveToCreate Blog.

7 ways light switch plate generation-t.comllage

[ Comments Off on DIY T-shirt Light Switch | Posted on October 28th, 2014 ]

How to: No-Sew T-shirt Grocery Tote II

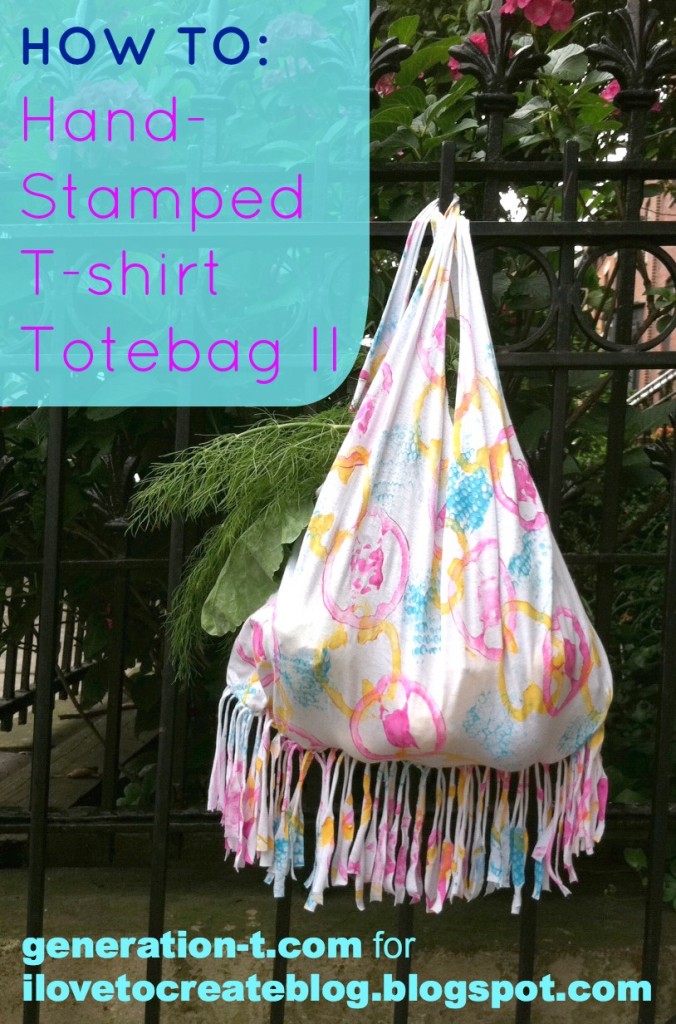
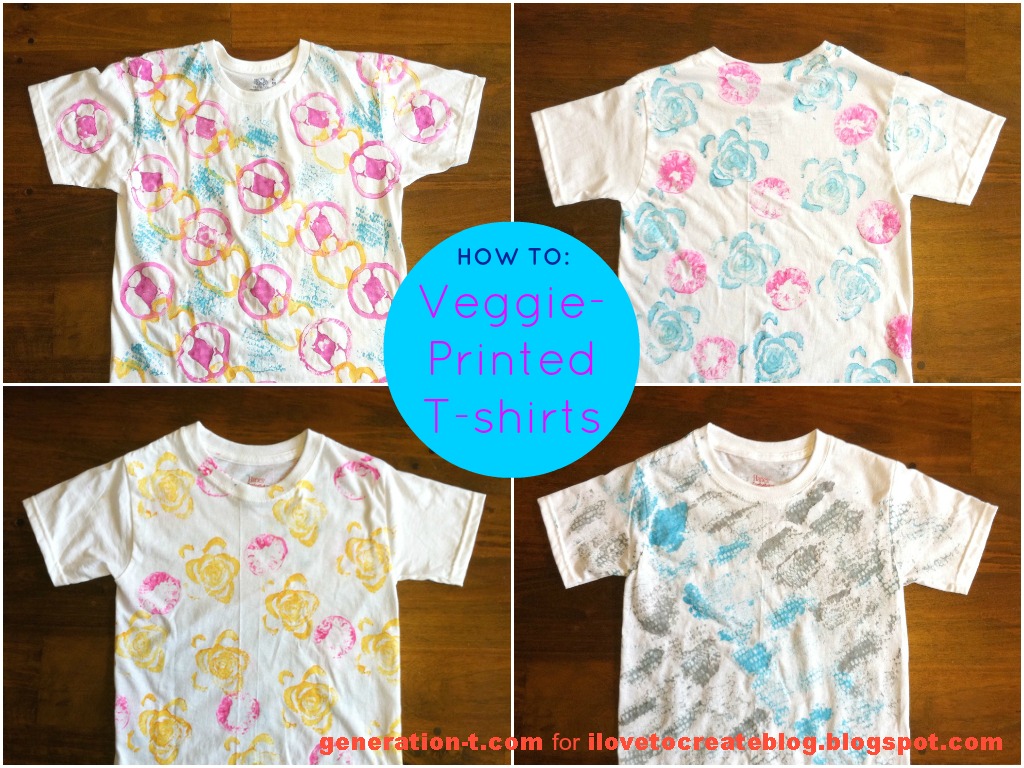
When you’re talking fruit and vegetable stamping, a change of seasonal harvest can herald a whole new palette of patterns and textures with which to print. And with them, a whole new no-sew T-shirt totebag tutorial — this time, with fringe! Before the summer fruits and veggies officially relinquish their harvest reign to the autumn root vegetables (reminder: potato printing=boring!), see what you can scavenge from the last of the September haul to make some colorful T-shirt prints — and a sturdy T-shirt tote to bring to next weekend’s farmers market! Behold, this fall’s hottest accessory (see this summer’s no-sew tote here)….

Materials:
-Plain old T-shirt (I used an adult size M for this particular one)
Tulip Dimensional Paint or Tulip Soft Fabric Paint Tubes
-Plastic container lid(s) to use as a paint palette (check your recycling bin!)
-Half of two bell peppers, corn on the cob, lime, and the end of a celery stalk (to use as stamps)
-Scissors
-Ruler or straightedge
-Scrap paper
-Plastic garbage bag or table cloth to protect your work surface
-Mixing bowl or other round item (to use as a cutting guide)

Make it:
Click through to get the photographic step-by-step tutorial through my newest post for iLoveToCreate Blog. You can print lots of T-shirts…

…and then decide which one(s) you want to turn into a totebag!

The ties to the farmers market run deep for this totebag, but don’t limit its use to produce! I had a student make one of these totes during my artist-in-residency at her school, and she quickly transferred all of her textbooks into it before heading off to her next class. If you tie your knots tightly, this bag will definitely hold up to any combination of weighty tomes, making it a great (if a little late) back to school project. Or…with Halloween around the corner, how about using it as a creative vessel for that delicious candy haul…?

[ 2 Comments | Posted on September 24th, 2013 ]