Posts Tagged ‘no-sew’

No-Sew T-shirt Infinity Top

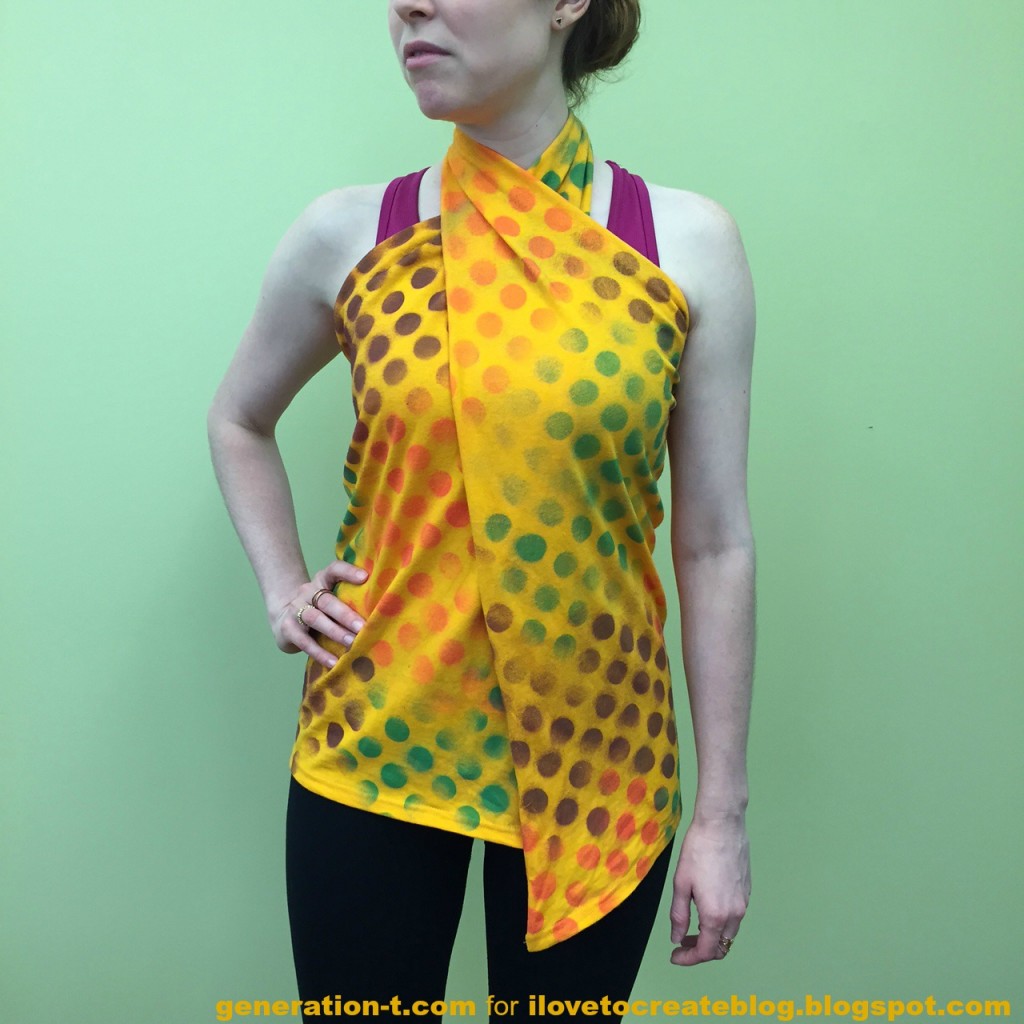
The best thing about T-shirt season? Umm…T-shirts. Here’s a no-sew T-shirt project to help you kick off your totally sweet summer. Punch it up with custom textile designs, and then wear it any way you like — the possibilities are infinite…or nearly!

Tshirt Infinity Top generation-t.commegan-nicolay-blog-footer-1

Materials:
Tulip Color Shot Instant Fabric Color
-Light-colored T-shirt (baggy)
-Stencil (I used a panel from a modular stacking unit that I scored at a stoop sale last spring!)
-Scrap paper or cardboard (to insert between the layers of the T-shirt)
-Fabric scissors

Make it:
Head over to the iLoveToCreate blog for step-by-step instructions for achieving the 4 different looks.

halter look generation-t.com


[ Comments Off on No-Sew T-shirt Infinity Top | Posted on May 27th, 2015 ]

DIY: A Holiday Tree-Shirt!

Coming off Thanksgiving, a holiday that many people abbreviate to “T-Day,” of course makes me think of T-shirts….and how EVERY DAY is Tee Day! So, move over scratchy holiday sweater. Here’s a simple, no-sew holiday T-shirt (ahem, tree-shirt) that I designed as part of Homemade Holiday 101 (#homemade101). It combines techniques from the Brokenhearted tee in Generation T (project #2) and Back in Action tee in Generation T: Beyond Fashion (project #101).

Holiday Tree-Shirt finish generation-t.com

(OH, and…CLICK THROUGH TO HOMEMADE HOLIDAY 101 where the Generation T and Generation T: Beyond Fashion ebooks are on sale for $2.99 for a limited time!)

homemadeholiday101logo

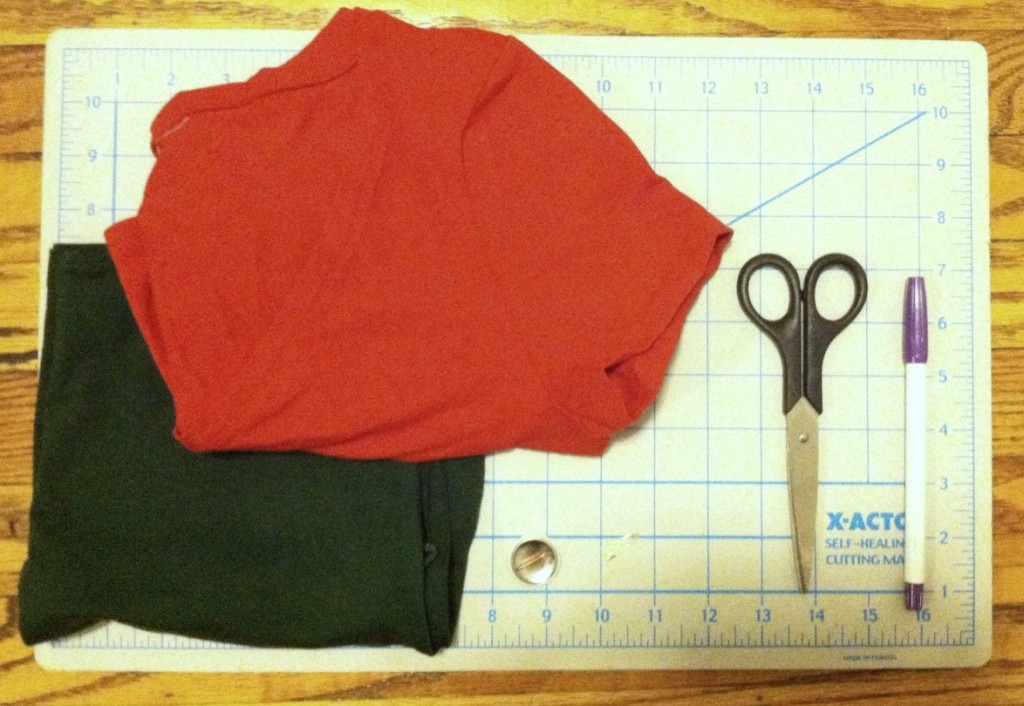
Materials:
-Red fitted T-shirt (mine has a small percentage Lycra)
-Green fitted tank top (or similar, to layer underneath)
-Disappearing ink fabric marker or fabric chalk marker
-Ruler/ straightedge
-Fabric scissors
-Safety pin or 1″ round pin

holiday shirt materials generation-t.com

Make it:

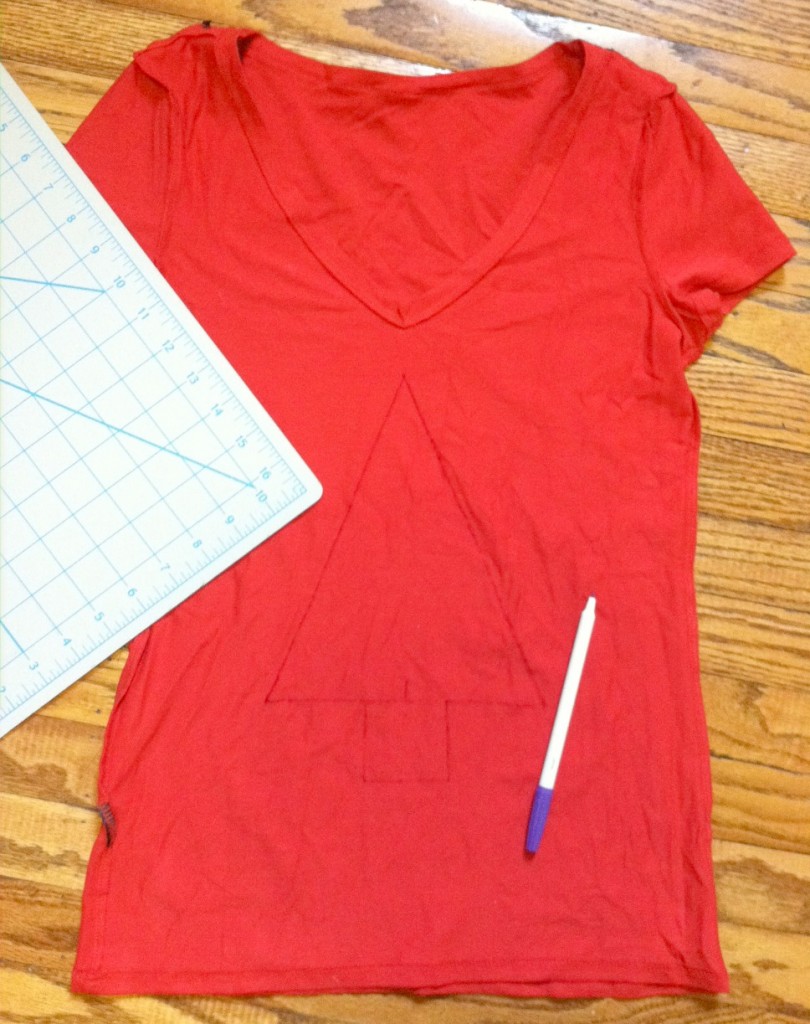
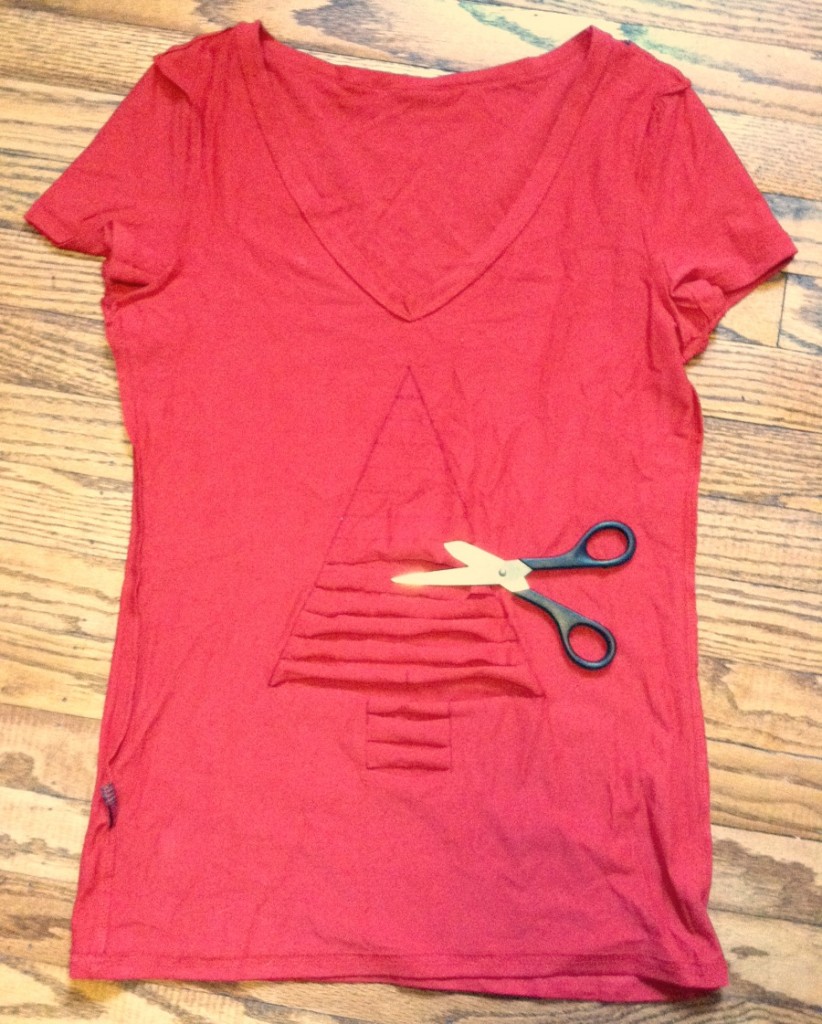
1. Turn the T-shirt inside out and, using the straightedge, draw an isosceles triangle with a small rectangle at the bottom (aka, a simplified evergreen tree shape). My tree is about 7″ across at its widest.

holiday shirt 1 generation-t

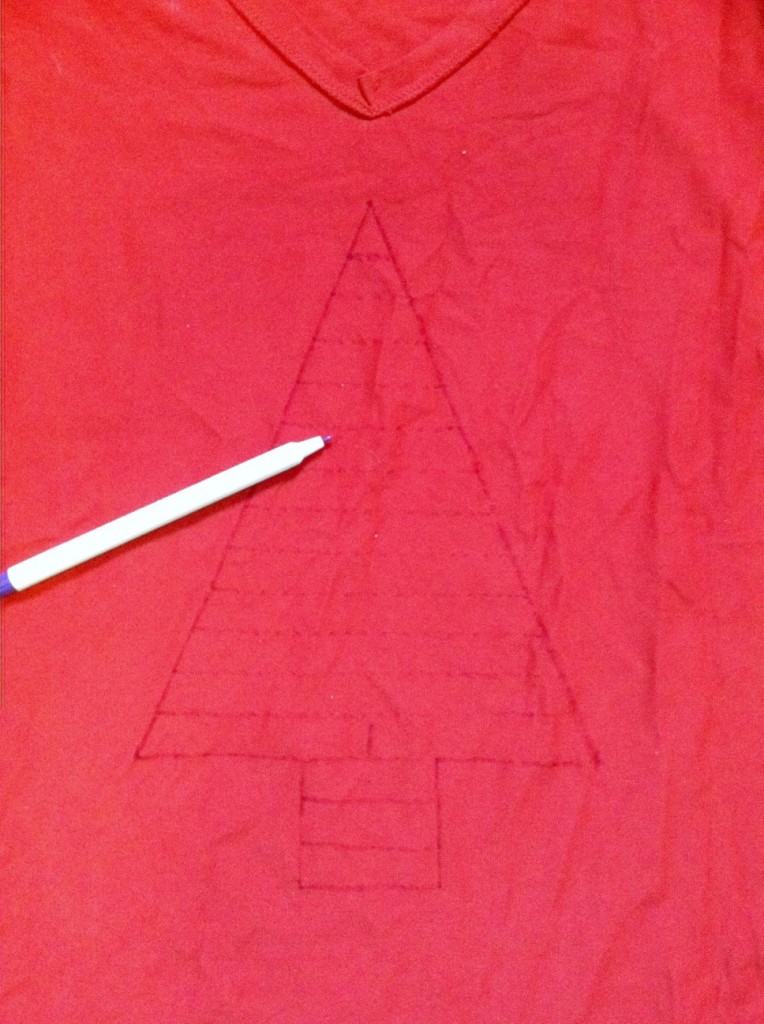
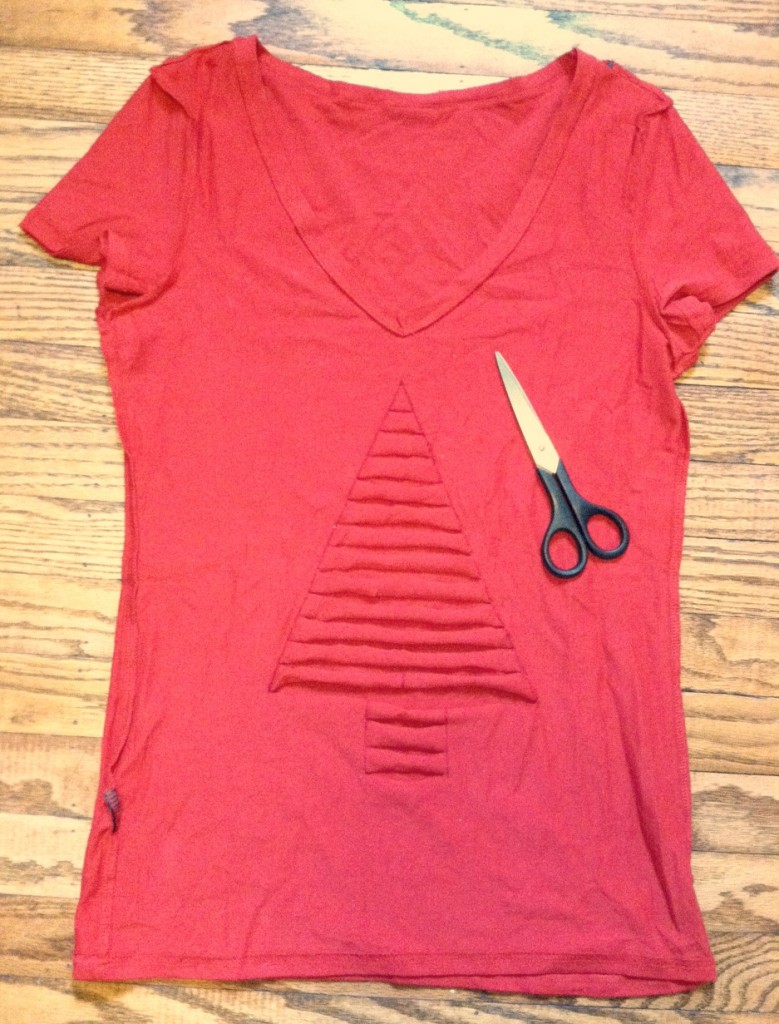
2. Use the straightedge again to mark horizontal lines from the base of the tree to the top, about 1/2″ to 3/4″ apart.

holiday shirt 3 generation-t.com

3. Cut along the horizontal lines only, making sure to cut through only the top layer of the shirt.

holiday shirt 5 generation-t.com

4. Cut all the way to the top, making a small snip (about 1/4″) at the peak of the tree. Tug gently at the sides of your T-shirt to stretch out the strips (so they curl a little).

holiday shirt 6 generation-t.com

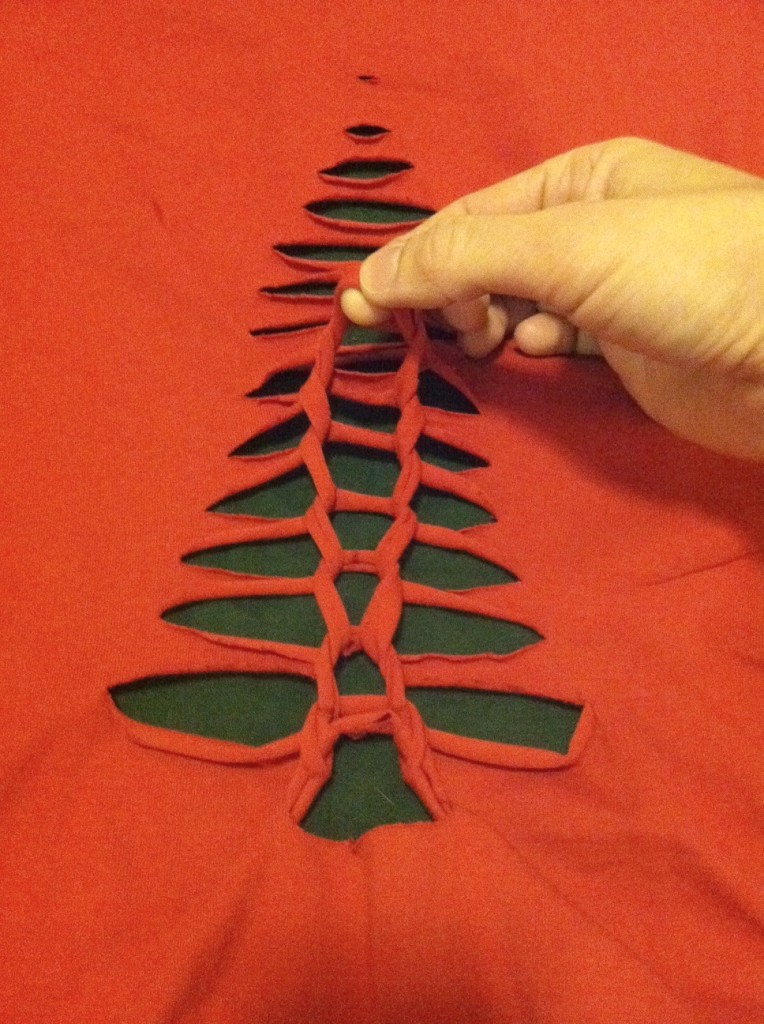
5. Turn the T-shirt right side out, and layer the green tank top underneath so you can see the shape of the tree clearly. You can stop right here and have a terrific-looking slashed tee, but forge on for another minute to get the woven effect: Take the first two strips at the trunk of your tree and loop strip #2 under strip #1. Drop strip #1. Then loop strip #3 under strip #2, dropping strip #2. And so on…

holiday shirt 8 generation-t.com

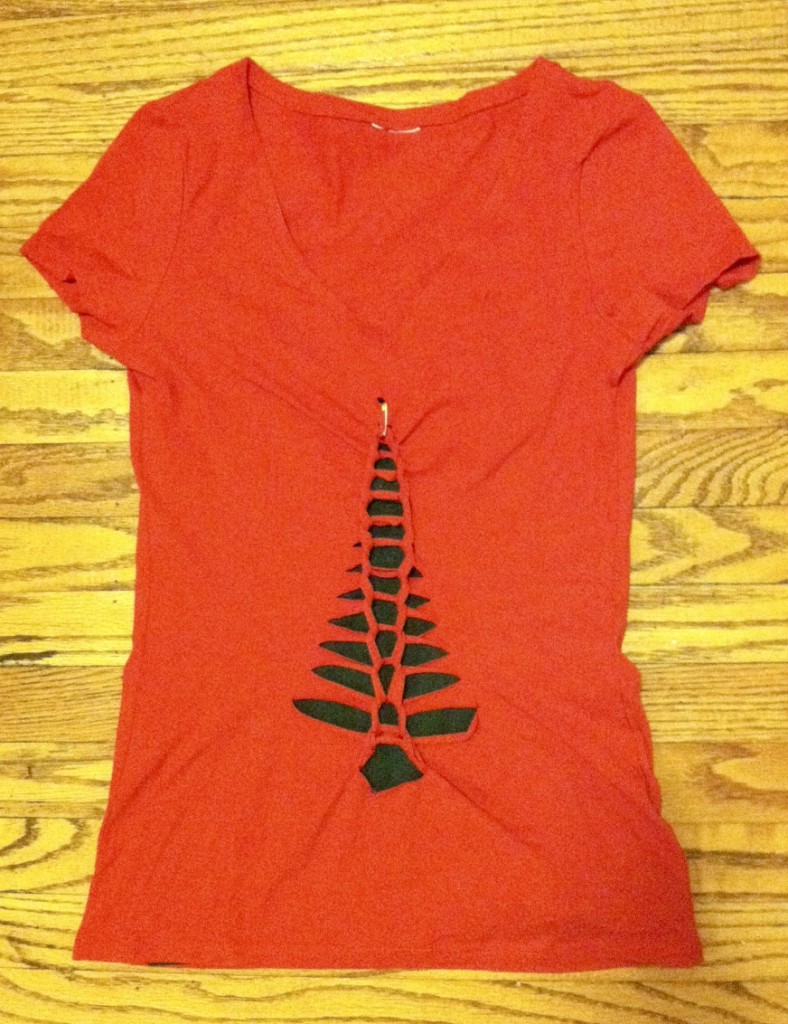
6. …to the top! Safety pin the second-to-last loop through the top snip. Tuck the safety pin inside so it shows less, or embrace the shiny bit of sparkle. Or, for a little more flair, trim your tree with a personalized 1″ round pin (replacing the safety pin).

holiday shirt finish generation-t.com

7. Try it on. Then….Go sing carols! Bake cookies! Replace the safety pin at the top with a sparkly brooch so you have a shining star up on the highest bow!

Holiday Tree-Shirt finish 3 generation-t.com

homemadeholiday101logo

[ 5 Comments | Posted on December 2nd, 2013 ]

Tee Party at Little Joe’s Books

Thank you to everyone who came out to refashion T-shirts at the Tee Party at Little Joe’s Books last month! We had tons of fun and created all sorts of T-shirt wonder. The Outer Lace tank top design from Generation T (project #16) made a few appearances, including a variation with laces going up the arms of the three-quarter length sleeves! So did the Back in Action T-shirt from Generation T: Beyond Fashion (project #101) — plus some freestylin’ hats and gloves and no-sew tote bags, using techniques learned from previous projects.

Little Joes Books Tee Party generation-t.com

There’s nothing I love more than a cozy crafternoon all spread out on the floor. Thanks to Jen Cook of Little Joe’s Books for having me at her store for a few hours. Part-tee on!

[ Comments Off on Tee Party at Little Joe’s Books | Posted on November 22nd, 2013 ]

How to: No-Sew T-shirt Grocery Tote II

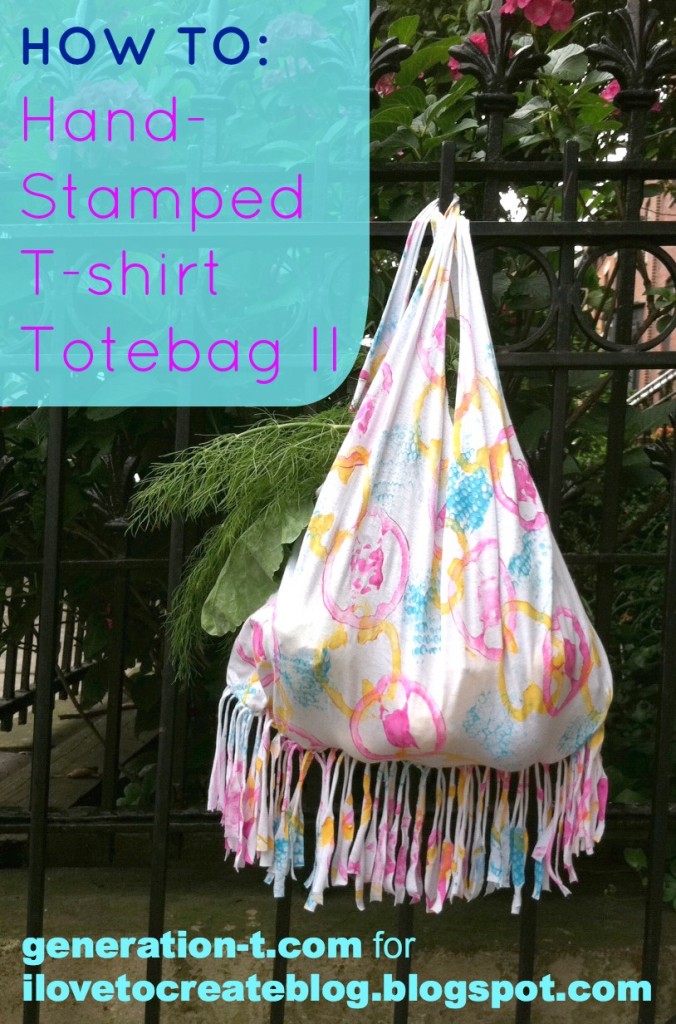
When you’re talking fruit and vegetable stamping, a change of seasonal harvest can herald a whole new palette of patterns and textures with which to print. And with them, a whole new no-sew T-shirt totebag tutorial — this time, with fringe! Before the summer fruits and veggies officially relinquish their harvest reign to the autumn root vegetables (reminder: potato printing=boring!), see what you can scavenge from the last of the September haul to make some colorful T-shirt prints — and a sturdy T-shirt tote to bring to next weekend’s farmers market! Behold, this fall’s hottest accessory (see this summer’s no-sew tote here)….

Materials:
-Plain old T-shirt (I used an adult size M for this particular one)
Tulip Dimensional Paint or Tulip Soft Fabric Paint Tubes
-Plastic container lid(s) to use as a paint palette (check your recycling bin!)
-Half of two bell peppers, corn on the cob, lime, and the end of a celery stalk (to use as stamps)
-Scissors
-Ruler or straightedge
-Scrap paper
-Plastic garbage bag or table cloth to protect your work surface
-Mixing bowl or other round item (to use as a cutting guide)

Make it:
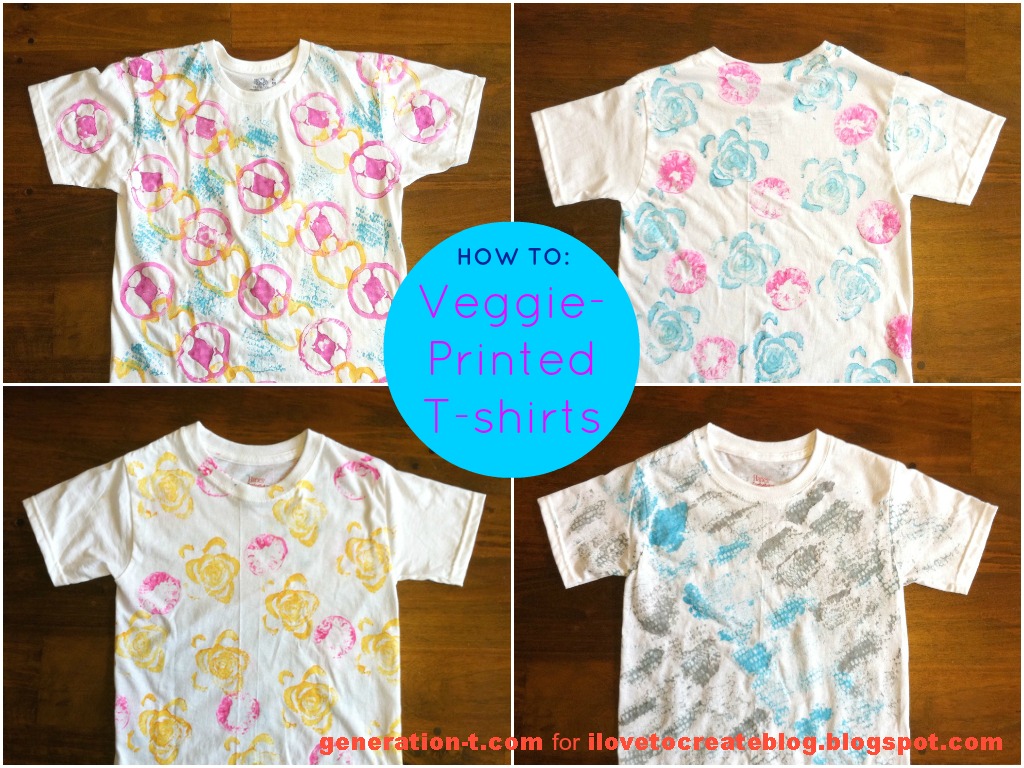
Click through to get the photographic step-by-step tutorial through my newest post for iLoveToCreate Blog. You can print lots of T-shirts…

…and then decide which one(s) you want to turn into a totebag!

The ties to the farmers market run deep for this totebag, but don’t limit its use to produce! I had a student make one of these totes during my artist-in-residency at her school, and she quickly transferred all of her textbooks into it before heading off to her next class. If you tie your knots tightly, this bag will definitely hold up to any combination of weighty tomes, making it a great (if a little late) back to school project. Or…with Halloween around the corner, how about using it as a creative vessel for that delicious candy haul…?

[ 2 Comments | Posted on September 24th, 2013 ]

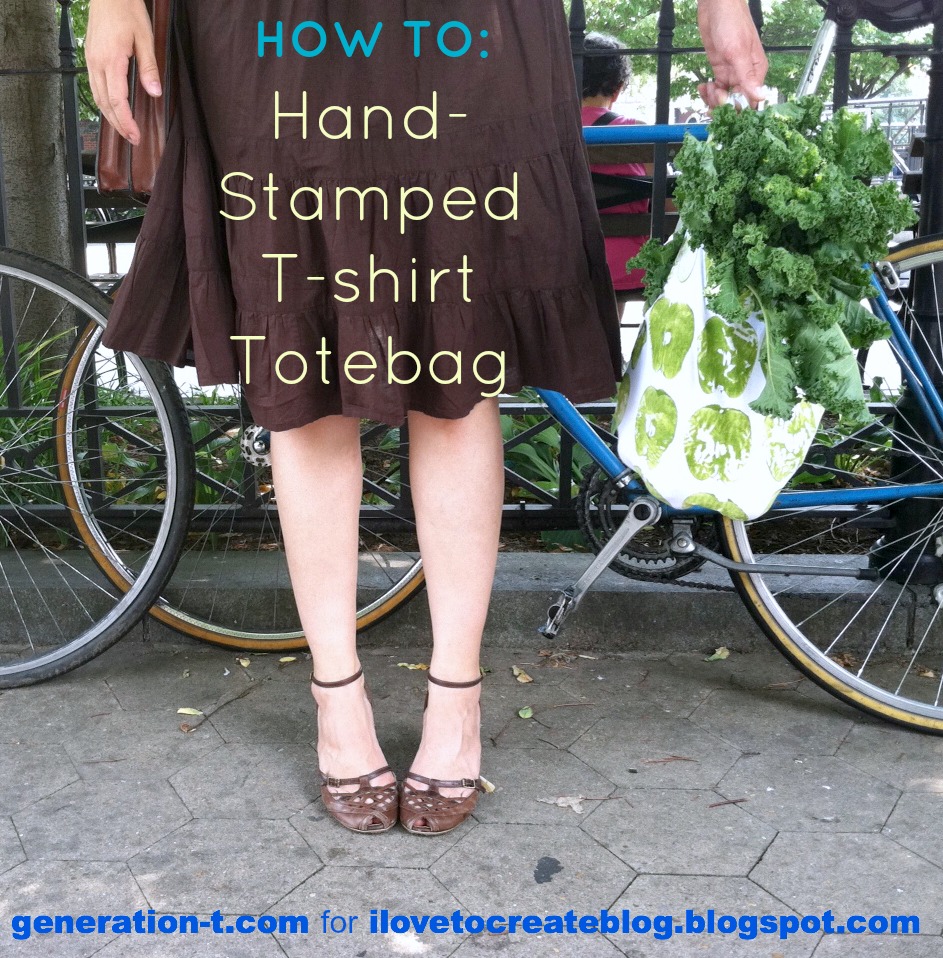
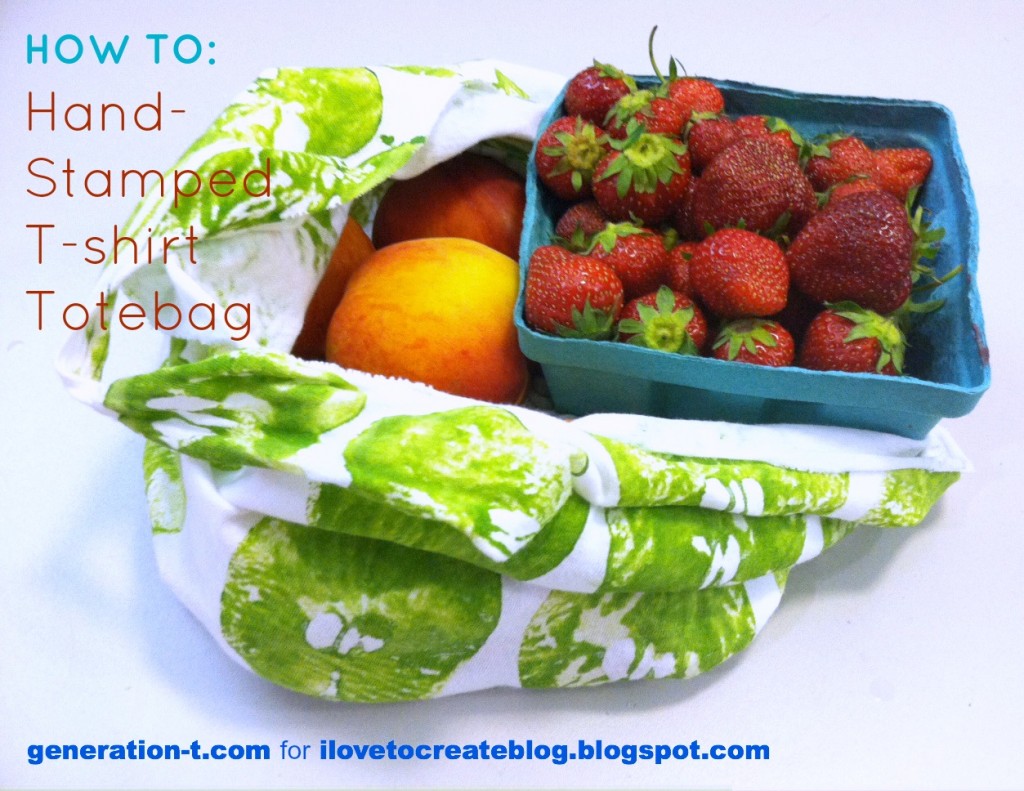
How to: No-Sew T-shirt Grocery Tote!

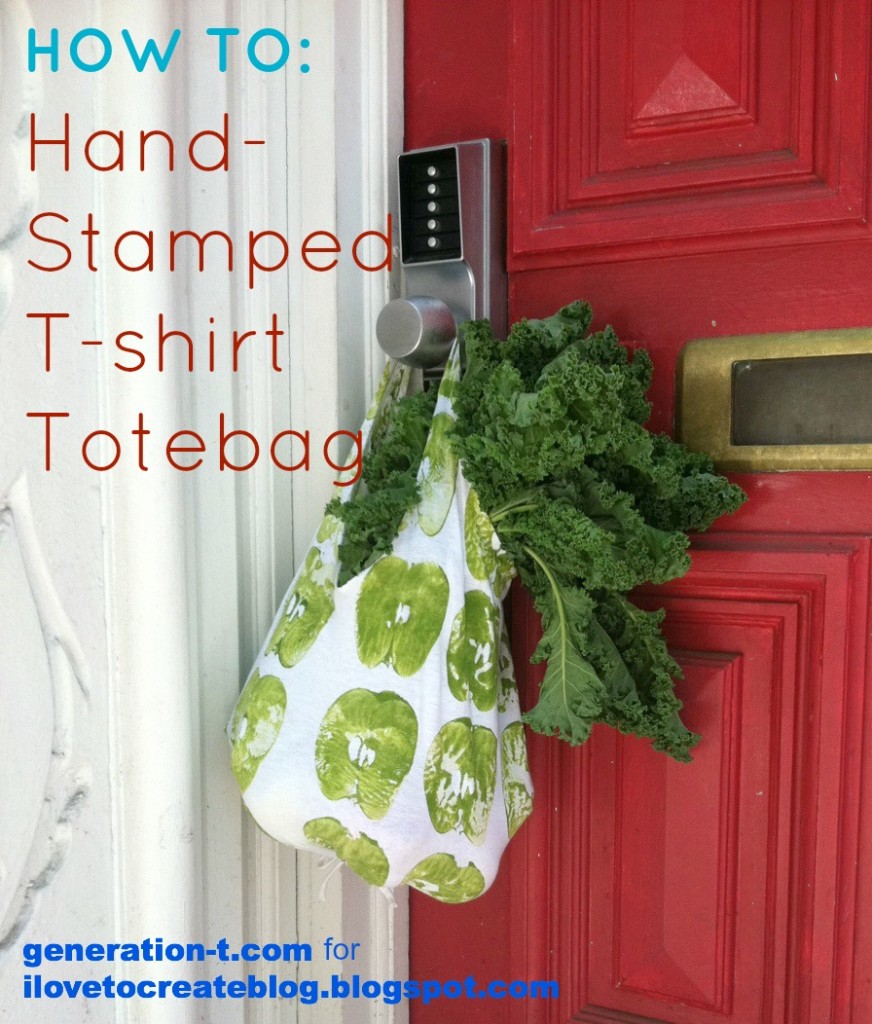
Move over potato stamping! There are some other fruits and veggies that want in on the action. Printing with fruits and veggies is nothing new — but when applied to a grocery or green market bag, you get a tote that forecasts what should go inside (apples, onions, peppers, celery, corn…). Not to mention, you can construct this sturdy bag from an old T-shirt without sewing–a single safety pin is the closest you’ll get to any specialty tools. I worked out the bag particulars while I was in residency at a workshop up in NH (I’ve since discovered a great tutorial for a very similar technique by Lee Meredith over at Leethal.net, which I imagine works particularly well for larger T-shirts, where the bottom bunching can be redistributed between several gathers). And I was inspired to use an apple after seeing Kayte Terry’s lovely apple-printed tote (I wish my apple had had a stem on it!).

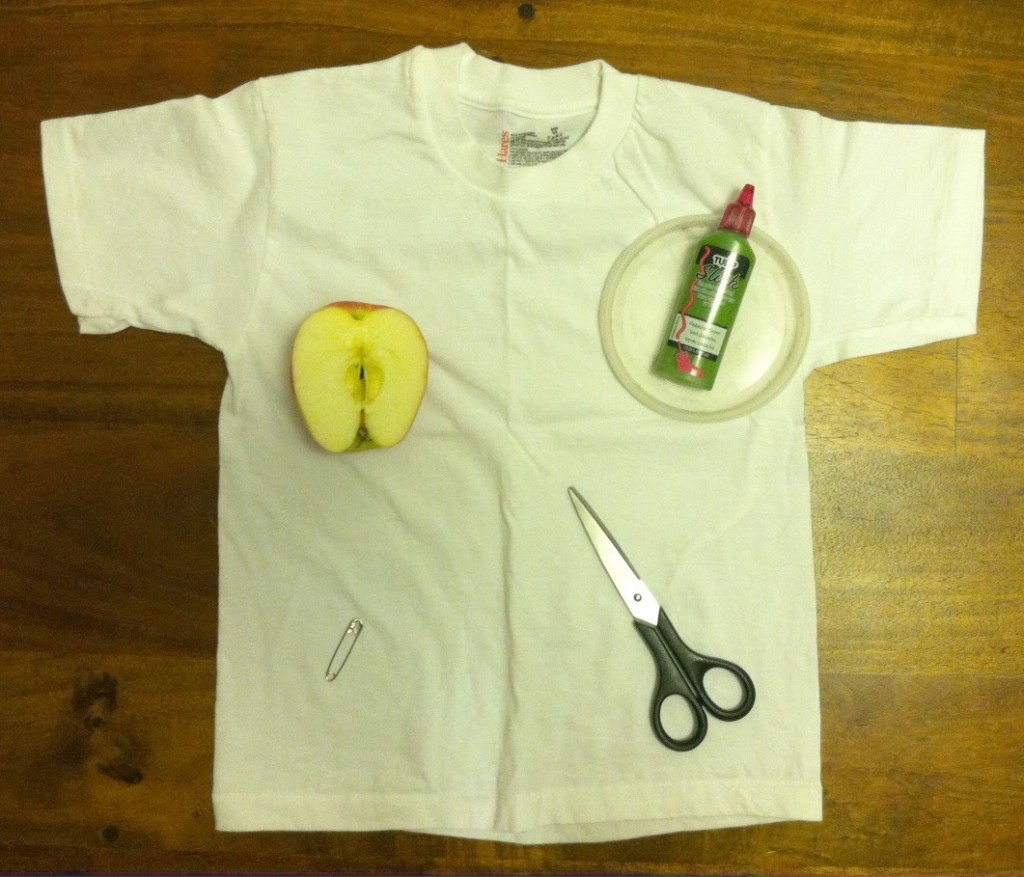
Materials:
-Plain old T-shirt (I used a kid’s size 6-8 for this particular one)
Tulip Dimensional Paint or Tulip Soft Fabric Paint Tubes
-Plastic lid to use as a paint palette
-Half an apple (or bell pepper, or onion, or…) to use as a stamp
-Scissors
-Safety pin
-Scrap paper (optional)

Make it:

Head on over to iLoveToCreate blog for the complete step-by-step tutorial! You’ll be ready to hit the farmer’s market (or beach! or park!) in no time.

And don’t forget to share your bounty!

Stay tuned: Another veggie-printed, no-sew tote bag tutorial is coming your way right here on Generation T next week!

[ 1 Comment | Posted on June 25th, 2013 ]

From Our Readers: Maria & Franz!

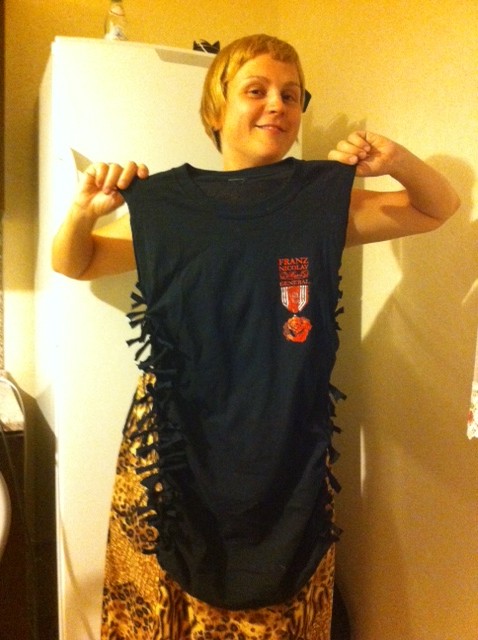
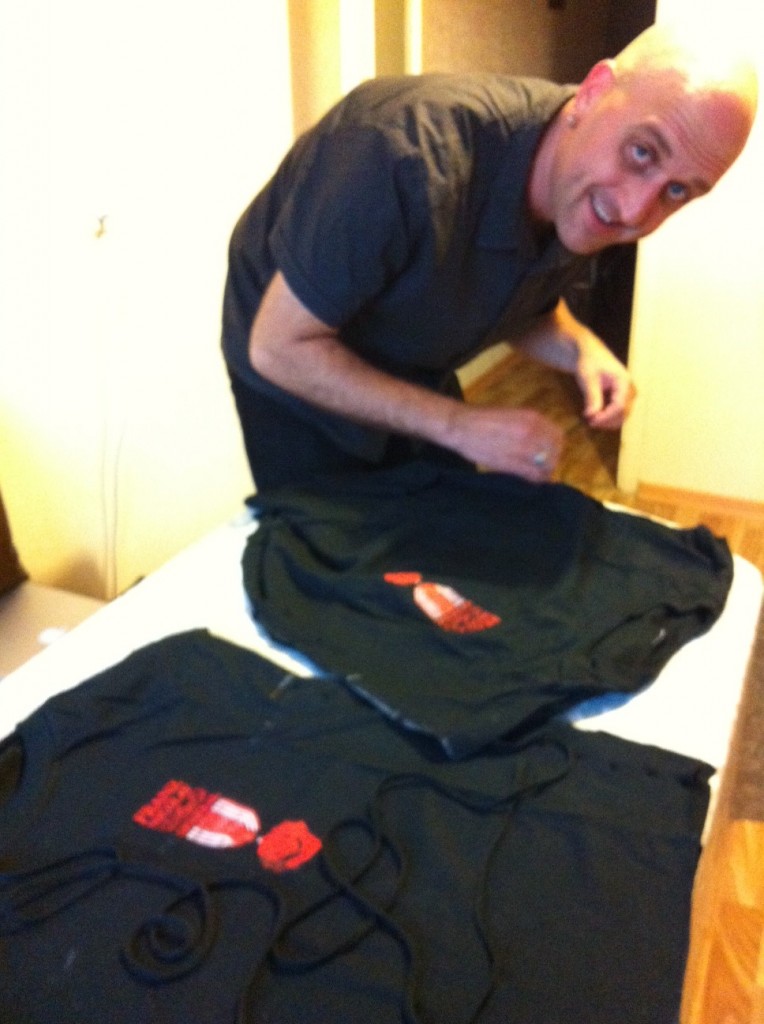
Earlier this summer, I got an email from my brother and sister-in-law with the subject line “T-shirt Guru, Help!” Maria and Franz are two musicians on an adventure along the Trans-Siberian Railway. Like any good musicians, they travel with merch, and like any good merch-peddlers, they run out of stuff fast. So they were down to two XXL T-shirts and quickly discovered that their fans were tending to come in smaller sizes. Maria writes…

“Franz and I have two XXL T-shirts left of one design and people much smaller than XXL keep expressing interest, but then balk at the size. We have a long train ride coming up, so I started thinking about trying to convert the shirts into cute, cut-up T-shirts. My sewing abilities and supplies are limited, but we’ve got decent scissors, safety pins, and a travel sewing kit. Can you recommend an easy-ish pattern that we could sell to a punky Russian girl?”

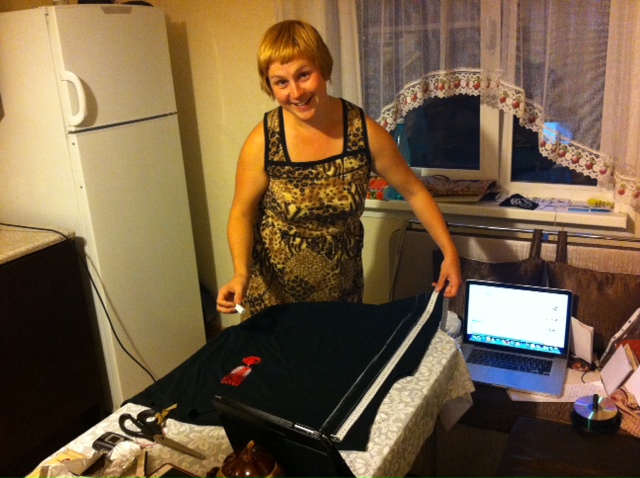
How could I ignore such a request? A few cross-continent consultation emails later, Maria and Franz had set up shop: They’d been crashing with some cute punk gals in the outer boroughs of St. Petersburg, and set up a workspace on their kitchen table. Armed with a pair of scissors, and that travel sewing kit, they set to work transforming their merch. Measuring and marking…

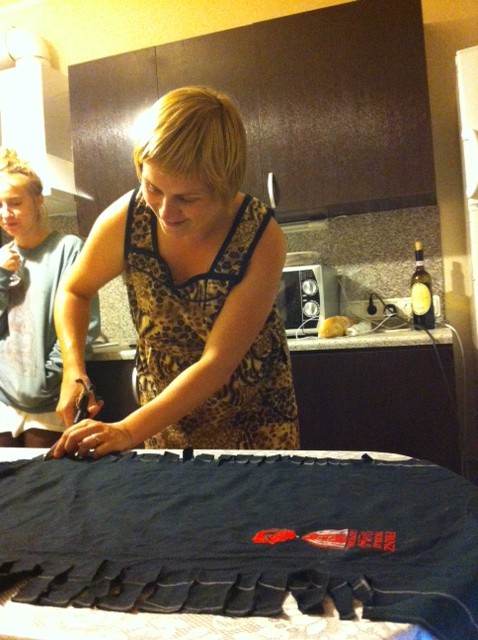
Cutting…

And knotting. Ta-da! It’s the “Knot So Fast” (project #104) tank top from Generation T: Beyond Fashion.

Sveta, one of the aforementioned cute punk girls who was looking on, was suspicious of all the scissor activity, but once she tried on the completed result, she asked if she could keep it, so, it seemed to be working. Nothing like converting a skeptic!

Then it was time to tackle “Outer Lace” (project #16) from Generation T.

And then they set off in search of one of the Russian editions of the two books, should any additional emerchencies arise.

UPDATE from the road: “We just sold the last of our Generation T-styled Franz Nicolay shirts to the fashionable women of Orenburg Russia. Thanks for the designs!”

[ Comments Off on From Our Readers: Maria & Franz! | Posted on September 14th, 2012 ]

I Love to Create: Easy Breezy Heat Wave Tee

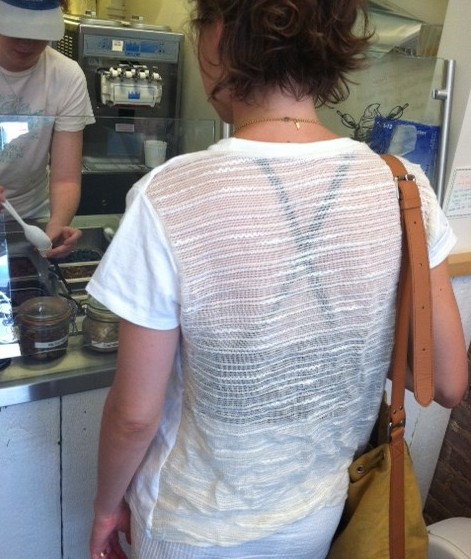
This design falls into the category of fashion as necessity: When temperatures push 90 and 100 degrees, there’s little else you want to wear besides a T-shirt. But even a tee can seem stifling when you add humidity to the mix. Here’s a T-shirt hack that’s meant to keep the air circulating–it features a cut-out back and a looser fit. (Of course, a trip to the local ice cream haunt doesn’t hurt the cooling plan either!)
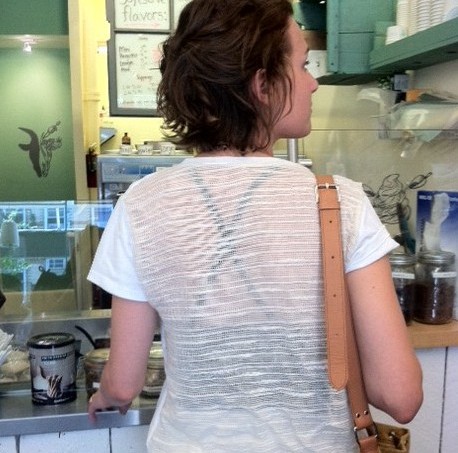
I encourage you to dig into your fabric stash to find an unlikely contender for the fabric insert on this one. The fabric I used was originally purchased by my brother from a discount bin to use as a bed skirt. I inherited it when he moved, and my mom and I made curtains to filter the light in my apartment. Now the remnants have been reincarnated as part of this heat-beating T-shirt. What a life cycle! Tip: Check the give of your fabric–you shouldn’t have to worry too much about working on the bias (the diagonal of the fabric) since the rest of the T-shirt will have plenty of stretch, but consider your layout before you cut!

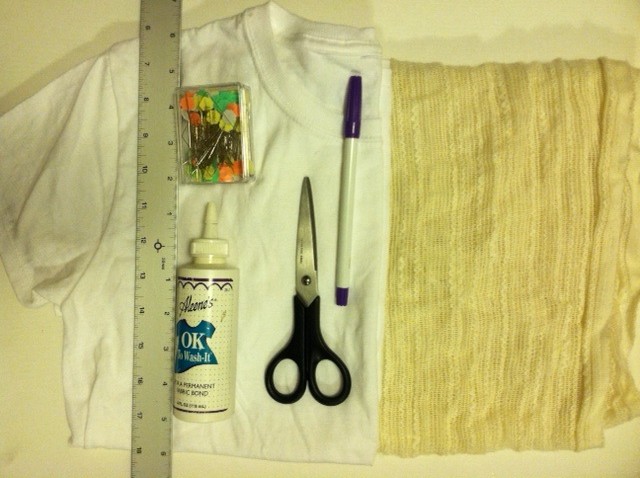
Materials:
-regular fit T-shirt
-fabric scissors
disappearing ink pen
-ruler
-straight pins (optional)
Aleene’s OK Wash-It fabric adhesive (or a sewing machine and thread to match your fabric)
Make it:

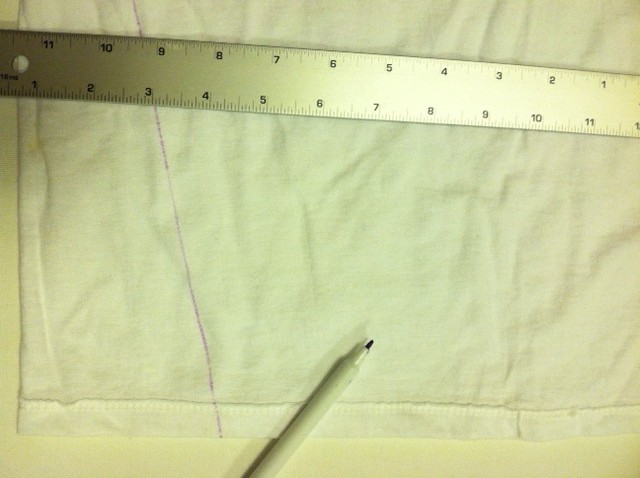
1. Turn the T-shirt inside out and lay it face down. Measure and mark about 3 1/2″ to 4″ in from either edge along the hem. Then draw a straight line from each mark to its adjacent sleeve (at the armpit).
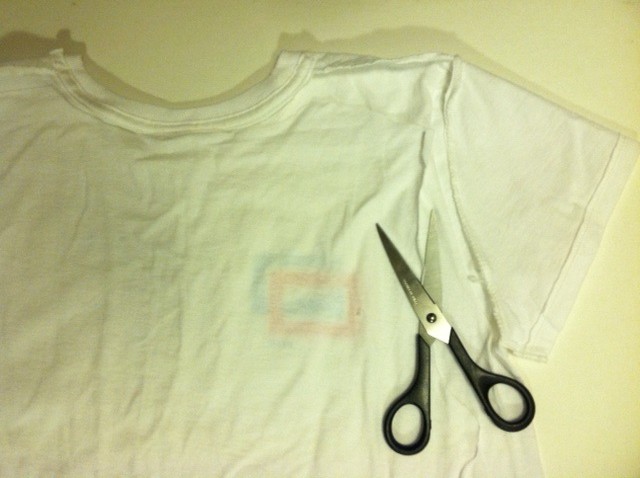
2. Cut along that line through only the back layer. Continue cutting around the sleeve, just inside the seam (again, through only the back layer), along the top shoulder seam, and along the back of the neckband. Continue cutting until the back panel of the shirt can be removed. Set the front of the shirt aside momentarily.
3. Lining up the bottom edges of the fabric pieces, lay the back panel of the T-shirt over the backing fabric and trace the panel, extending the shape on either side to accommodate for the 3 1/2″ to 4″ wedge that was cut away. (The extra fabric will help create the flare.) Cut out the shape from the backing fabric.
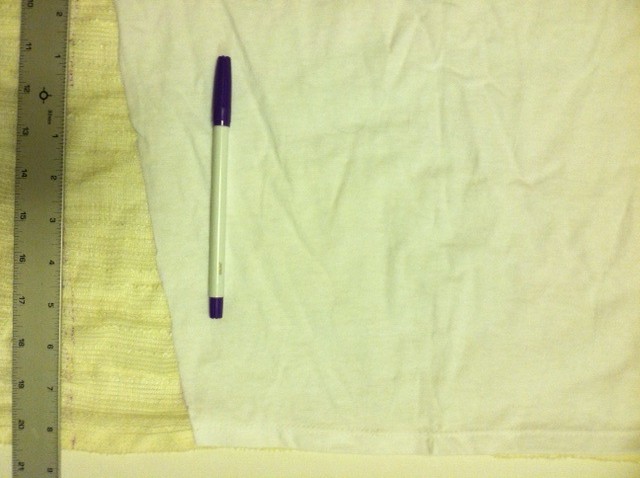
4. Lay the fabric against the front piece of the T-shirt so that the edges of the two pieces line up, right sides together. Use the permanent fabric adhesive to glue the inside edges together. Optional: Use straight pins to hold the fabric edges in place before you glue.)

5. Ease the edges together, pinching and pressing them in place. Then let dry completely.

6. Turn the tee right side out and touch up any gaps along the seams.

7. Layer the tee over a thin tank top if you’re feeling demure, or be bold by wearing a colorful, barely there undergarment (the point is to limit the layers of fabric on the skin after all!).
Variations:
-Replace a panel along the top of the sleeve as well.
-Replace a smaller panel in the back of the T-shirt with a cotton crocheted doily.
-Make the flare more exaggerated and fluttery.
-Experiment with different fabrics (silk scarf, old mesh sports jersey, a linen table cloth).

Next up? Though I quite like the subtle contrast in whites (the stark cream with the more ivory gauze), I’m going to experiment with dye the next time I make this design!


[ 4 Comments | Posted on July 24th, 2012 ]

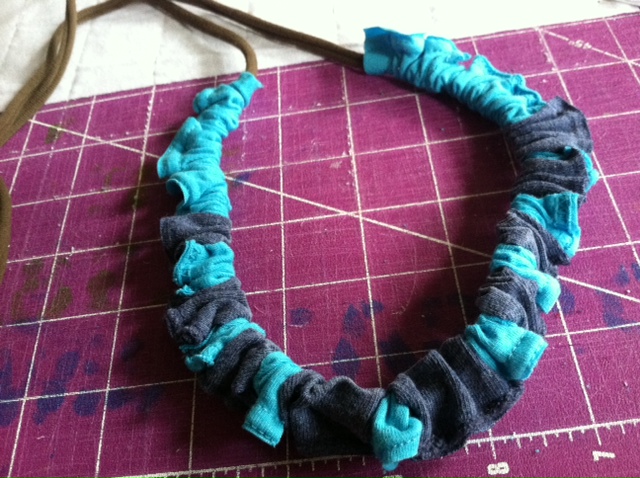
How to: T-shirt Scrunchie Necklace

Last week, I posted a tutorial for making a statement necklace using T-shirt scraps. This week, we’re making a necklace using the scraps leftover from that necklace. It’s worth keeping in mind that you can construct and wear this necklace in about two minutes — seriously! Now that is a statement.

Materials:
-Scrap hems (or scrap sleeve seams) from 2-3 T-shirts
-Safety pin or paperclip
-Fabric scissors

Make it:
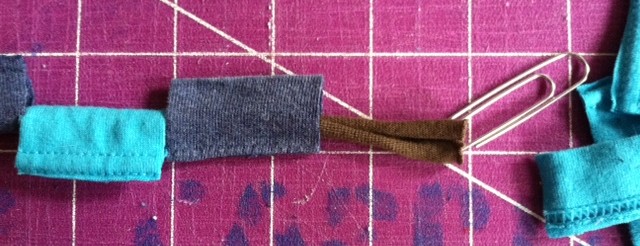
1. Trim the stitching off one of the T-shirt hems and stretch it out to create a long T-shirt cord. Attach a safety pin (all I had on hand was a paperclip, which worked fine!) to one end. Collect all the hem pieces left over from cutting the rectangles needed to make the T-shirt Confetti Necklace (a byproduct of step 1, the hem pieces should be about 1 1/2″ long, with the stitching still in place). There should be a hollow space through the center, making it, essentially, a soft bead.

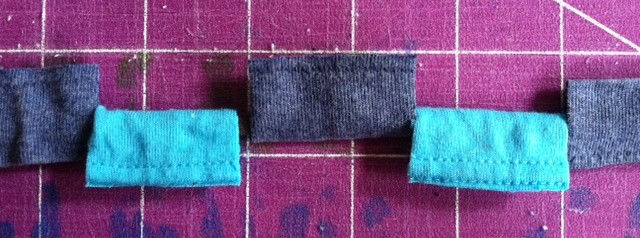
2. Thread the T-shirt cord through the T-shirt beads, arranging them in any desired pattern.

3. Rotate the beads so the stitching appears on the “outside” of the necklace and scrunch them together, creating a ruffled look. Then tie the two ends of the T-shirt cord in a bow at the desired length at the back of your neck.

Ta-da! Almost exciting as fireworks. Happy 4th, everybody!


[ 5 Comments | Posted on July 4th, 2012 ]

I-Love-the-’80s Fringe Fabulous T-shirts

It’s springtime, which means one thing to me: T-shirt weather! It’s an exciting time here in the Land of Generation T, because as many of you know, it only gets better: After spring comes summer, which means we all get a little more scantily clad — T-shirts turn into tank tops and tube tops and ooh-la-la! So grab your scissors (to cut away some of that extra fabric, of course), crank up the color (bring on those fabric spray paints), and hop in your fabulous fashion time machine, because fringe is enjoying a bit of a renaissance this season. Last weekend, I dialed back the decades and dug into my craft stash to make some classic ’80s-inspired geometric tees.

Materials:

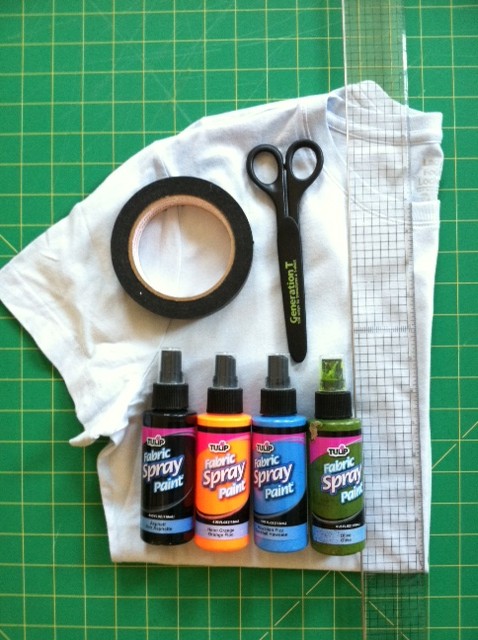
-light-colored T-shirt (I used a light blue one)
-ruler

-masking tape
fabric scissors
fabric spray paint (variety of colors)
-scrap newsprint paper

Make it:

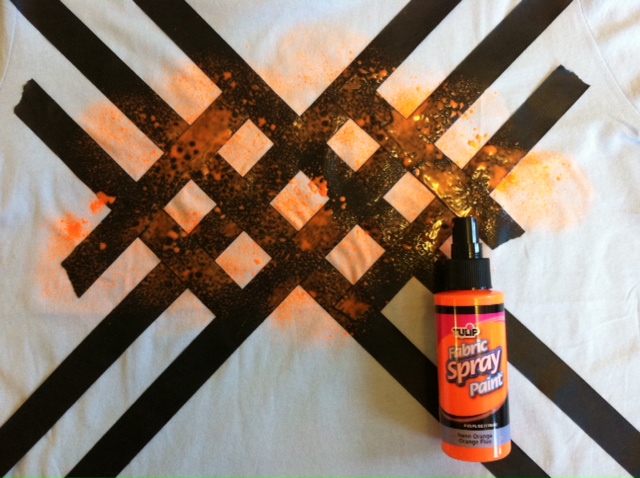
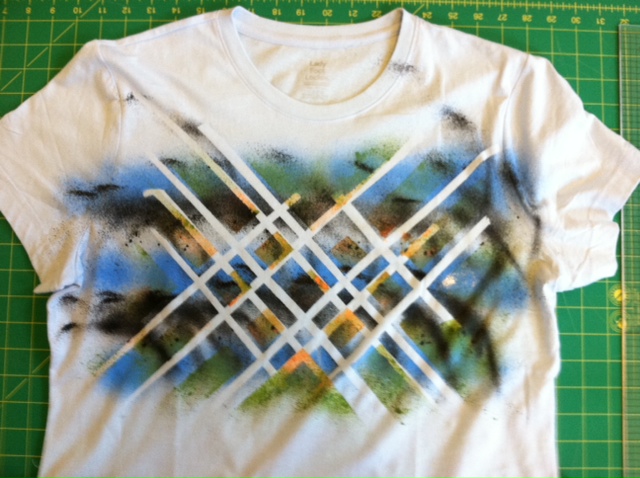
1. Lay the T-shirt flat. Use masking tape to mark a horizontal line about 8″ up from the bottom of the shirt. Find the vertical center of the shirt and apply tape to the chest-region of the T-shirt to create a crisscrossing geometric pattern.

2. Insert the newsprint paper between the layers of the T-shirt to prevent the paint from bleeding through. Then apply fabric spray paint over the taped area. Apply another color or two, then let dry.

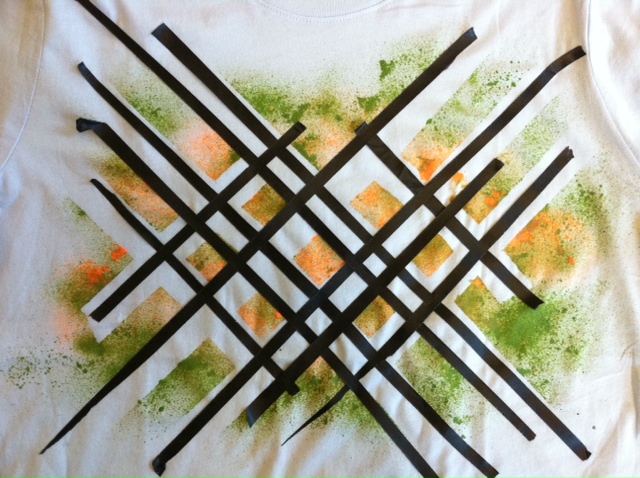
3. Peel back the tape, and then lay down more tape (I cut the tape strips in half, thirds, and quarters to make thinner lines) across your pattern to create a modified plaid pattern. Then spray paint more color!

4. Let dry completely before peeling off the tape to reveal your design.

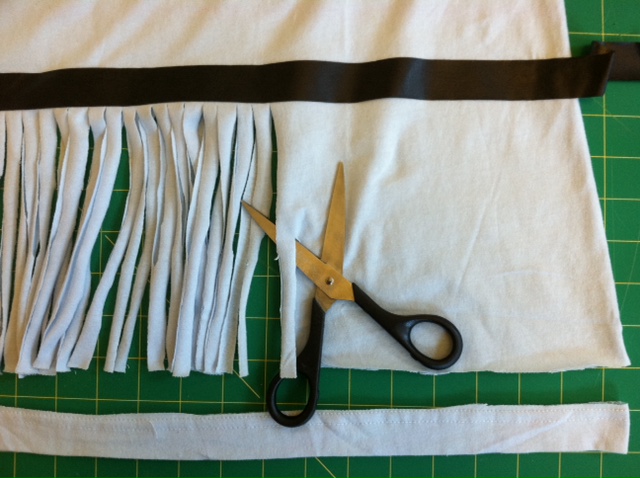
5. Cut off the bottom hem of the T-shirt, just above the stitching. Then, using the tape marker you pressed down in step 1 as your guide, cut 1/3″- to 1/2″-wide fringe from the bottom edge of the shirt.

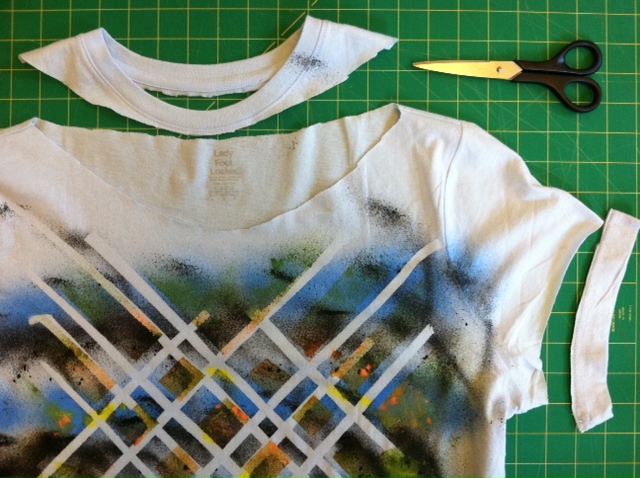
6. Cut off the sleeve hems, just above the stitching, and cut out the neckband, just below the neckband edge in the front and the back, and about 2″ wider on the sides.

7. Gently tug on the fringe to stretch it out (the fabric edges will curl in). Try it on!

8. Grab up additional T-shirts and experiment with your paint patterns and fringe — cut it on a diagonal, in a chevron-inspired V-shape, make it long or short!

Then pack a picnic, sling your boombox over your shoulder, and turn up any of the decade’s Billboard hits!


[ 5 Comments | Posted on May 22nd, 2012 ]

How To: T-shirt Boa Scarf!

Hey there, Generation T! Are you ready to get really knotty? Today’s T-shirt tutorial comes courtesy of one of our esteemed readers: Ms. Liz Russo of Craft-Stop. It’s the “Tic Tac Boa,” project #115 in Generation T: Beyond Fashion — the boa scarf is perfect for spring, infinitely personaliz-able (pick a color, any color!), great for using up scraps (cut strips from old T-shirt sleeves) — oh, and did I mention it’s no-sew? Well, it is. Settle down in front of a good movie while you complete all the knots (you won’t notice when your fingers start to cramp) or, if it’s warm enough where you are, kick back in a park, your backyard, or poolside!

Watch the tutorial here:

Thanks again to Craft-Stop for featuring one of our projects!

[ 7 Comments | Posted on April 12th, 2011 ]