Posts Tagged ‘iLoveToCreate’

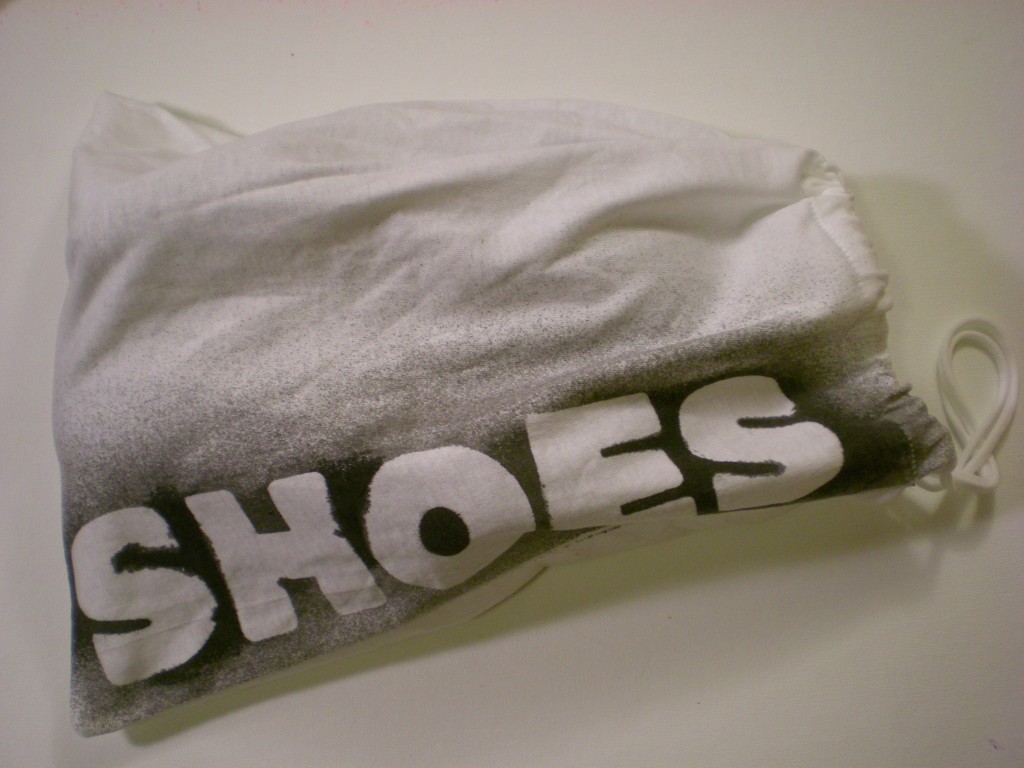
I Love to Create: A Shoe Travel Bag!

Living in New York, my shoes get especially dirty (it’s a special kind of filth). On the occasion that I’m traveling away from New York (which I am very soon!) and packing for that trip, I like to protect the clothes in my suitcase from all of the grime that collects on my shoes. (The streets may be paved in gold, but that’s definitely not what’s sticking to the soles of my shoes.) Here’s a simple project that makes use of an old T-shirt, requires very little sewing (you use the T-shirt hem as the drawstring casing!), and keeps the rest of your wardrobe fresh and clean. And, because the bag is made from an old T-shirt, it’s easy enough to toss in the laundry when you get home and unpack.

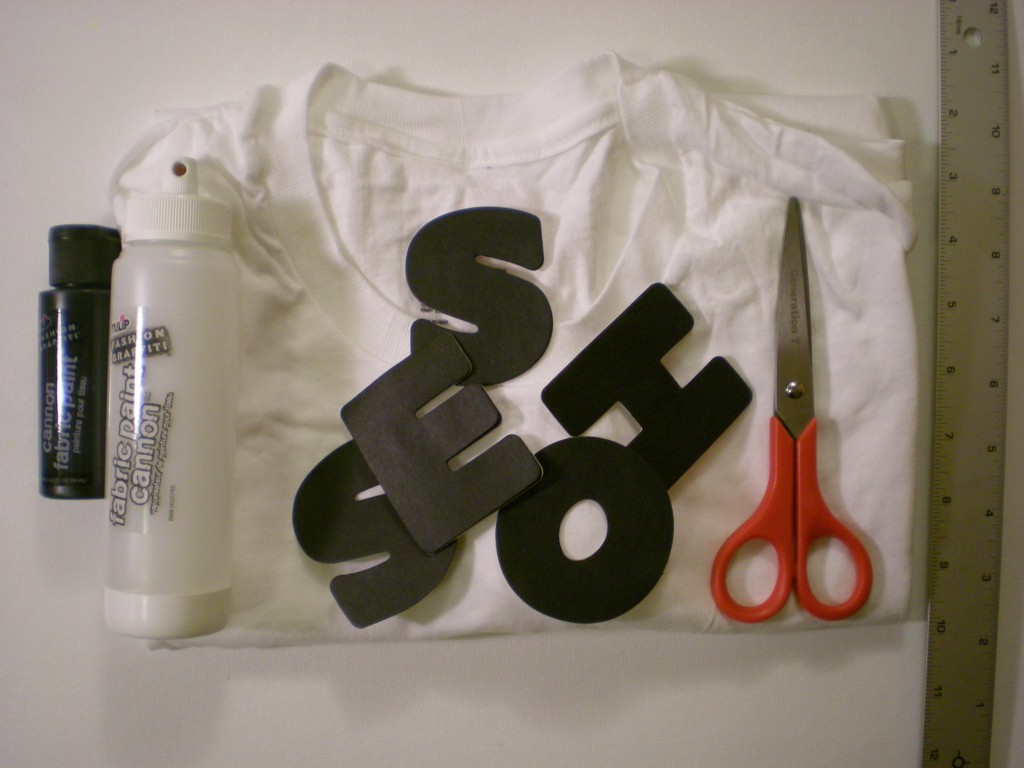
Materials:

-T-shirt (M or larger)

-Ruler

-Scissors

-Sewing machine (with a ballpoint needle and thread), or Needle and thread

-Alphabet stickers (or make your own; I used letter-shaped sticky notes)

Fabric paint and paint cannon (black)

-Safety pin

Make it:

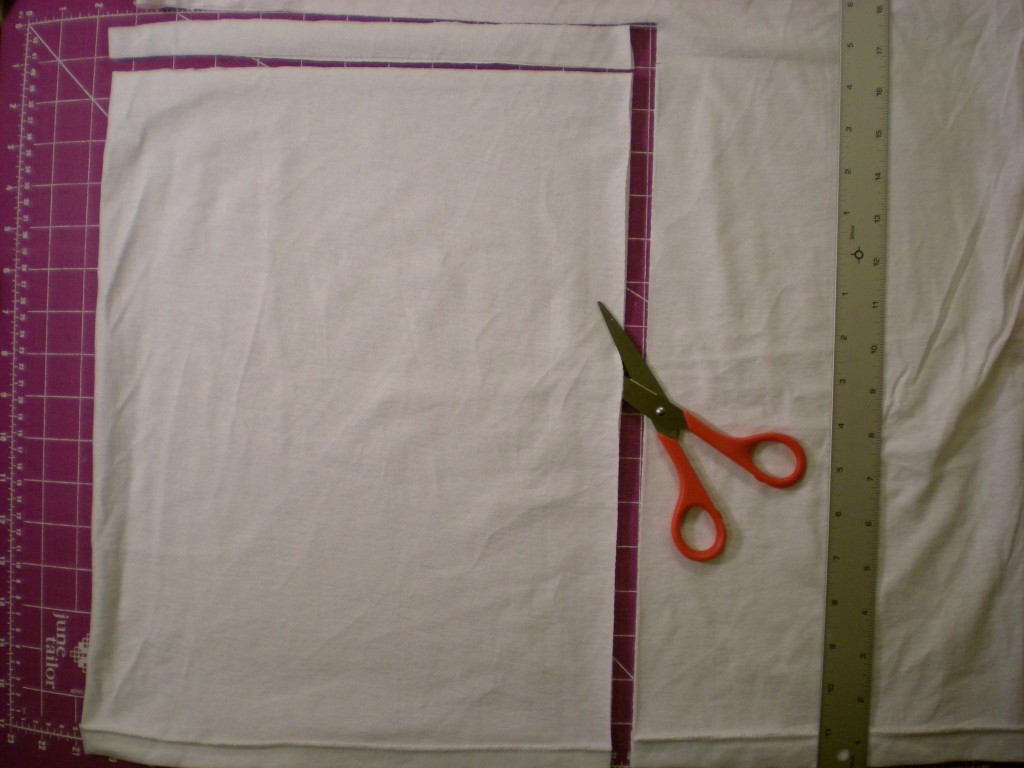
1. Turn the T-shirt inside out and lay it flat. Measure and cut a 12″ x 16″ rectangle extending in from one side and up from the bottom hem. Cut a 1″ strip from the top of the rectangle, through both layers. Set aside the strip.

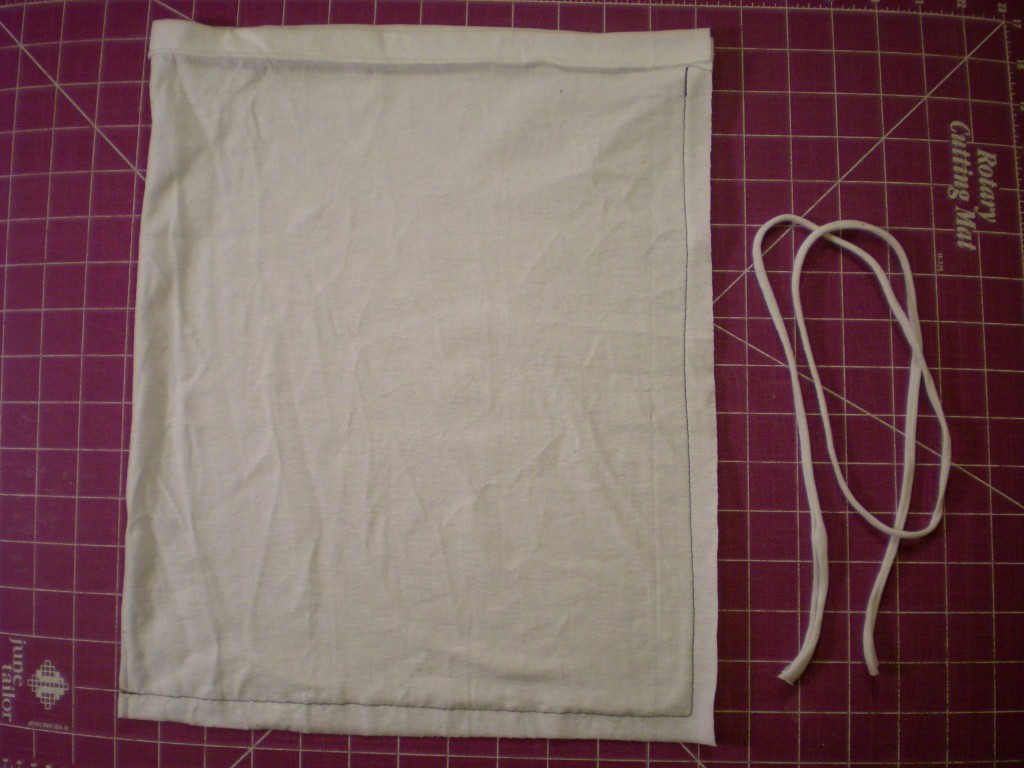
2. Sew a straight stitch along the two cut edges of the rectangle, leaving a 1/2″ seam allowance, and stopping at the hem (this becomes the drawstring casing. (I used contrasting thread for visibility, but matching your thread to the fabric color is recommended.)

3. Turn the bag right side out and lay it flat, oriented with the hem (the opening of the bag) at the top. Stretch out the fabric strip to make a drawstring cord and set it aside again. Arrange the letters across the side of the bag. (Note: Use stickers to achieve a “clean” edge along the letters…I like the rough edges that a little paint seepage creates, so I let the edges of my letters curl up a bit.)

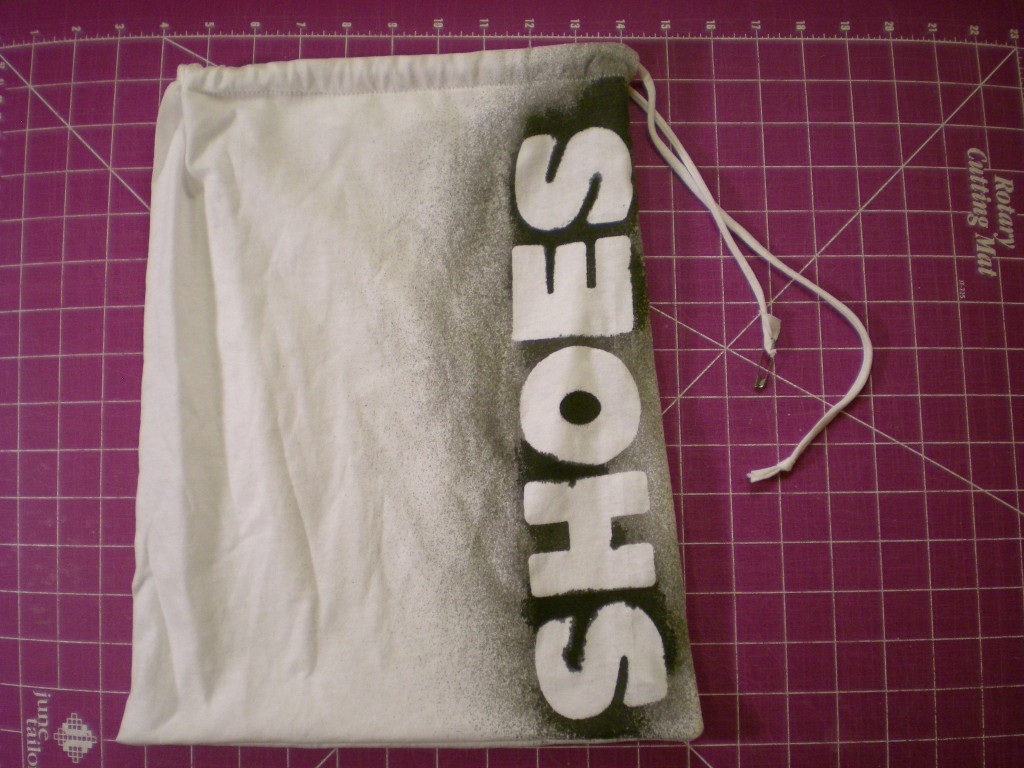
5. With the fabric paint, spray lightly over the letters and let dry completely. (Paint will seep around the sides of the letters that are not sealed flat, creating a rough-edged look to the lettering.)

6. Carefully peel off the letters to reveal the reverse silhouettes. Attach a safety pin to one end of the cord and draw it through the entire drawstring casing. Remove the safety pin and tie the ends together in a knot.

7. Now spin the globe, land your finger, and buy a ticket! If your shoes are made for walking, this T-shirt shoe bag is made for packing. Bon voyage!

Variations:

-Differentiate your various shoe stashes by making multiple bags–do away with the generic “shoes” label and instead indicate heels, flats, sneakers, and so on.

-Scrap the shoes altogether and use the bag to pack pajamas for a slumber party!

P.S. Happy National Craft Month! How will you celebrate?

[ 3 Comments | Posted on March 1st, 2011 ]

Adventures at CHA 2011

Here are some highlights of the people, places, and products I visited (along with my friend and partner in crafty crime, Sonya Nimri, author or Beadalicious and Just for the Frill of It) while exploring the floor for three days at CHA 2011. (They’re a little out of order, so forgive the costume changes!)

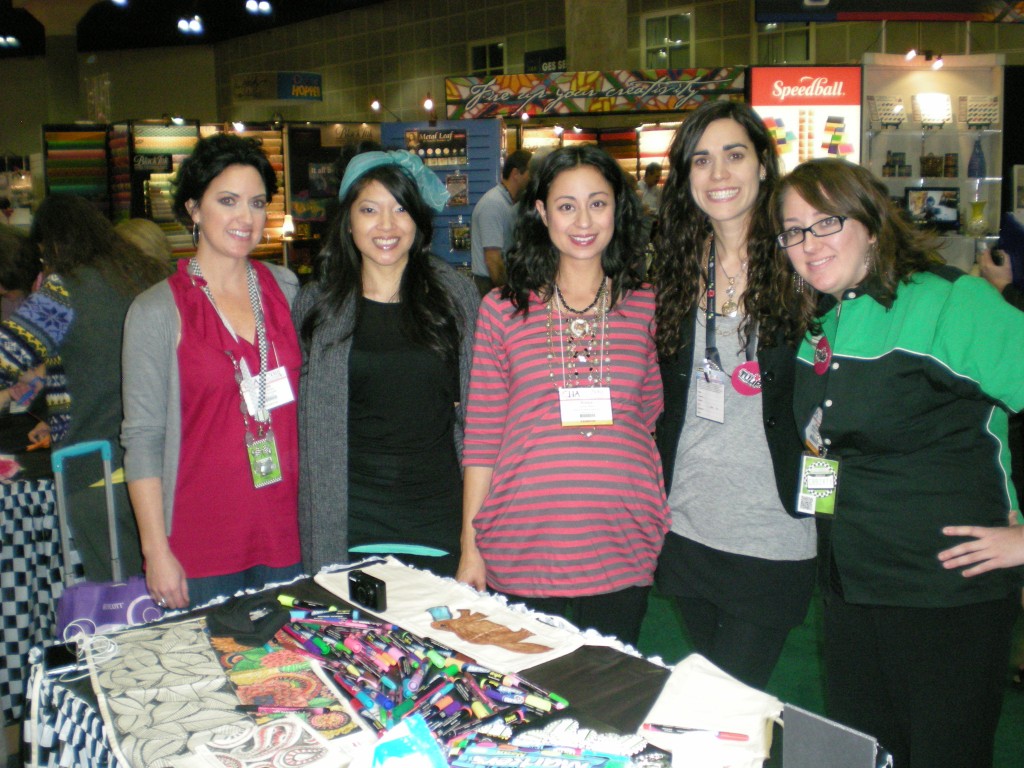
First off, Sonya and I met up with mixed media artists Alisa Burke and Traci Bautista, and graphic designer Alexa Westerfield at the iLovetoCreate booth.

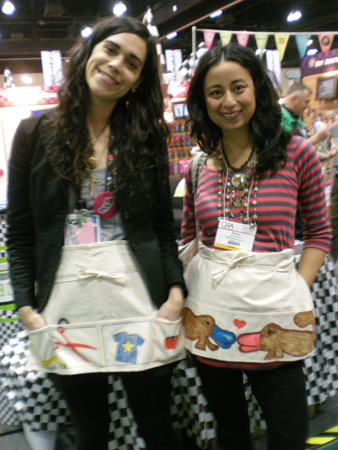
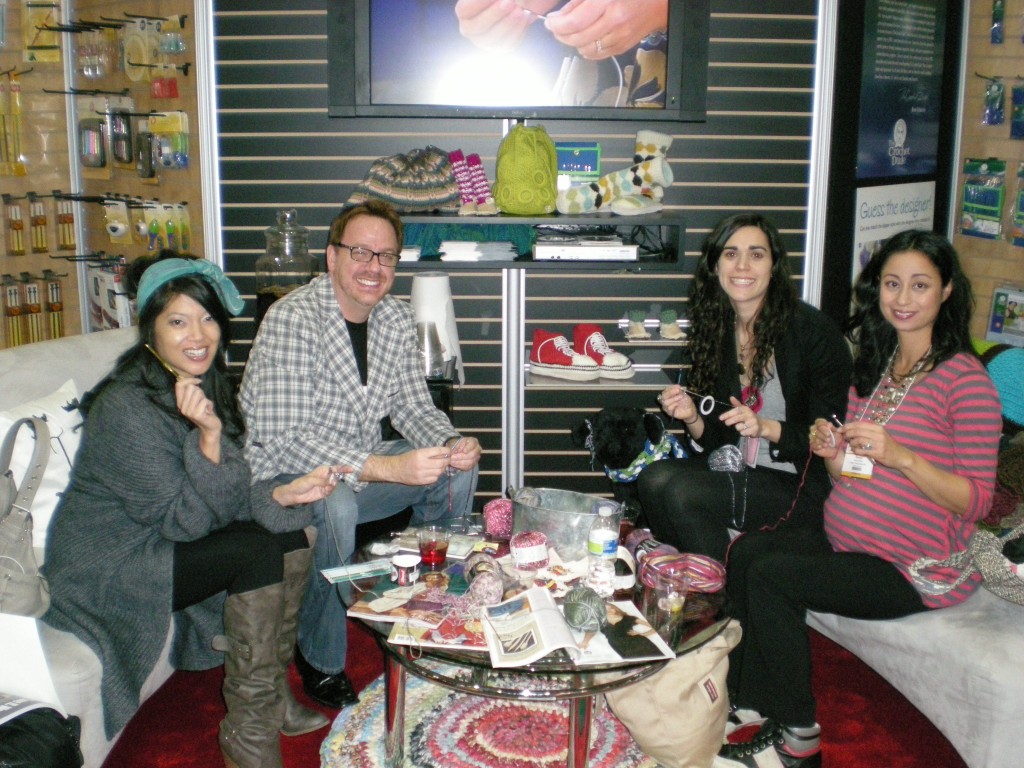
Sonya and I just had to drop our bags and park ourselves at the iLovetoCreate make-and-take that Alisa was running–coloring a craft apron with Tulip and Crafty Chica fabric markers! The results are below–a Generation T especiale with measuring tape, scissors, T-shirt, and pin cushion by me–and two platypuses in love by Sonya.

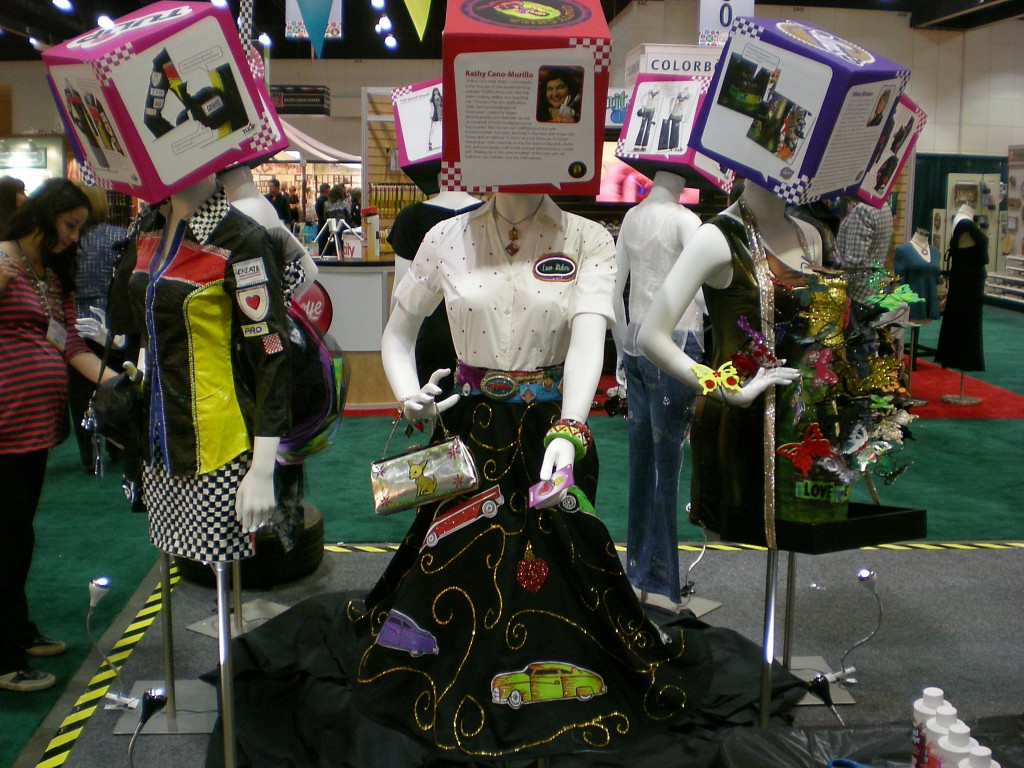
The mannequins at the iLovetoCreate booth had some crazy-mazing get-ups thanks to many of their creative staffers and bloggers!

Then I learned to crochet for the second time (here was my first attempt) at the Simplicity booth with Drew Emborsky, aka the Crochet Dude. I completed a silver and black sparkly necklace in about 20 minutes = success!

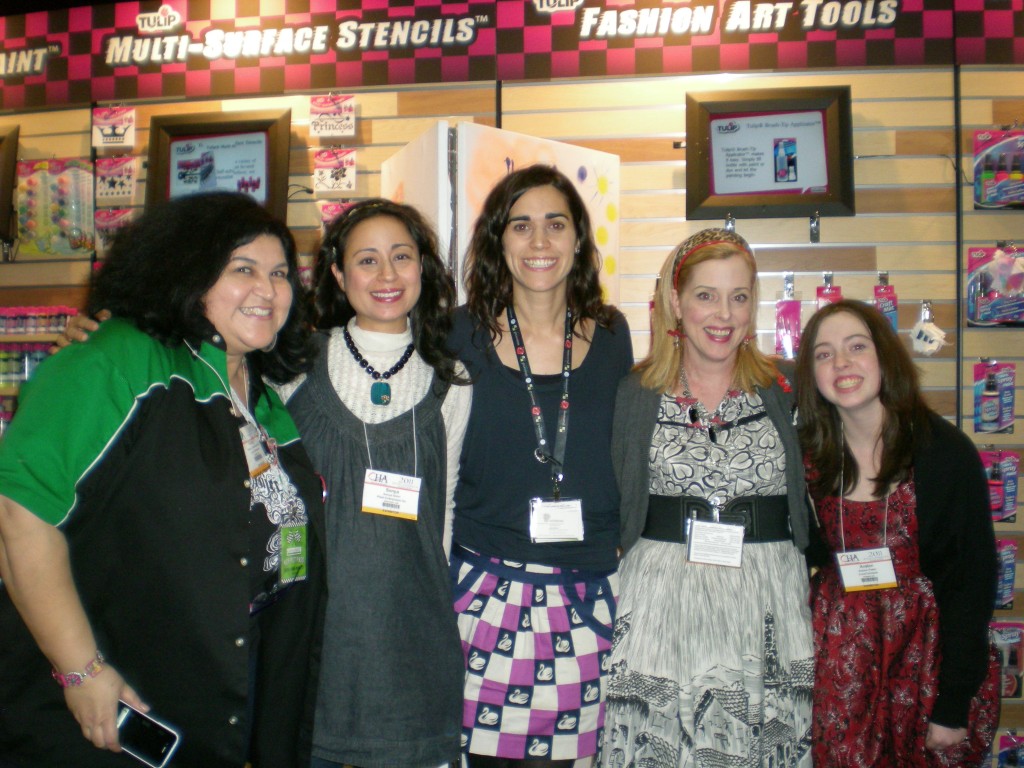
We met up with fellow iLovetoCreate bloggers, Kathy Cano-Murillo, Margot Potter, and Avalon Potter.

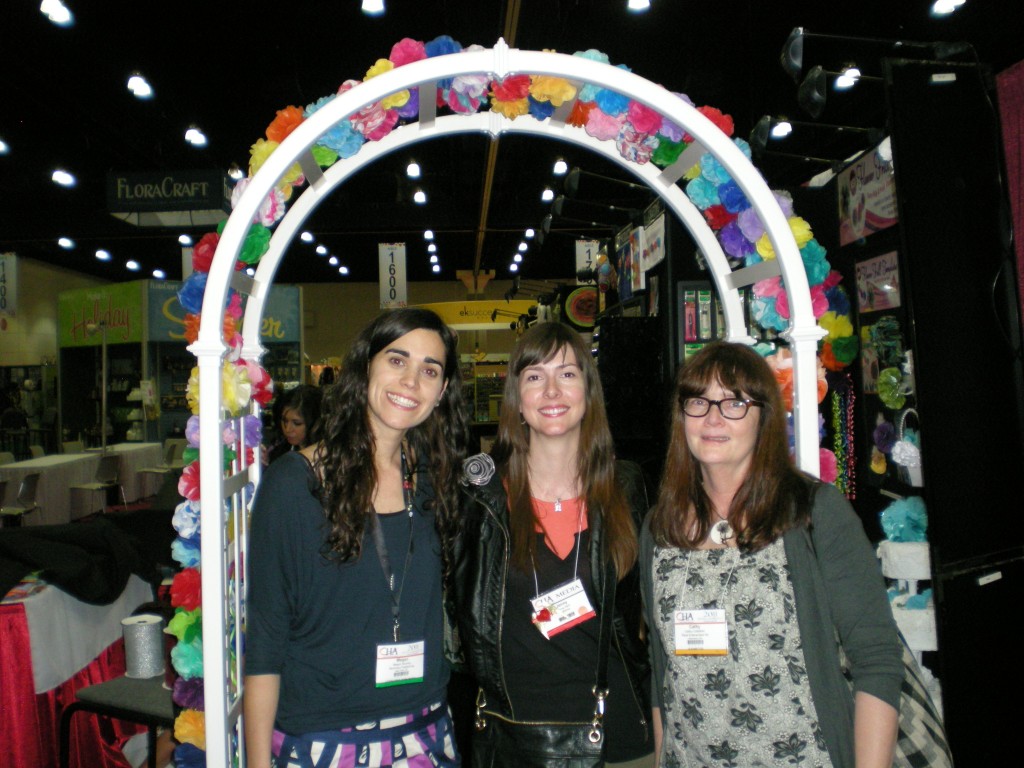
I bumped into Sublime Stitcher Jenny Hart, who was at CHA to cover the event for Craftzine, and met Cathy Callahan, author of the forthcoming Vintage Craft Workshop (due out Spring 2011). We couldn’t resist posing beneath this cheery paper flower arbor.

Speaking of colorful settings, Sonya and I hug it out at the dreamy Red Heart lounge where they were celebrating 75 years!

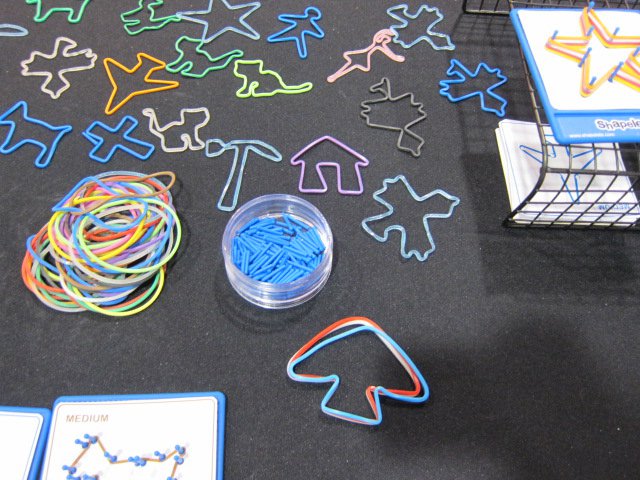
In the “innovation hall,” make-your-own silly bands at Shapelets were a hot stop. And while we noted that Silly Bandz are so over in an even-the-SillyBandz-company-was-selling-snap-bracelets-at-the-recent-NY-Gift-Show kind of way, making Shapelets was refreshing for its DIY spirit of self-expression. Those are my star-shaped bands cooling on the pegboard along with Sonya’s completed mushroom bands!

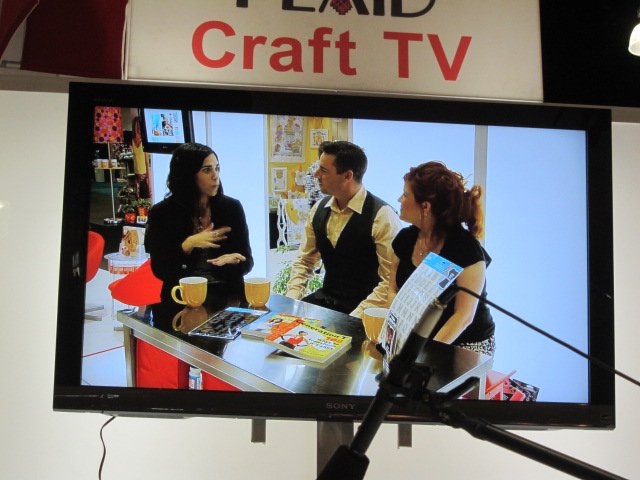
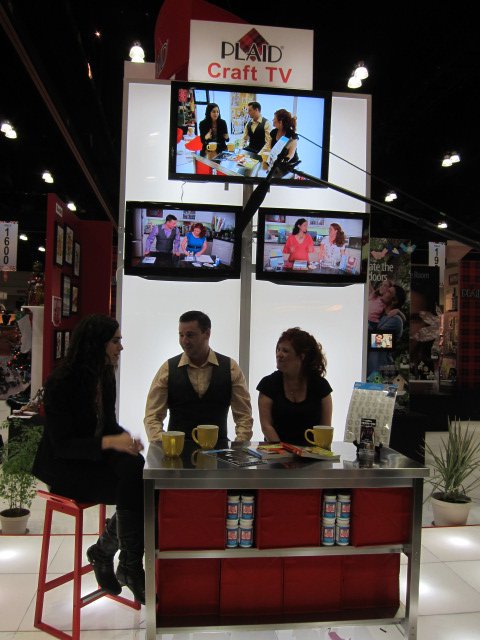
I stopped for an impromptu interview with Cathie and Steve on Plaid Craft TV — they have a new web show coming out soon, so check it out!

And look, while they were interviewing me, Sonya’s segment from Plaid Craft TV was playing on the lower right monitor!

Here we are with Cathie and Steve — along with Amy Anderson, chief blogger at Mod Podge Rocks!

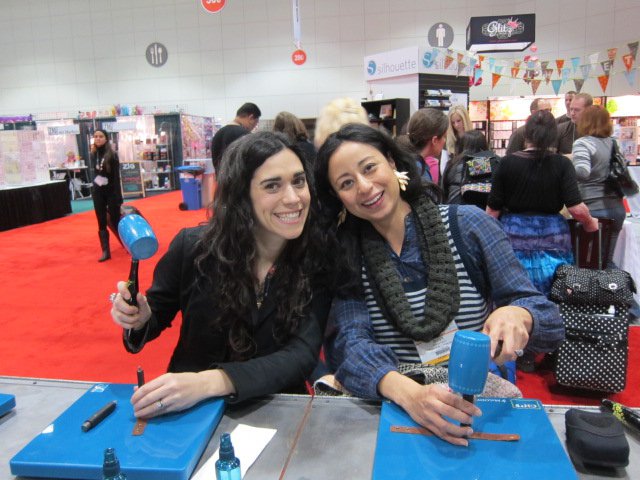
We stopped in to play with Melody Ross’s ChipArt tools–but forget chip board, we hammered words and initials to personalize leather bracelets at this make-and-take!

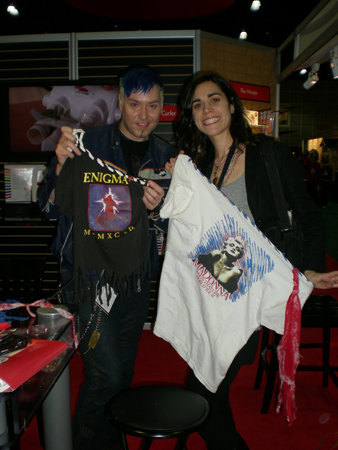
Everybody remember everyone’s favorite 3rd-person-speaking, faux-hawked contestant on Project Runway Season 5? Suede was at the far end of the Simplicity booth, signing copies of his new patterns and–what have we here?–refashioning T-shirts. Here we are with two of his laced-up, fringed-up, tied-up tees.

Non sequitor: I’m just in love with these framed disembodied hands and lanterns. I want them for my wall. (P.S. They’re from Tim Holtz‘s Idea-ology booth.)

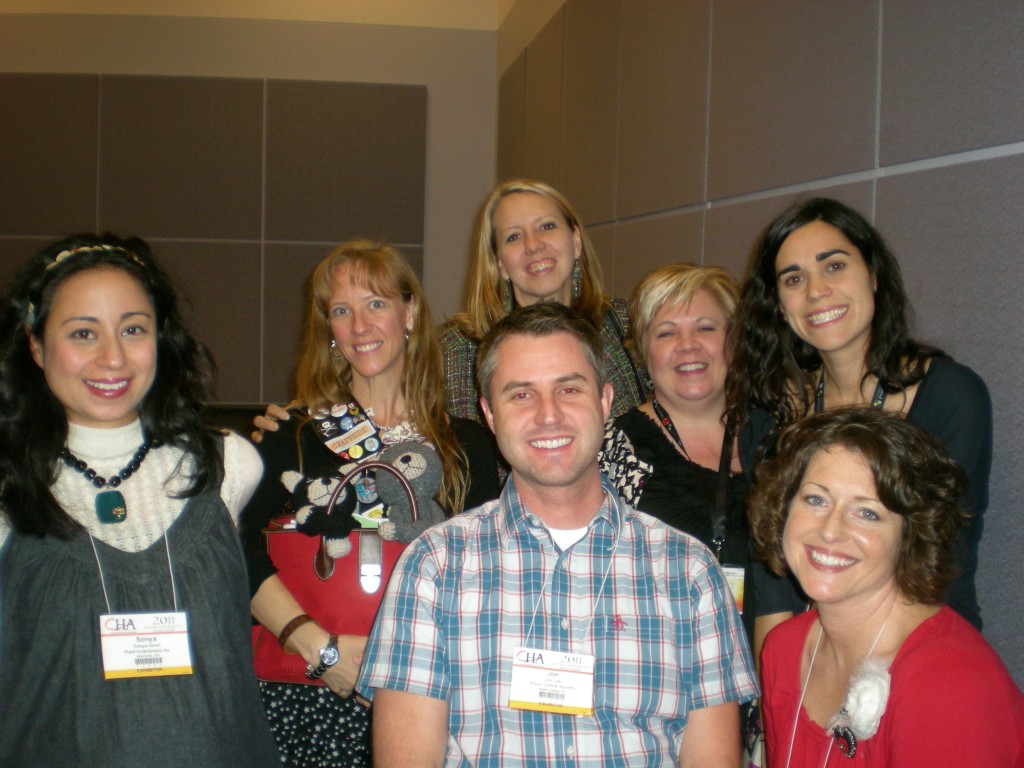
Blogger meet-up! Stefanie Girard of Sweater Surgery, the Creative Craft Goddess Vicki O’Dell, Jenny Barnett Rohrs of Craft Test Dummies, and Jon Lee of Provocraft.

One of the finalists from So You Think You Can Dance Season 4, spinning on his head in a dance-off at the Provocraft 5-year birthday celebration for the Cricut. I think that’s a solid way to wrap up the round-up, right?

Oh, but while he’s spinning on his noggin, I’m not quite done… I’ve exhausted my photos, but the other sweet happenings included meeting Heather Mann of Dollar Store Crafts, the VP at Colonial Patterns (the company responsible for the Aunt Martha’s robot embroidery iron-ons), Kristen Turner of Threadbanger’s VainGlorious, and Ohio Knitting Mills author Steven Tatar.

And, the make-and-takes kept coming: from paper flower brooches, to etched glass, to paper-wrapped bangles, to old-school friendship bracelets. Another highlight of the weekend was the flip book that Sonya and I made at the entrance to the Cricut birthday party–it’s like a party photo booth turned up to 11–lots of costume props, plus 7 seconds to move around and goof off, then it’s printed, cut, and stapled into a mini personalized flip book!

So that’s it…until next CHA!

[ Comments Off on Adventures at CHA 2011 | Posted on February 15th, 2011 ]

Megan Loves To Create: Refashioned T-shirts!

Amidst my recent adventures out at CHA (full round-up to come soon!), I was impromptu-interviewed by Alexa at iLoveToCreate who was dying to know what it is that I love to create. You all probably know that answer (Exhibit A: title of this post, above; Exhibit B: titles of books, right), but in case you needed more visual and verbal proof, please see Exhibit C: the video below…

I know, total newsflash, right?

PS: It took everything I had to keep my scissors (that glowing orb in the screen grab above) off that T-shirt to my left. But speaking of that T-shirt, what a great Valentine’s Day project, don’t you think? Pick up some super-glam iron-on crystals to celebrate your loooove.

[ Comments Off on Megan Loves To Create: Refashioned T-shirts! | Posted on February 9th, 2011 ]

I Love to Create: T-shirt Baby Book!

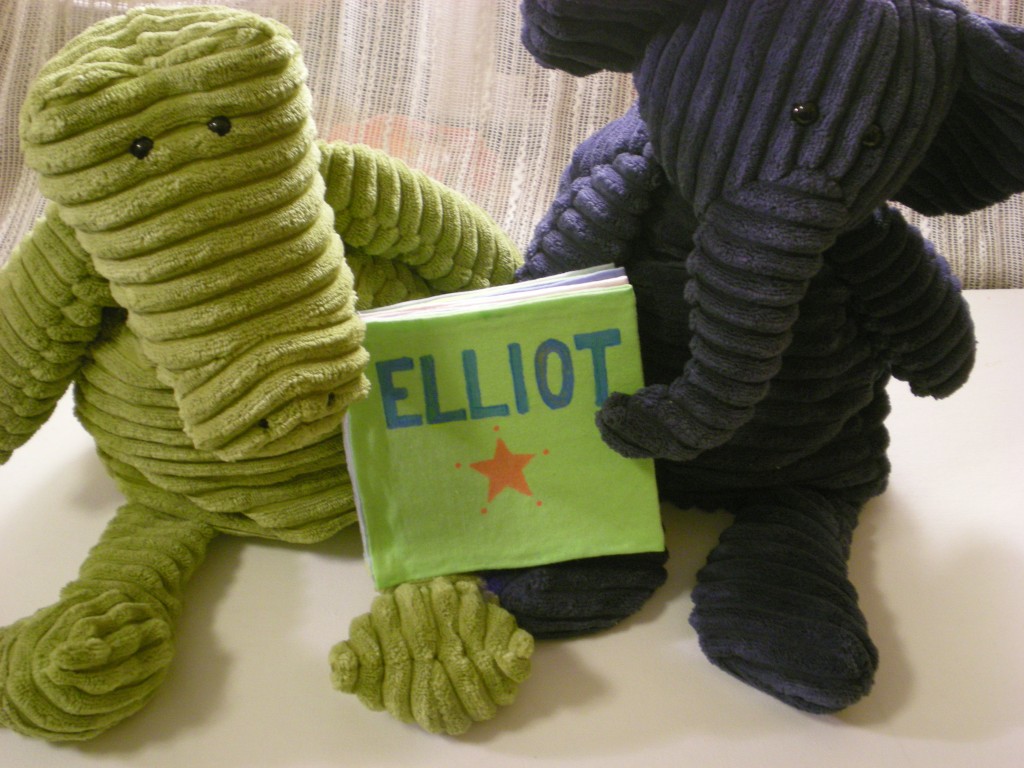
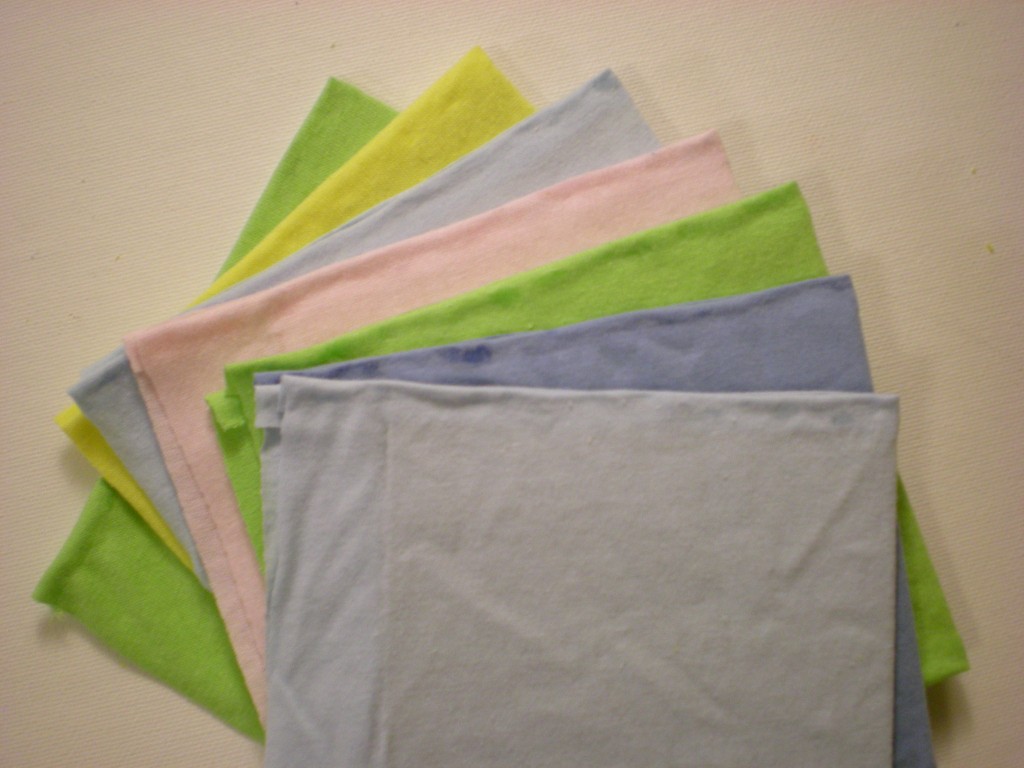
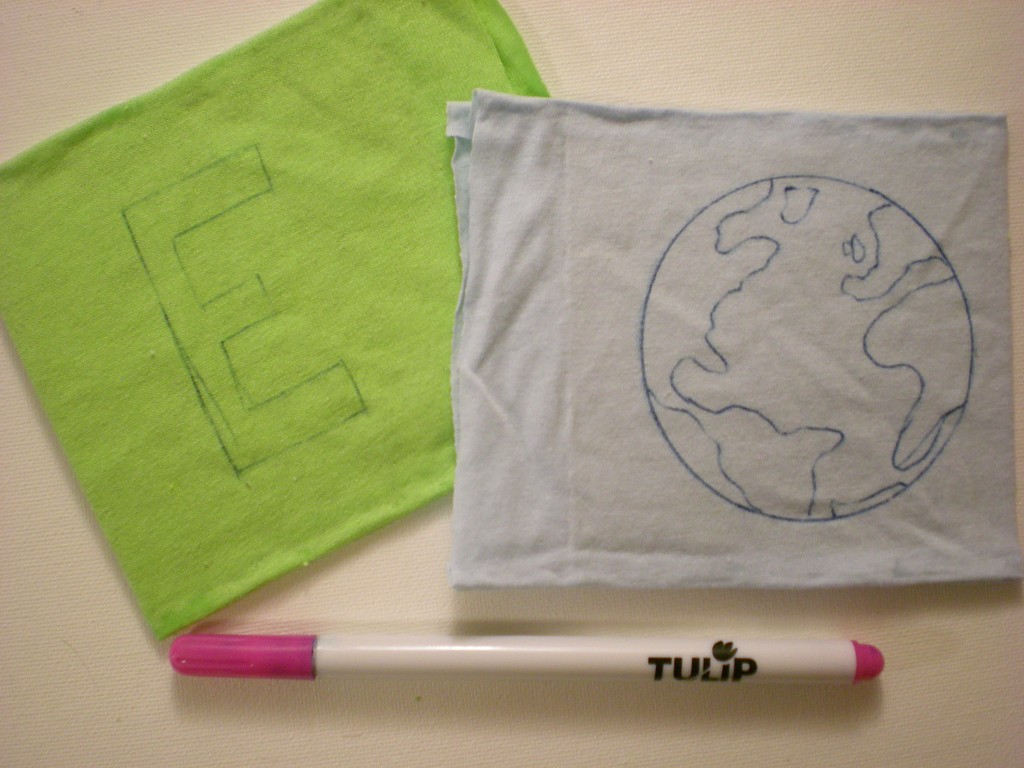
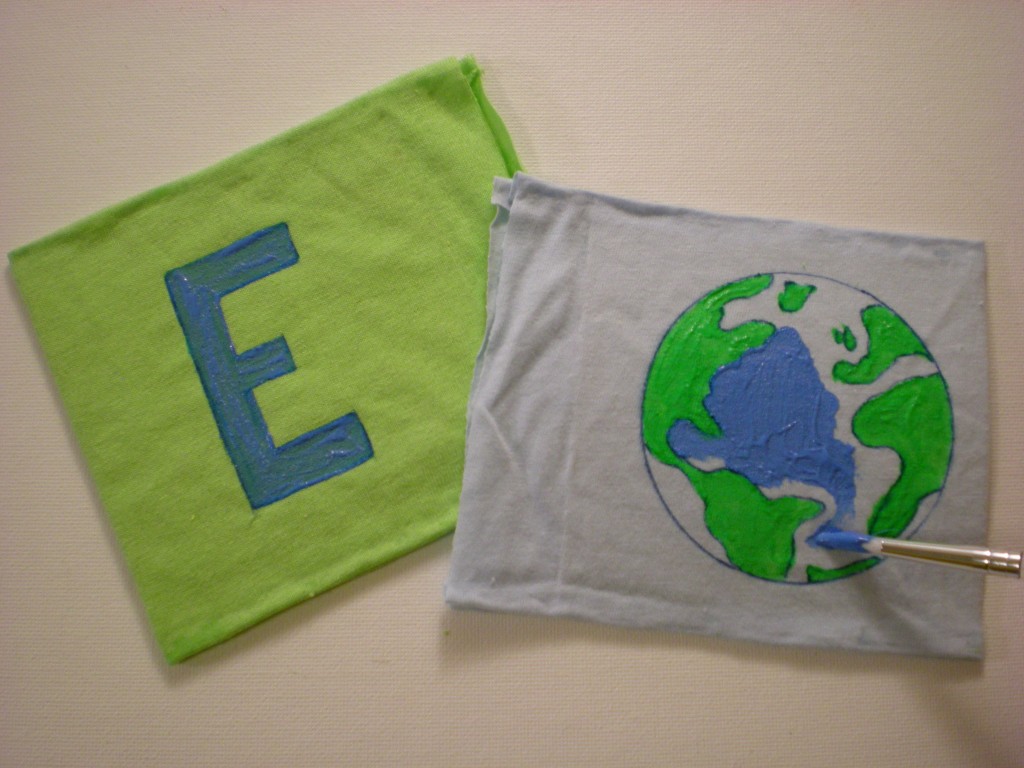
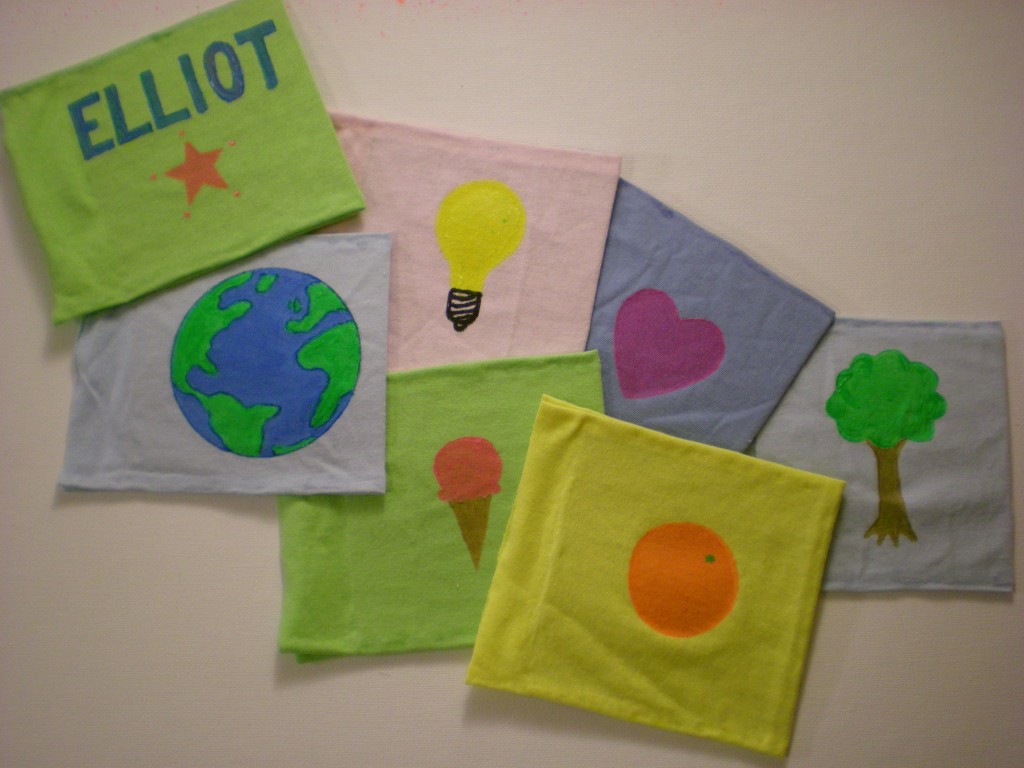
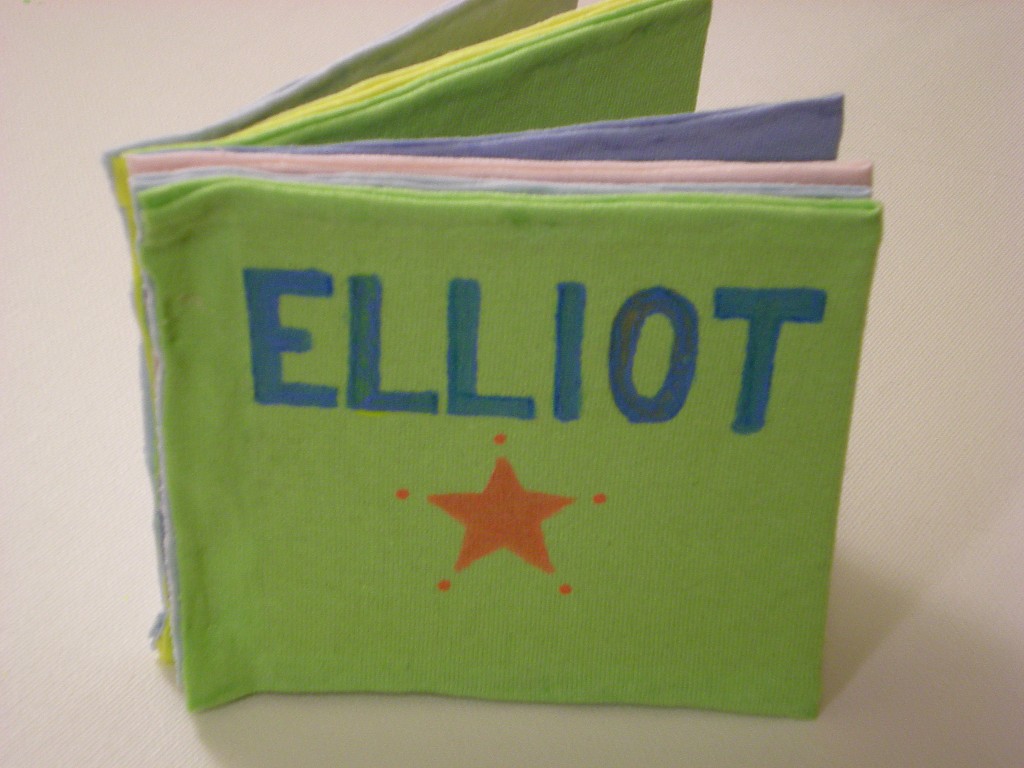
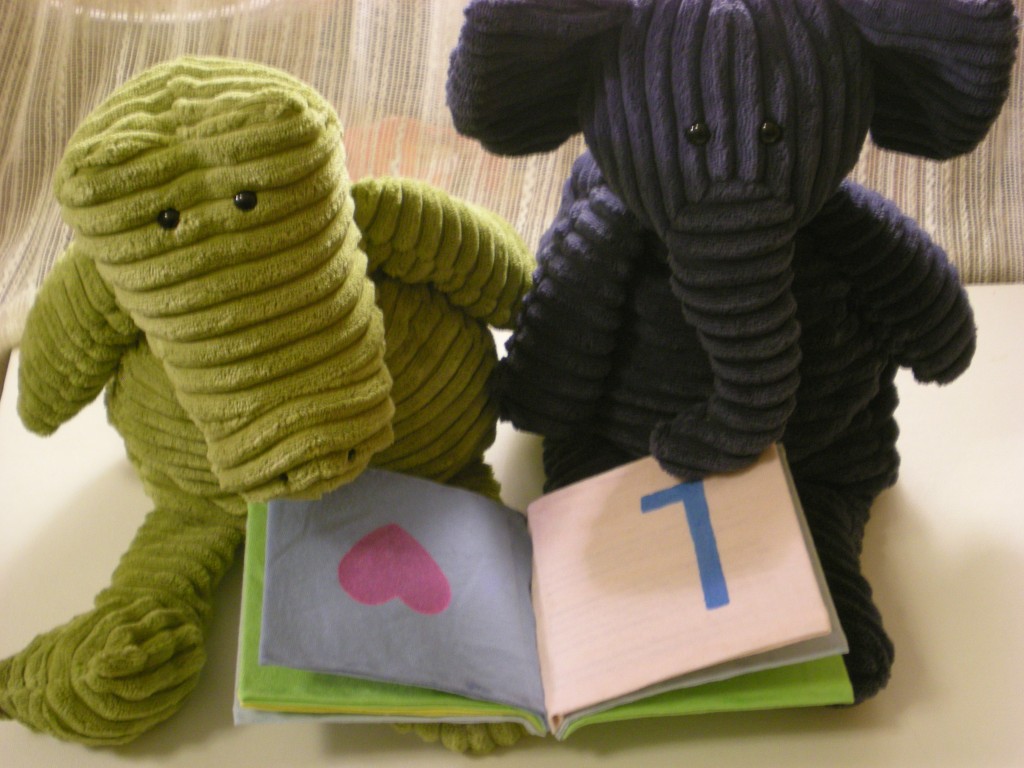
I like projects that help me use up the scraps that threaten to overwhelm my craft space. I also like projects that can be gifted. So this one’s a win-win: The T-shirt Baby Book is perfect for using the T-shirt sleeves that have been cut from another project (like a tank top) and it makes a great personalized baby gift. Once I picked the recipient (my friend’s new baby, Elliot), I had a lot of fun figuring out what words each letter of his name would represent (in other words, what could I illustrate easily?). I settled on: E = earth, L = light, L = love, I = ice cream, O = orange, and T = tree. Sorry, no pictures of baby Elliot and his new book just yet, so the book is presented by these two cute corduroy pals.

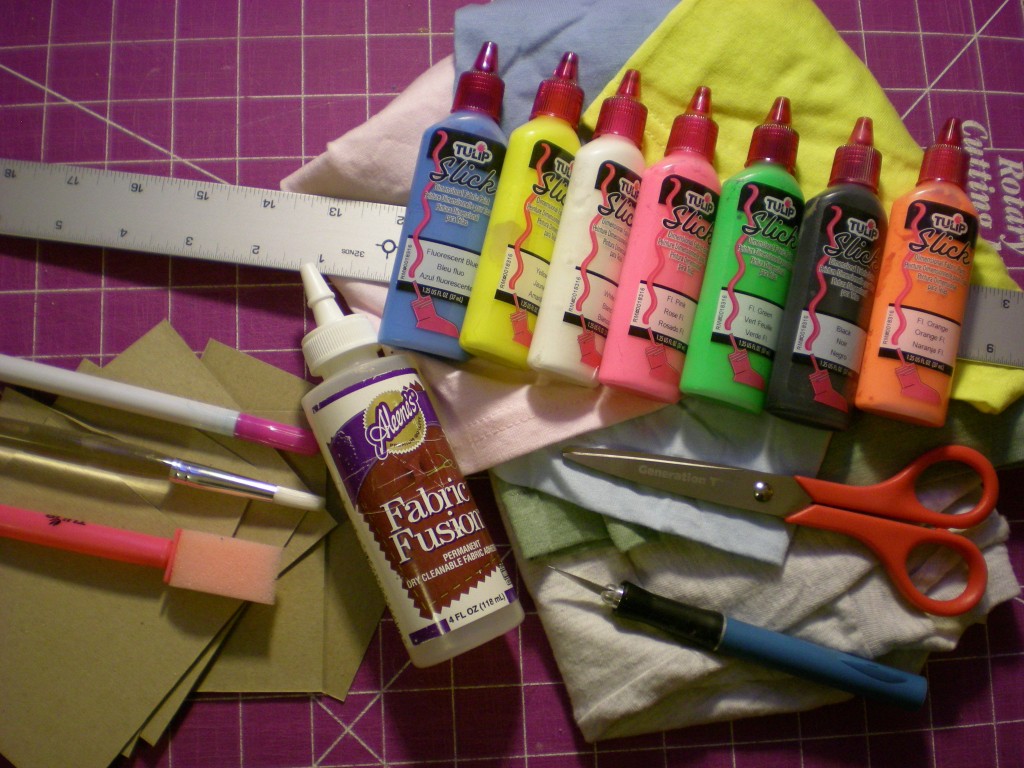
Materials:

-T-shirts or T-shirt scraps (in multiple colors)

-Scissors

-Ruler

-Craft knife

-Cutting mat

-Lightweight cardboard (cereal, snack, or tissue boxes work great!)

Aleene’s Fabric Fusion Permanent Dry Cleanable Fabric Adhesive

Tulip Disappearing Ink Pen

Fabric paintbrushes

Tulip 3D Fashion Paint Blazin’ Brights (variety of colors)

-Clothespins (optional, for clipping in place while gluing/drying)

Make it:

1. Measure and cut one more 4″ x 4″ square of cardboard than there are letters in the baby’s name. (Example: Elliot has 6 letters, so I cut 7 squares.) Then cut as many 5″ x 10″ rectangles from the T-shirts as there are cardboard squares.

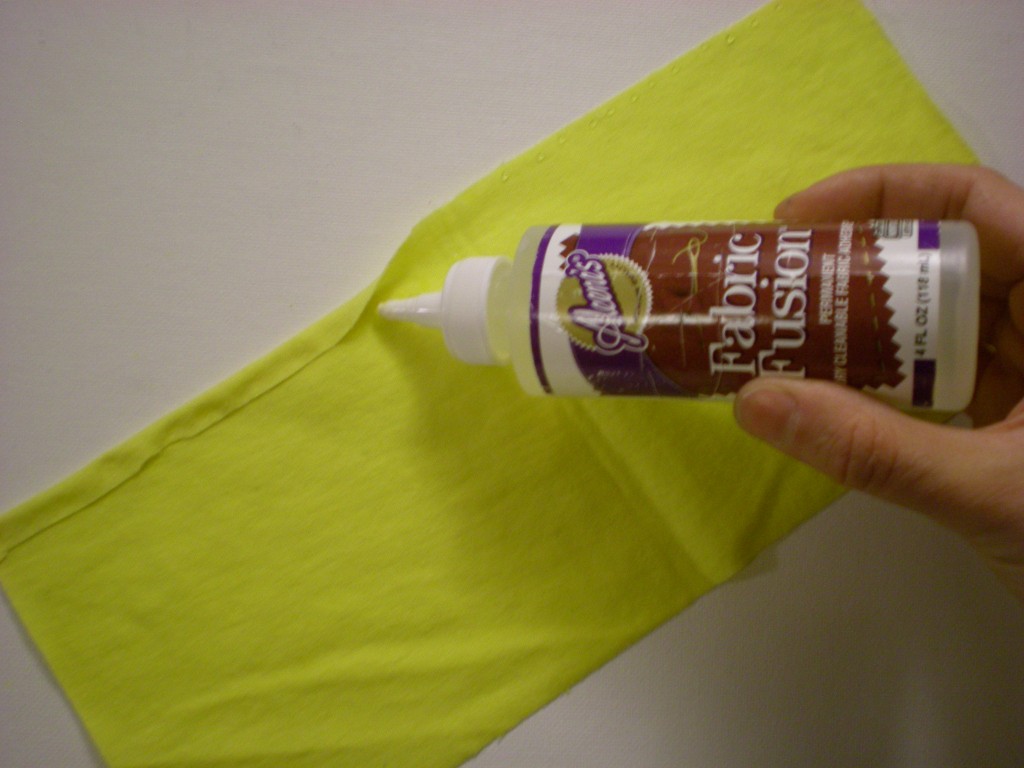
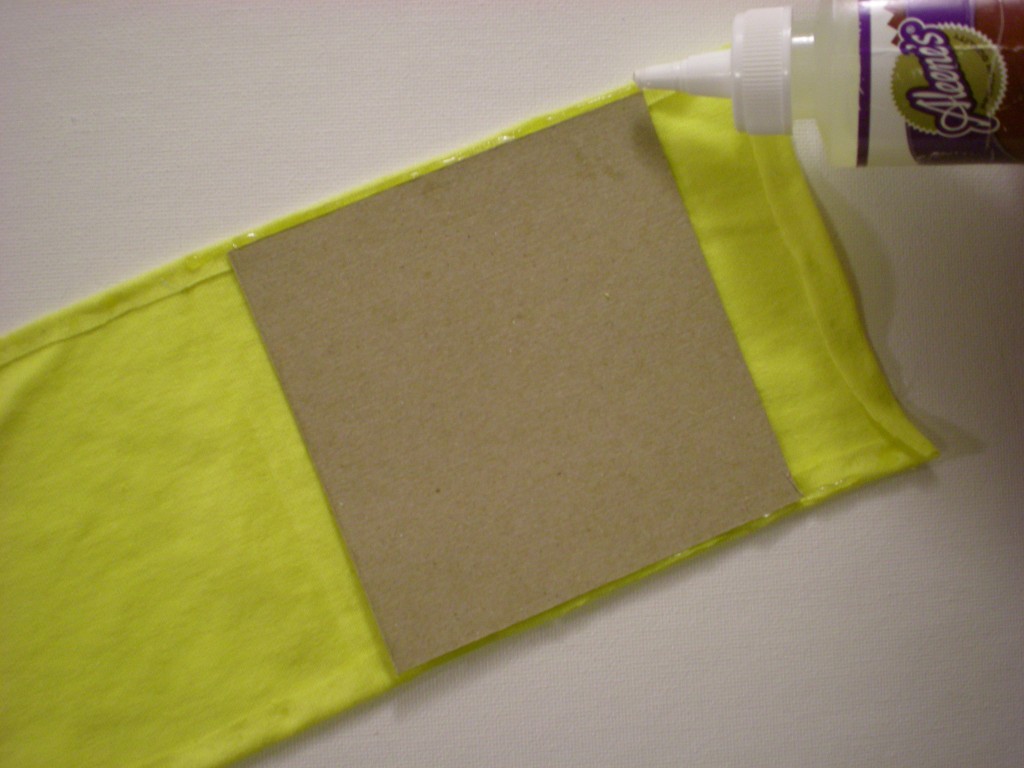
2. Squeeze a small ribbon of glue along one long side of one of the fabric rectangles. Then fold over the edge about 3/8″ and press. Repeat on the other long side.

3. Find the center of the rectangle and line up one edge of one of the cardboard squares. Squeeze a small ribbon of glue along the fabric at the top and bottom edge of the cardboard.

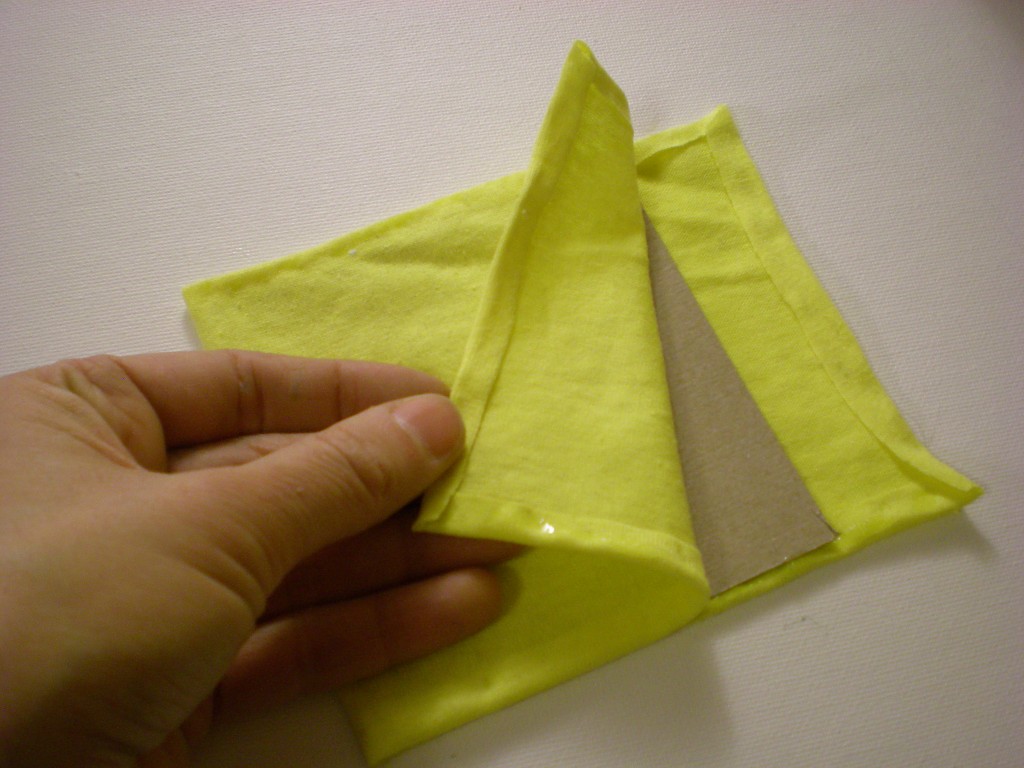
4. Fold the fabric in half, sandwiching the cardboard in between the layers. Press the glue into the edges to seal it. Squeeze another ribbon of glue against the cardboard and between the fabric layers on the open side. Press it closed.

5. Repeat steps 2 through 4 until all of the cardboard squares are covered. These are the pages of the book.

6. Use the air-soluble ink pen to begin outlining the letters and images on the book pages.

7. Color in the lines with fabric paint!

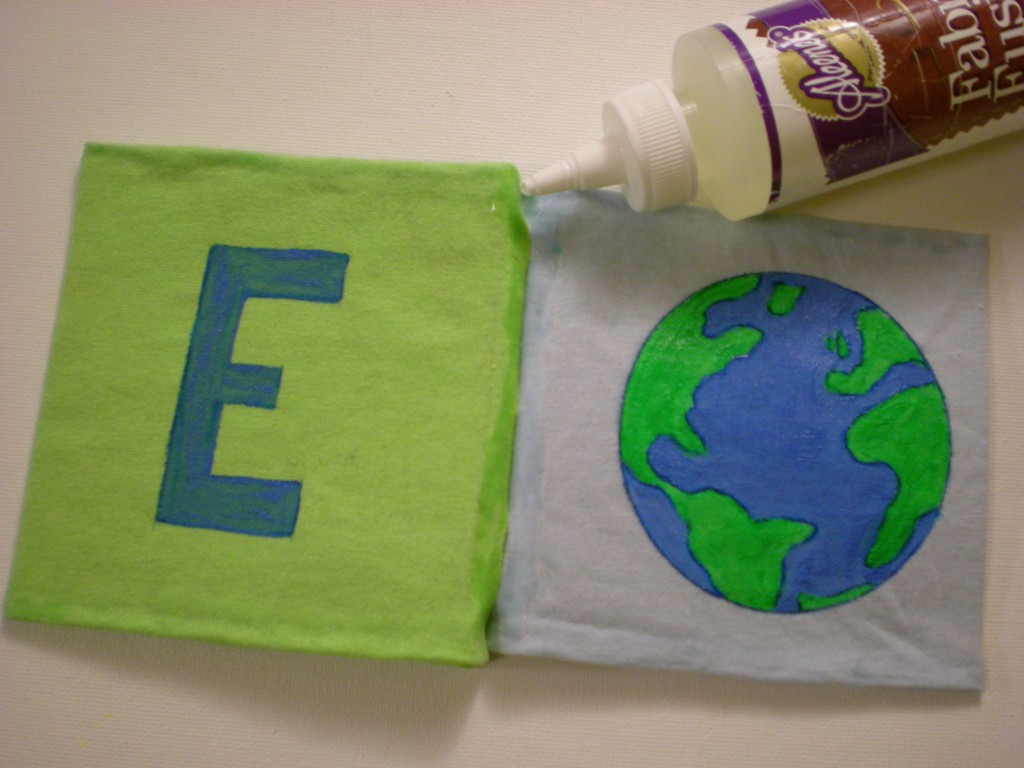
8. Paint all the right-folio pages first (including the front cover), let them dry, then paint all the left-folio pages, making sure you match up all the letters and images.

9. Trim the raw edges (the side of the pages that will go into the binding) down to 1/2″. Then squeeze a line of glue along one of the edges you just trimmed and press it against the adjacent page. Keep gluing and adding pages (in the correct order!) until the book is complete.

10. Let dry completely. Optional: Clip the binding closed with clothespins while it dries.

11. Then it’s story time! E is for earth. L is for light. L is also for love. I is for yummy ice cream. O is also for a delicious orange. T is for Tree (and Totally Terrific and….T-shirt book!).


[ 7 Comments | Posted on January 25th, 2011 ]

I Love to Create: No-tug Headbands!

Last month, in preparation for the holiday party circuit, I shared the tutorial for the Softie Spiral Headband. This month, I’m making headgear for the younger generation. These headbands, inspired by a project from one of my favorite books, Crafty Mama, are for my four-year-old niece (though I’m not a Crafty Mama, the Crafty Auntie title is one I take very seriously).

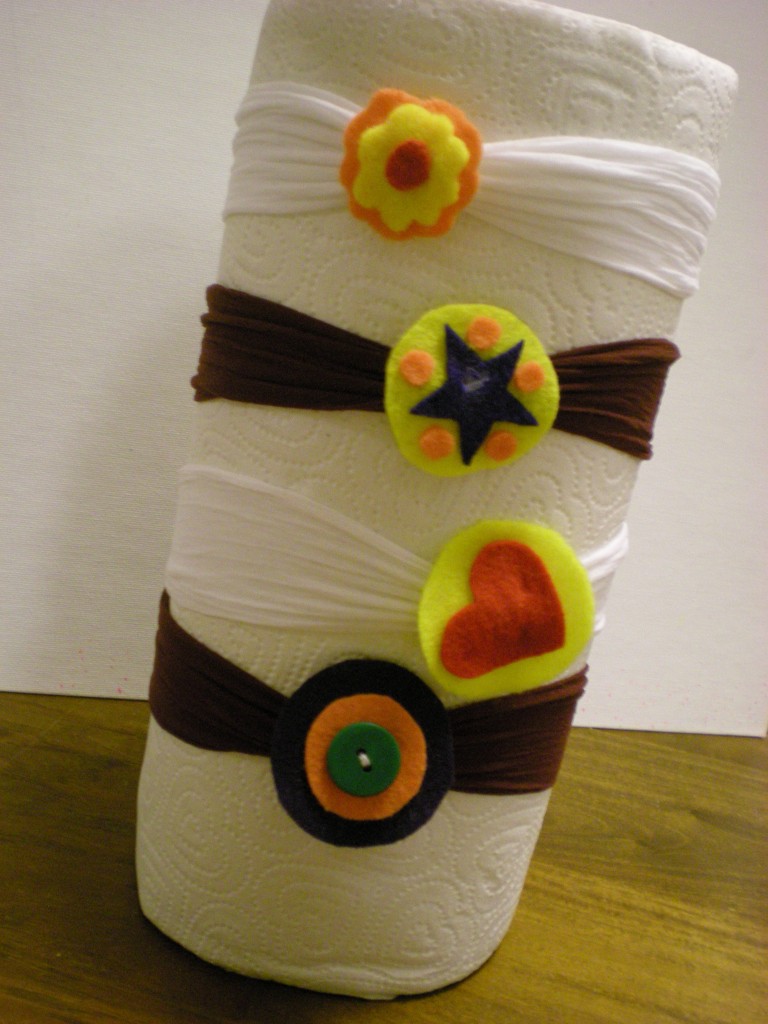
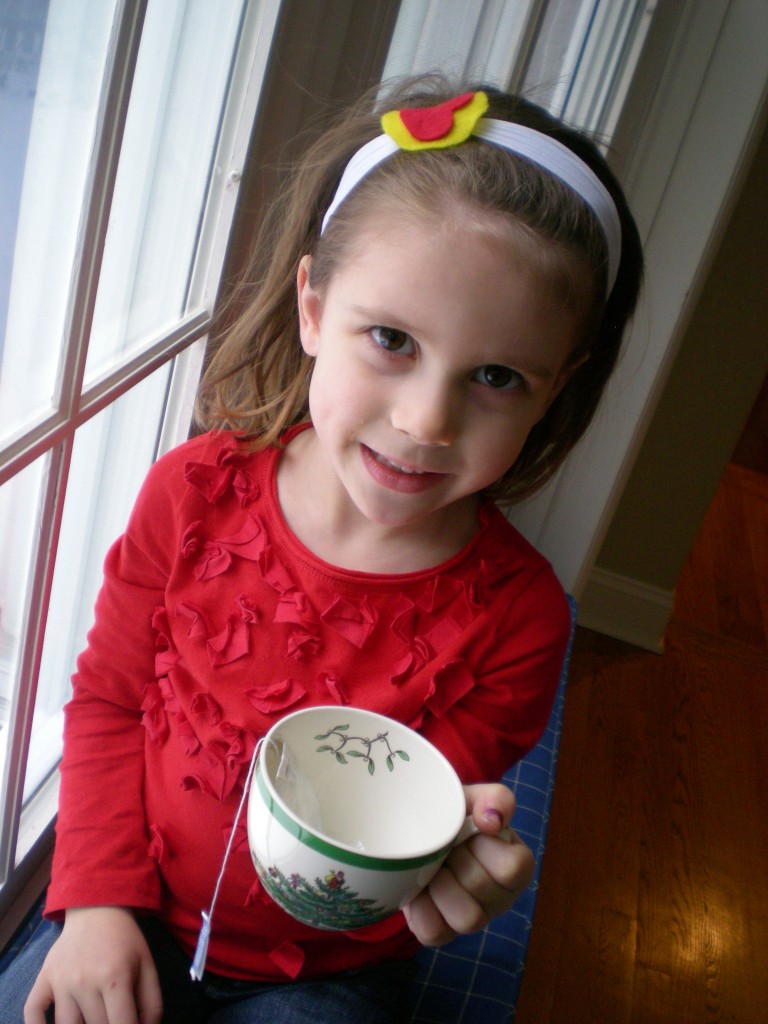
The back story is that my niece is attempting to out her bangs (I tried it, too, at her age — until I had that perfectly disastrous alignment of mom-on-the-phone, scissors-in-hand, and an oh-so-brilliant scheme to rid myself of my bangs far more quickly: I cut them off completely). My niece is more patient than I, but the available solutions to bangs-in-the-face either poke (plastic or metal-based headbands), prod, or pull (barrettes), or are too tight or too loose. In other words, the classic Goldilocks situation. But these stretchy soft headbands are just right. (A Christmas morning photo offers up the results — scroll down to the bottom, since the paper towel roll just doesn’t do the headbands justice!)

Materials:

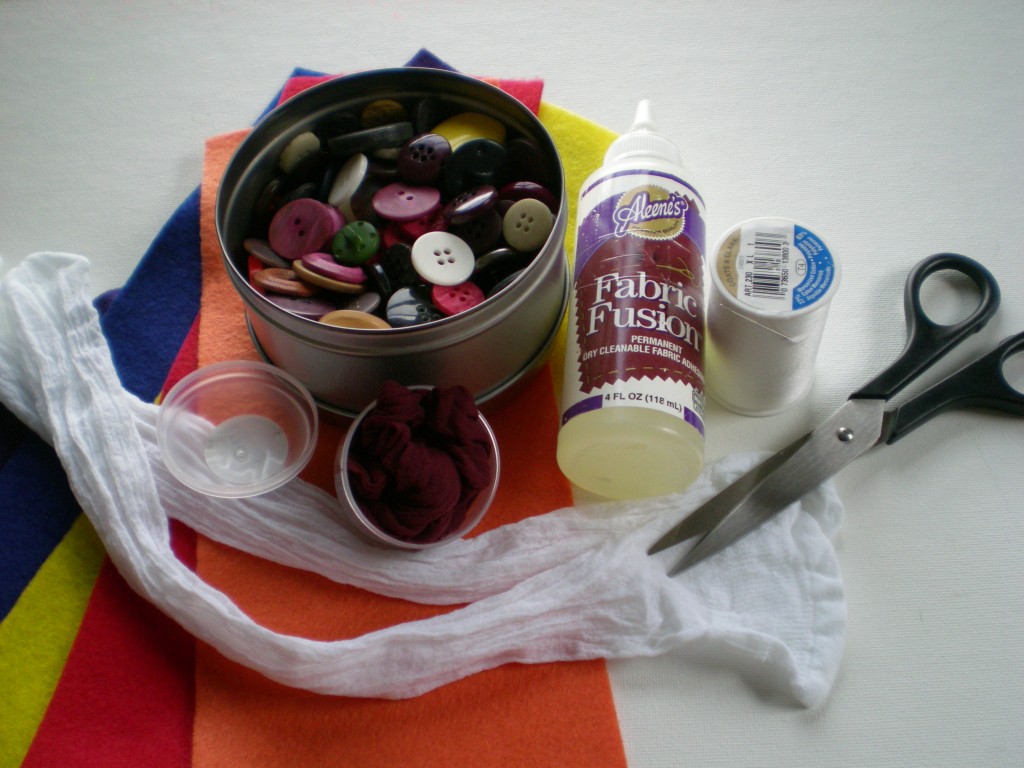
-package knee-high stockings (1 stocking makes 1 headband)

-scissors

-needle and thread (color to match the stockings)

Aleene’s Fabric Fusion Permanent Dry Cleanable Fabric Adhesive

-colorful felt pieces

-buttons (optional, for embellishment)

-clothespins (optional, for clipping in place while gluing/drying)

Make it:

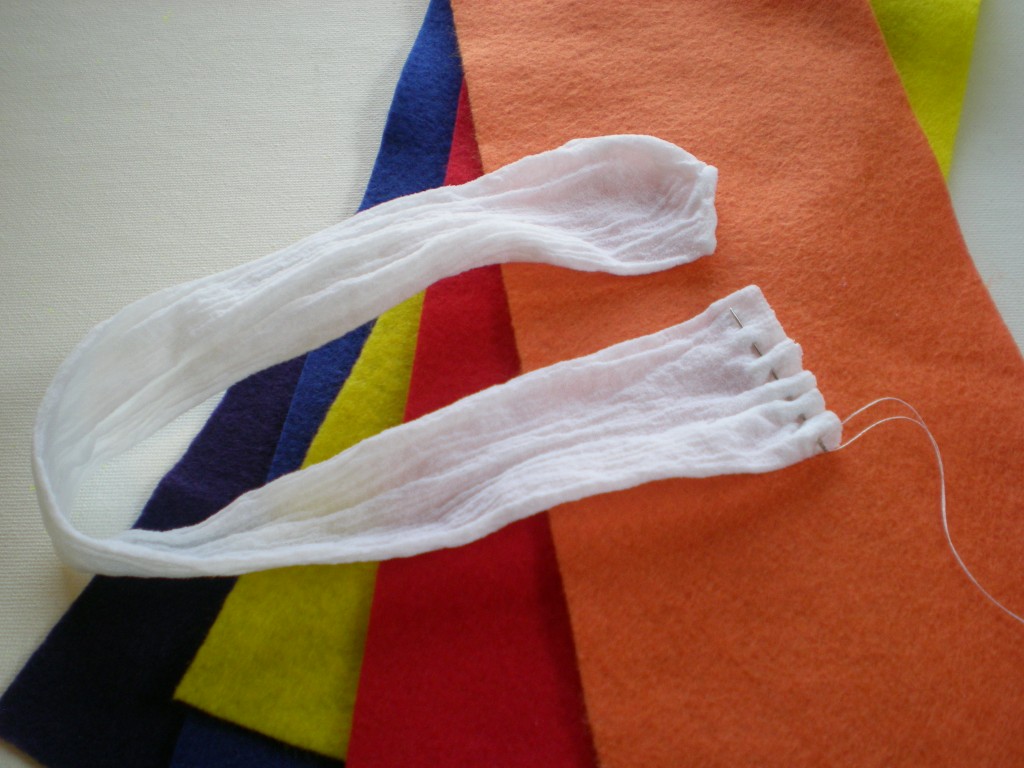
1. Remove the stockings from the packaging and stretch them out. Cut about 1″ off the top of one stocking and set it aside. Thread the needle, knot the end, and make a running stitch about 1/4″ from the cut end of the stocking.

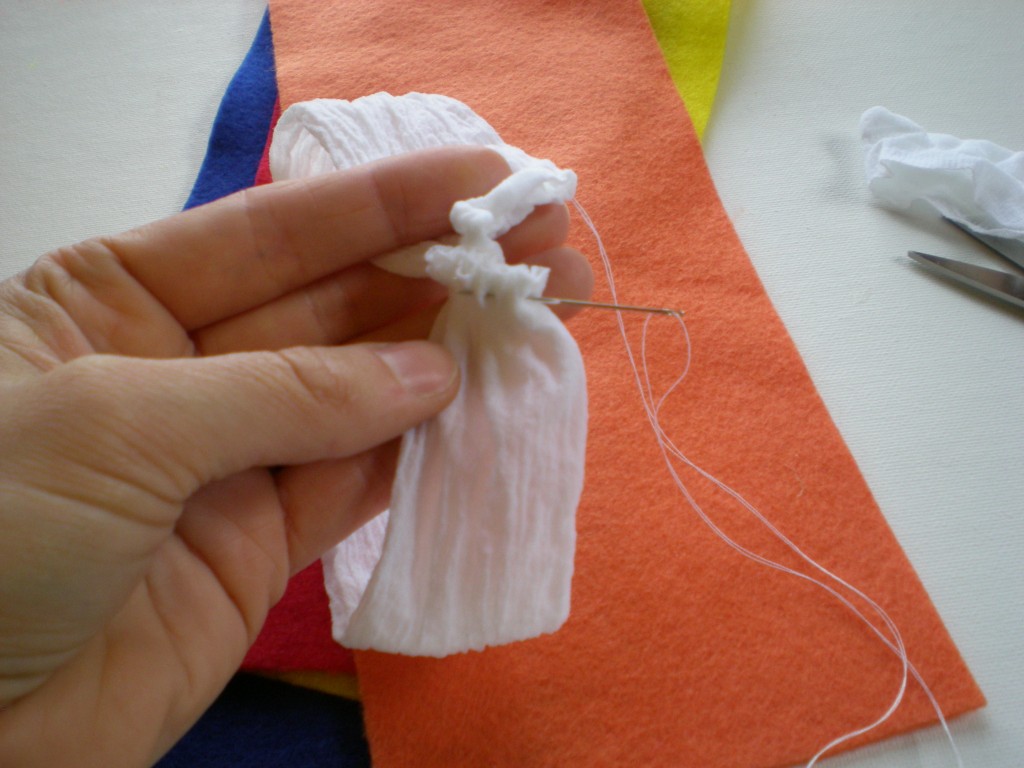
2. Sew a running stitch along the toe end of the stocking and gently pull the thread to gather the two ends of the stocking together, forming a loop. Make a few more stitches to secure the ends, and knot.

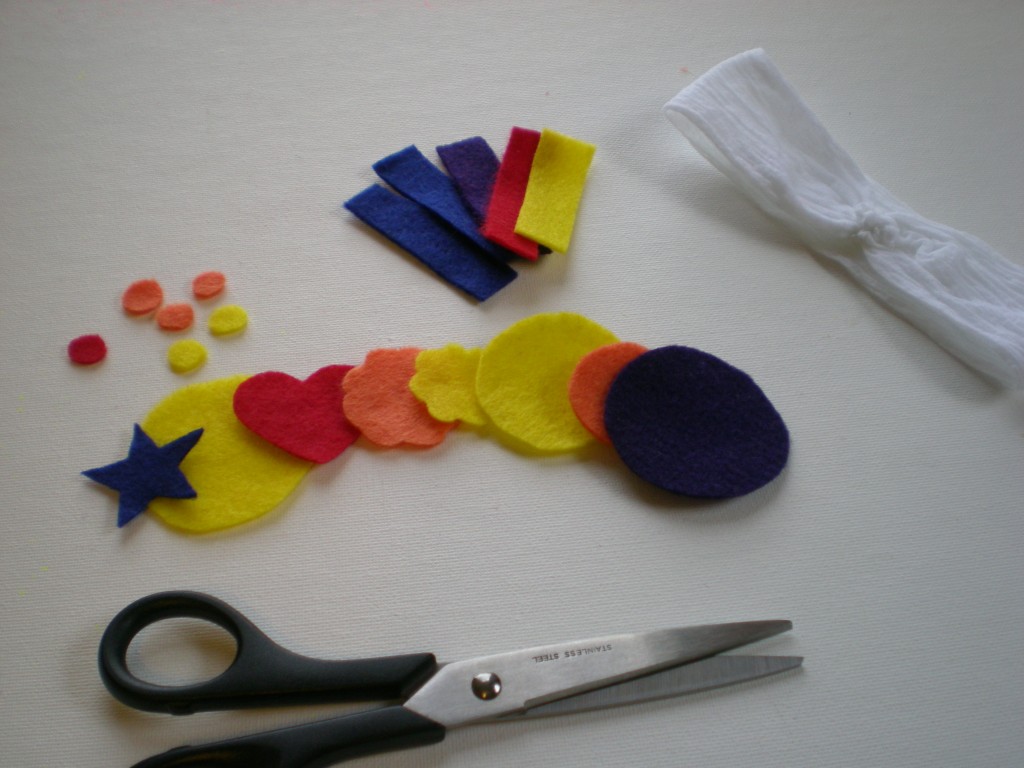
3. Set the loop (the headband) aside, and cut decorative shapes from the felt pieces. Cut several felt strips about 1/2″ by 3″.

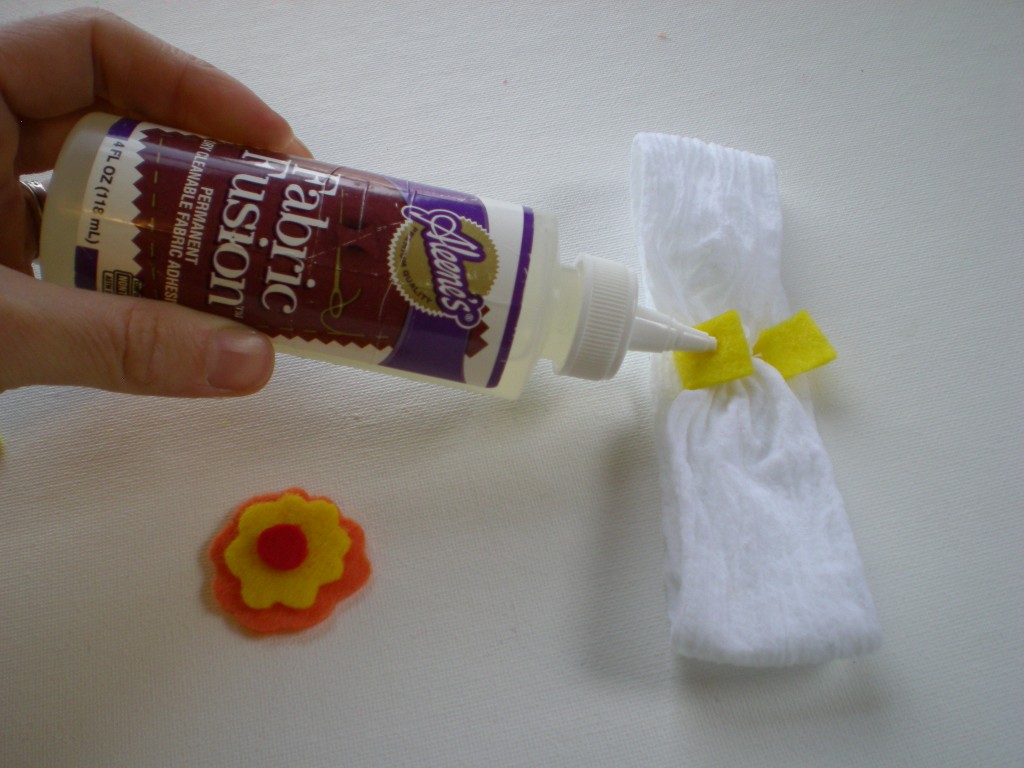
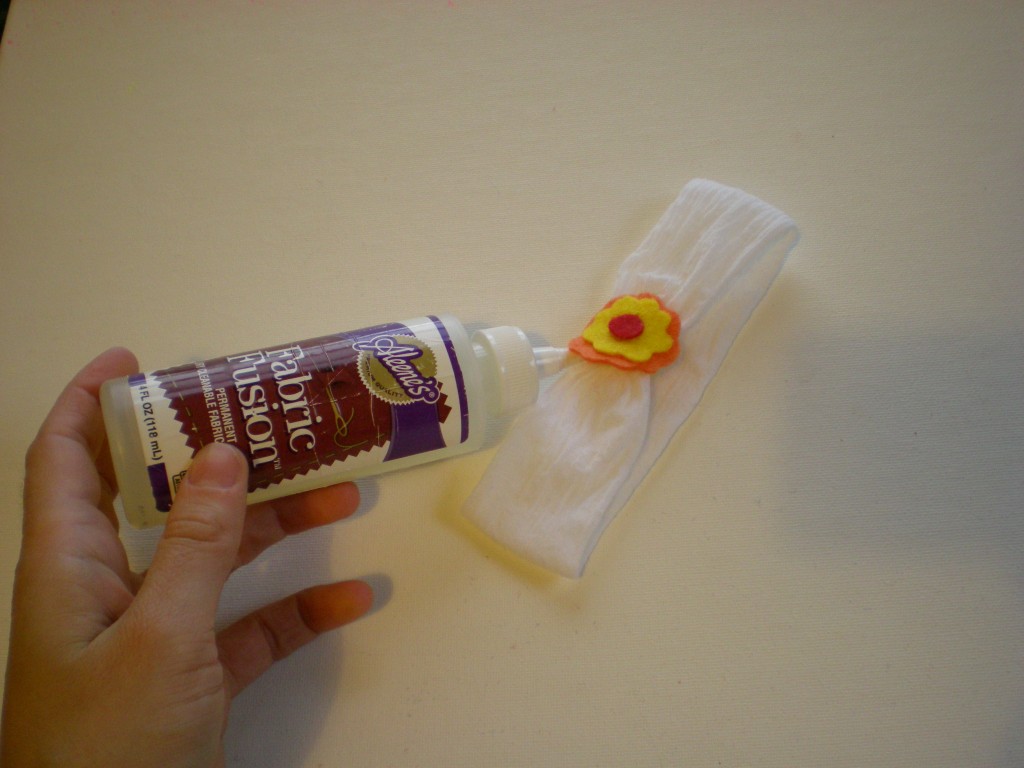
4. Wrap one felt strip around the gather on the headband (to hid the stitching and provide a base for the embellishment). Apply glue liberally to the ends of the strip and fold them over each other. Let dry, and reapply glue as needed. (Felt is a very porous fabric, so the glue gets absorbed easily.) While the glue dries on the headband, mix and match felt shapes to make embellishments. Optional: Add buttons, glitter, ribbon, even fabric scrapbook embellishments to personalize the headband.

5. Glue the felt embellishment over the felt seam and let dry. (Again, apply that glue liberally!)

6. You’re done! The stocking headband now becomes the perfect stocking stuffer! Or skip straight to the wearing part — with no complaints of pulled hair, and no shaggy bangs covering up her sweet little face! Tea party, anyone?
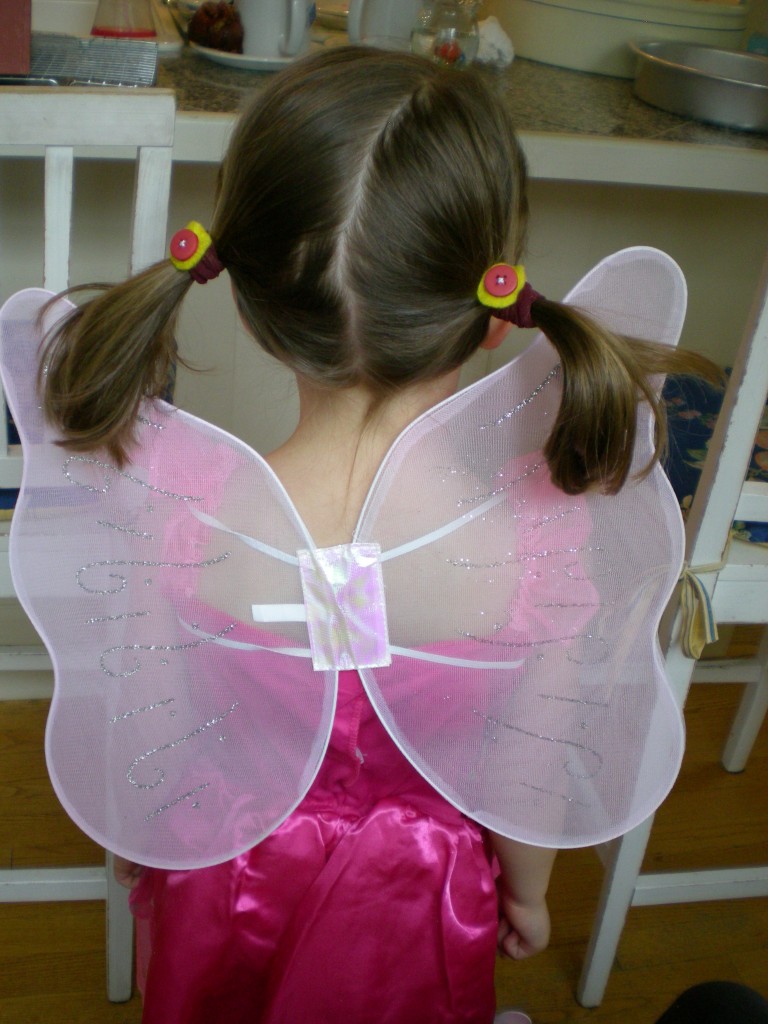
Bonus: Remember the 1″ bit of fabric you cut off the top of the stocking in step 1? Follow steps 4 and 5 to make No-tug Hair Ties! Perfect for taming pigtails, ponies, and braids. (Fairy wings come separately!)
Double bonus: If you buy your stockings at the pharmacy or the dollar store, they often come in little round plastic containers that can easily be converted into a simple cat toy — drop a button inside, snap it tightly closed, and roll it across the floor.


[ 5 Comments | Posted on December 28th, 2010 ]

I Love to Create: Softie Spiral Headband

Yes, Thanksgiving is nearly upon us, but I’m already looking beyond the food coma to the holiday party scene! A little bit of proper party headgear puts me in the mood. You can make this headband in an afternoon and be party-ready by evening. Make one in bright tones, and you’ll be able to transcend the cold weather and be positively springlike!

Materials:

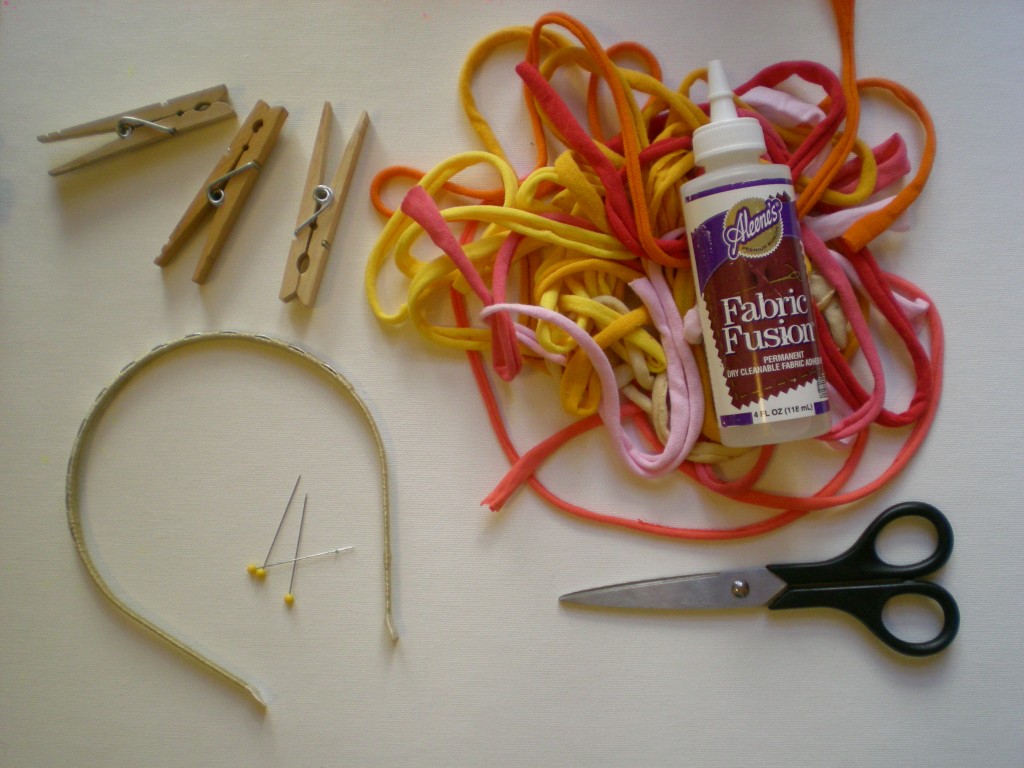
-1″-wide T-shirt strips of varying lengths (in complementary shades)

-Aleene’s Fabric Fusion Permanent Dry Cleanable Fabric Adhesive

-fabric scissors

-1 fabric-coated plain headband (preferably with a metal base)

-clothespins

-straight pins (optional)

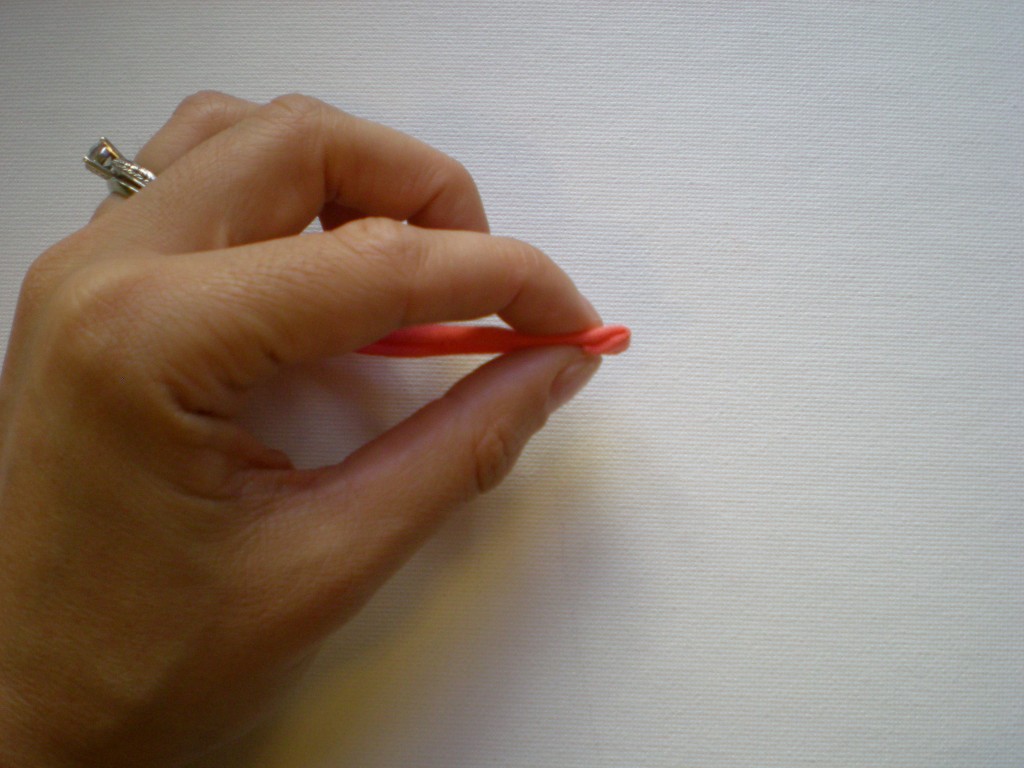
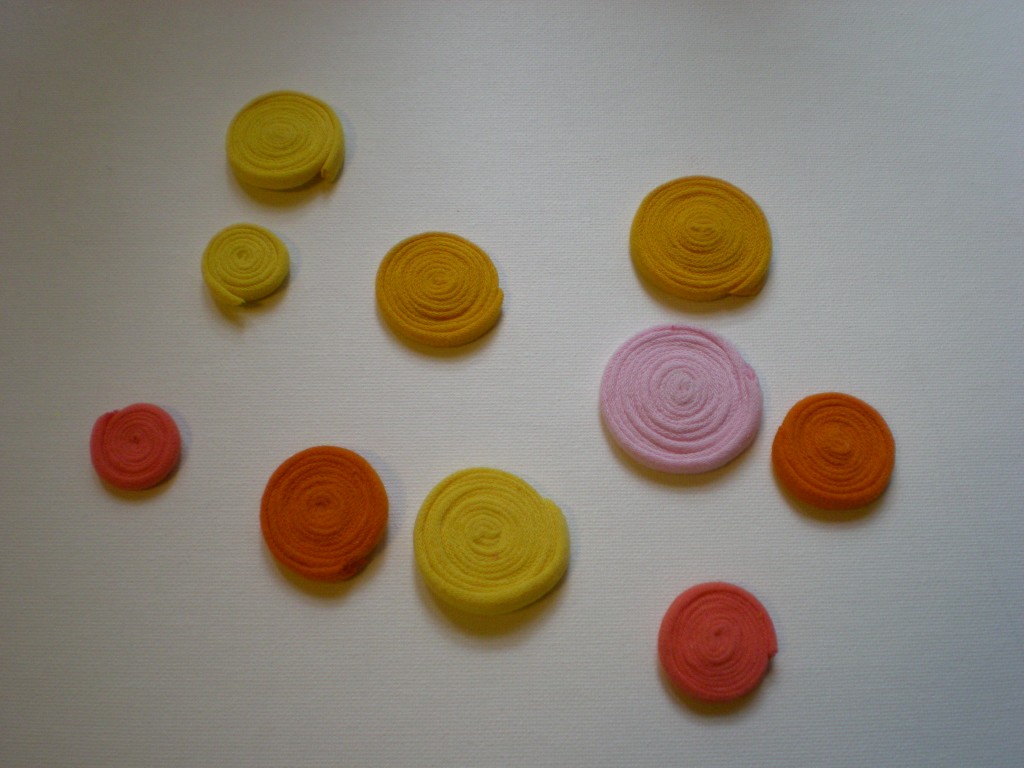
1. Gather the T-shirt strips. (A T-shirt hem works well — just cut off the stitching and stretch it out!) Select one strip, squeeze a dab of Fabric Fusion on the inside end and fold it over on itself.

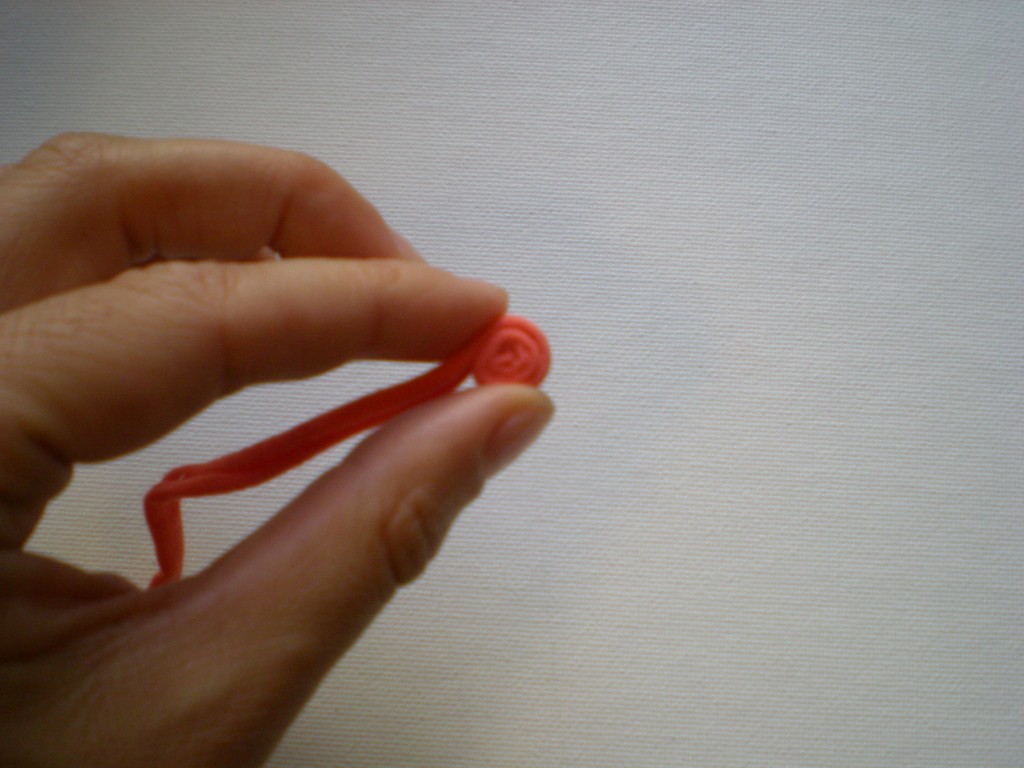
2. Gently squeeze more glue around the outside of the fold and coil more fabric into the glue.

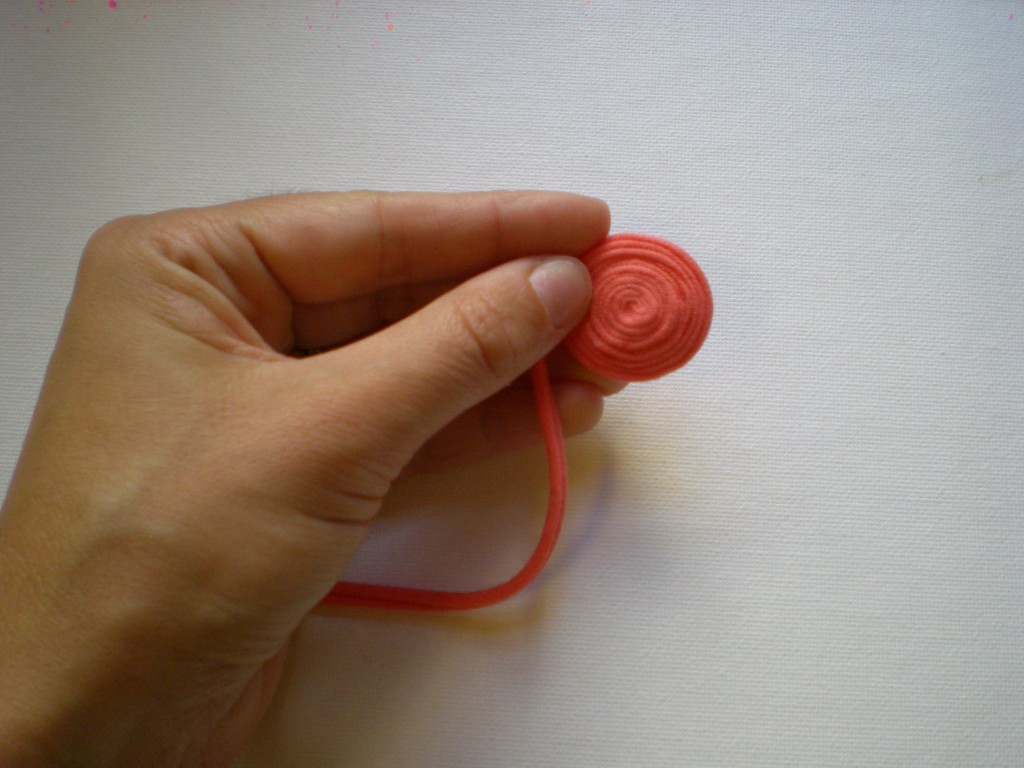
3. Continue gluing and coiling until you have a 1″ to 1.5″ fabric disc. Then snip the end at an angle and apply a bit of extra Fabric Fusion to make sure it flattens against the edge of the disc.

4. Repeat steps 1 through 3 to make seven to nine more discs! Optional: Use straight pins to keep the ends of the coils in place while they dry.

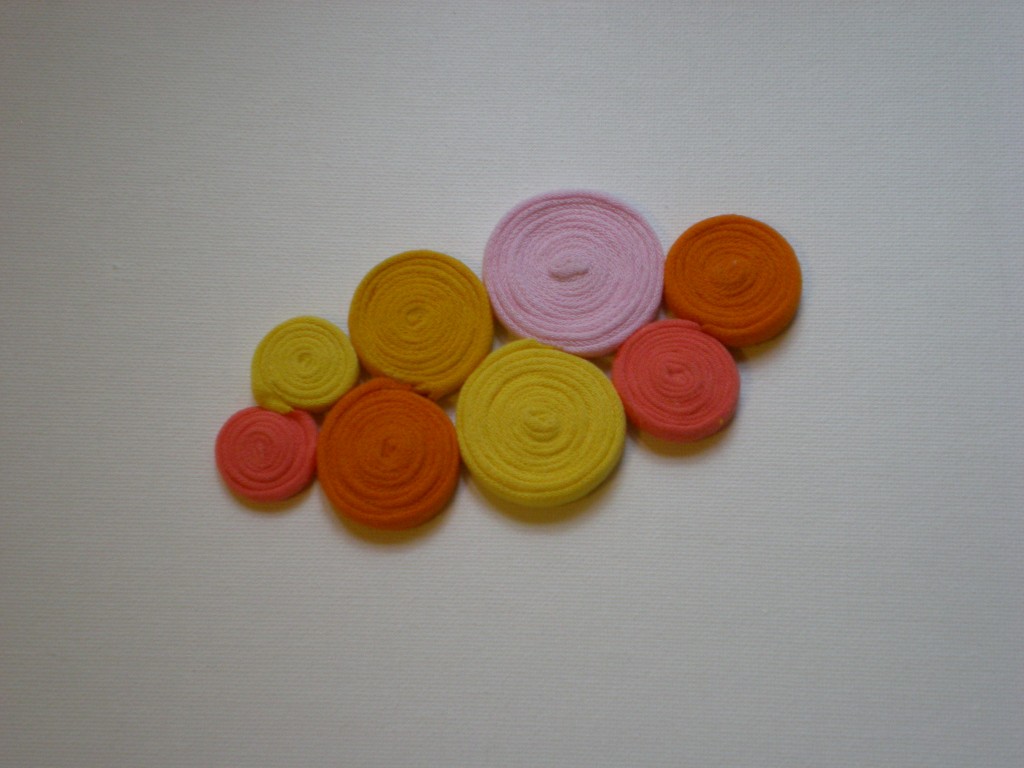
5. Arrange the discs in a pattern you like and glue them together at the intersections. Let the panel dry.

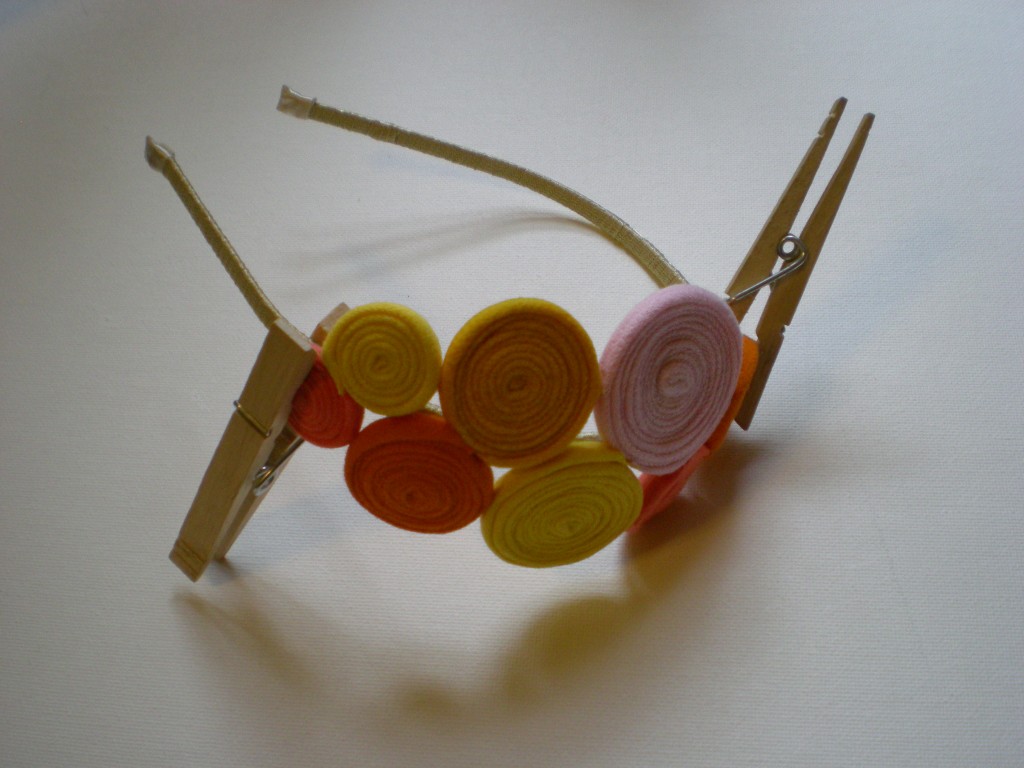
6. Apply glue along the top edge of the headband and gently press the panel against the headband.

7. Clip it in place with clothespins (so you don’t have to hold it in place). Let it dry.

8. Wear it hair up or down!

*Stay tuned for some crafty coil variations in the coming weeks!

[ 8 Comments | Posted on November 23rd, 2010 ]