Posts Tagged ‘iLoveToCreate’

How to: Frida-Style Braids with T-shirt Fabric

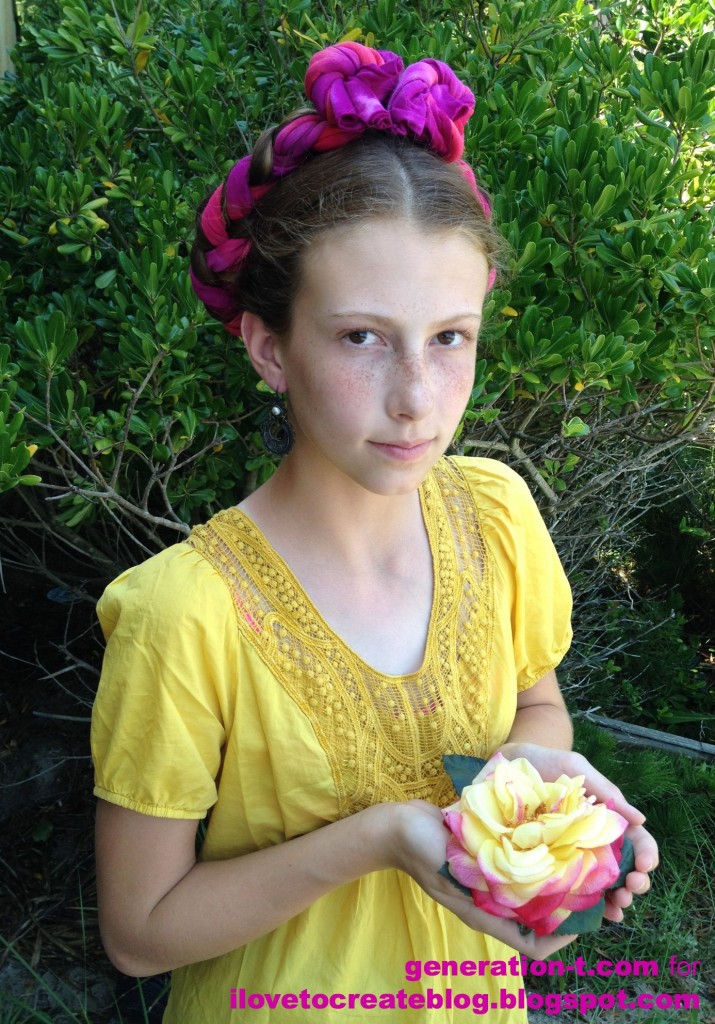
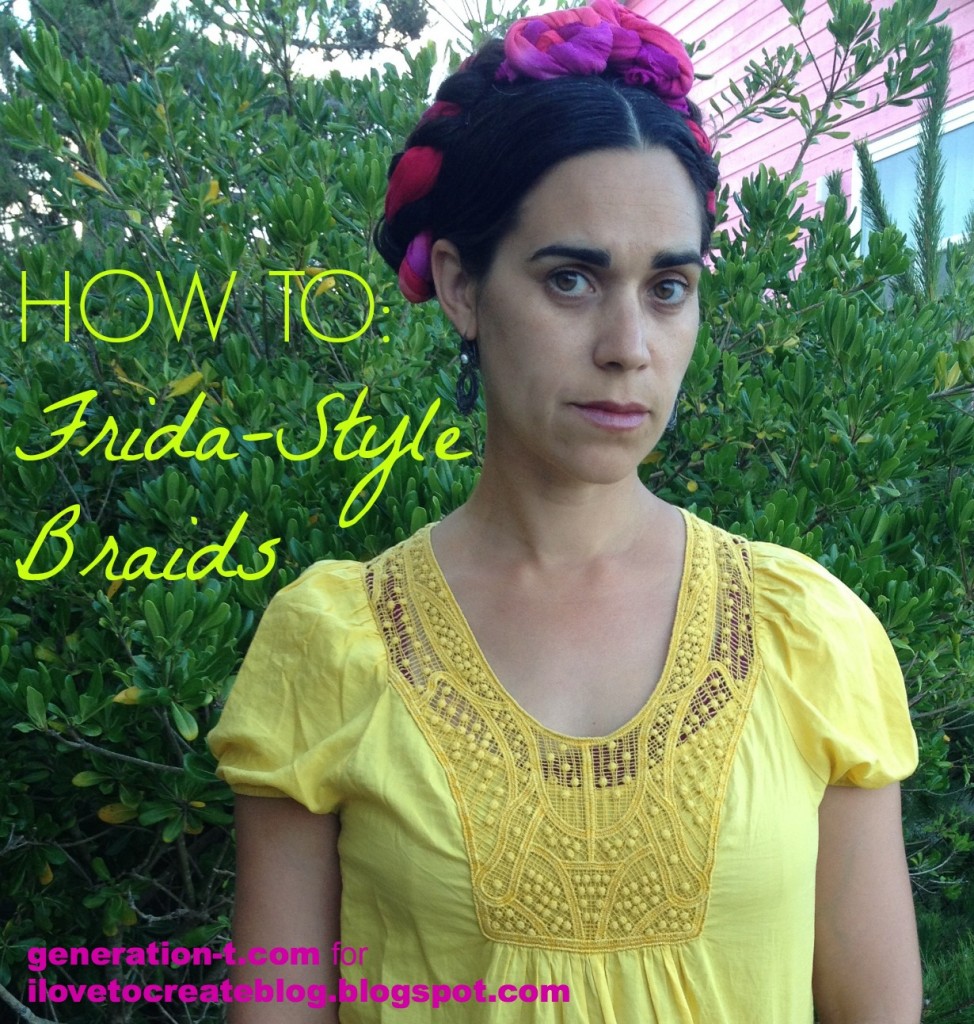
Happy Birthday to one of my favorite artists: Frida Kahlo. I’ve been wanting to post this tutorial for awhile now, and the occasion of her birth is the perfect opportunity. Here’s a simply way to dress up your hair using an old T-shirt, tie-dye, and scissors. FridaFinish3 generation-t.com

But first, some images of those inspiring braids from the queen of the Mexican art scene, who would be turning 107 if she were alive today:

Frida inspiration generation-t.com


megan-nicolay-blog-footer-1

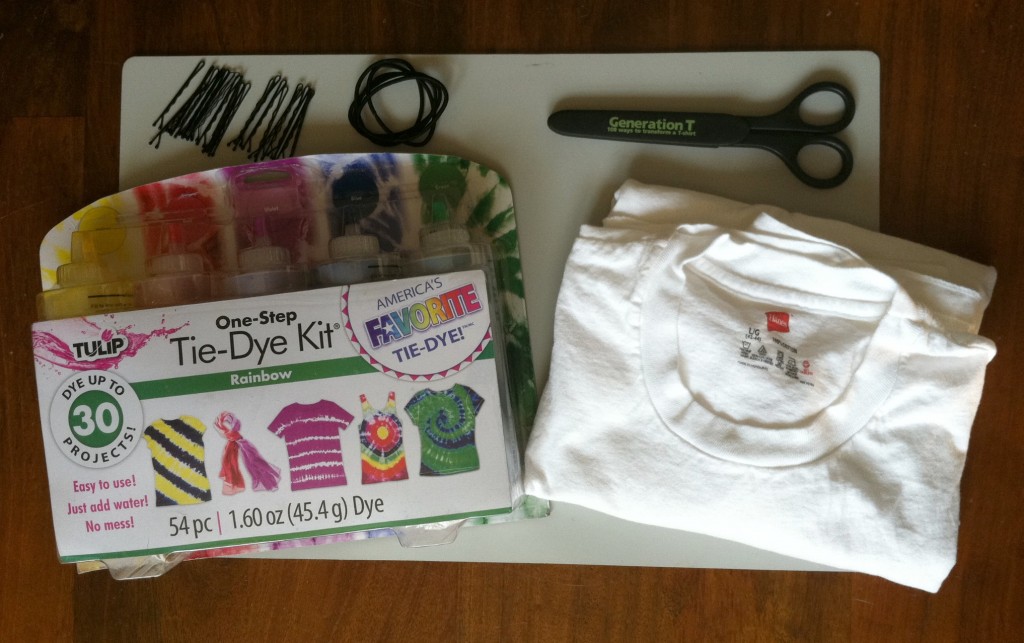
Materials:
Tulip One-Step Tie Dye kit
-Plain T-shirt (size M or larger)
-Scissors
-Comb
-Hair elastics
-Bobby pins

FridaMaterials generation-t.com

Make it:

Visit the iLoveToCreate blog for a full visual tutorial!

FridaFinish generation-t.com

Special thanks to my young friend, Emma, who patiently posed for the step-by-step tutorial!

FridaFinish4 generation-t.com

[ 1 Comment | Posted on July 6th, 2014 ]

DIY: Distressed American Flag Muscle Tee

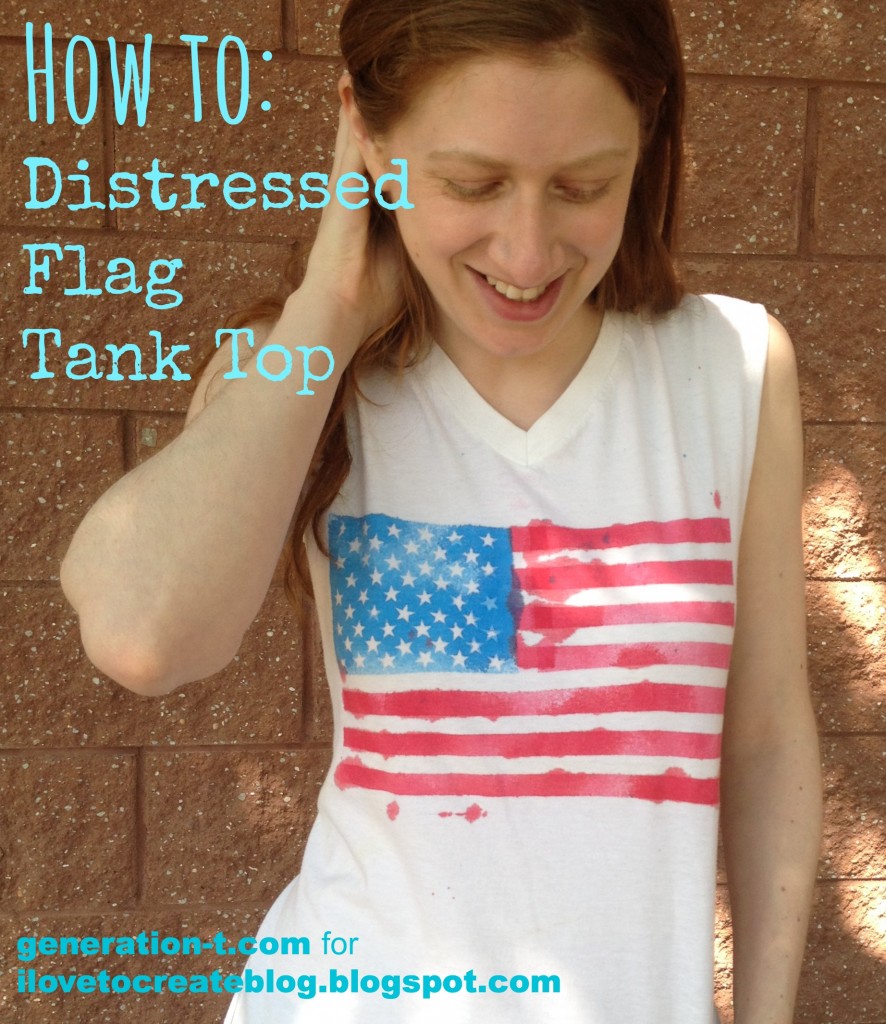
Between cheering on Team USA in the World Cup and all the 4th of July barbecues just around the corner, this project is at least a fashion twofer (at least — you can save it for next Memorial Day picnic, Flag Day…or whenever you’re feeling stylishly patriotic!).

USA tank top1 generation-t.com.jpg

With just a plain white T-shirt, some classic gold star stickers (50 of them, to be precise), clear tape, and fabric spray paint, you can, for just a few bucks, make a T-shirt that might otherwise retail for (gulp)…$84(!!!). Here’s how.megan-nicolay-blog-footer-1

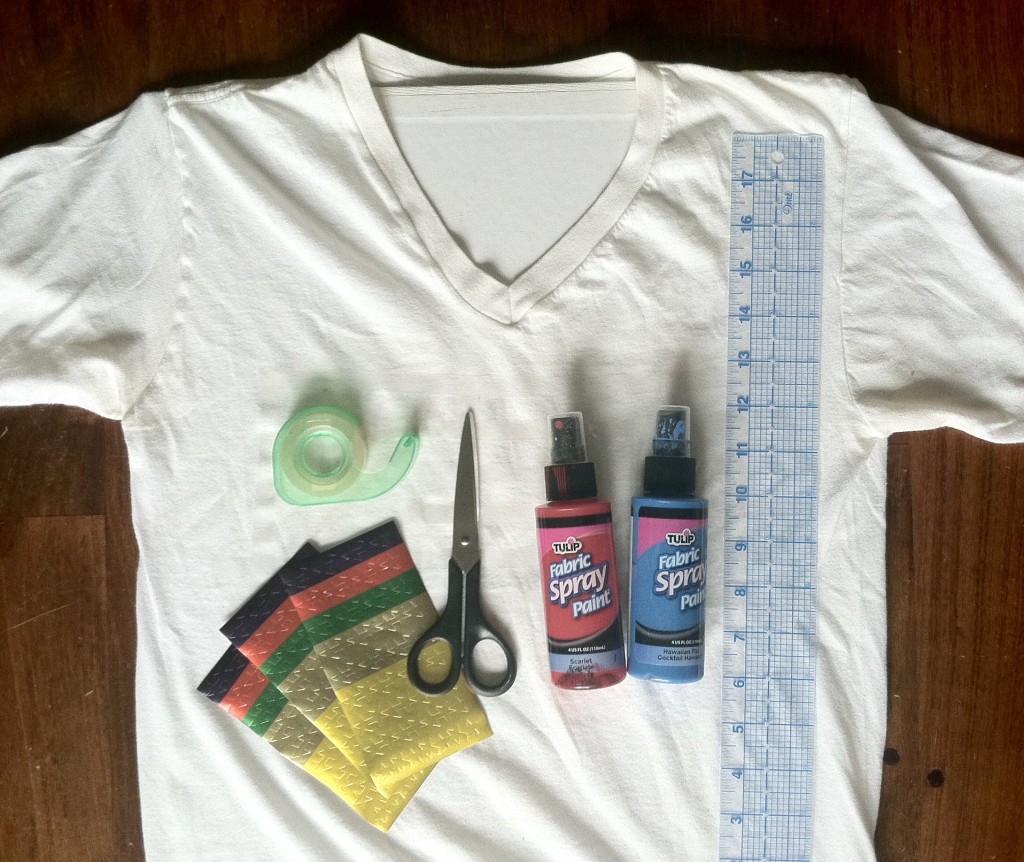
Materials:
-Plain white T-shirt (I chose an old V-neck, but crew-neck works just as well)
Tulip Fabric Spray paint in red and blue
-Gold or multi-colored star stickers (find them stocked with the teachers’ supplies)
-Clear tape (for best results, look for 1/2″-wide tape)
-Scissors
-Ruler
-Scrap cardboard and/or paper to mask and insert between the layers of the shirt

Flag Step1 generation-t.com

Make it:
1.
Head over to the iLoveToCreate blog for my complete step-by-step tutorial!

USA tank top2 generation-t.com


[ 3 Comments | Posted on June 24th, 2014 ]

Spell-It-Out Birthday Shirts (for Every Age!)

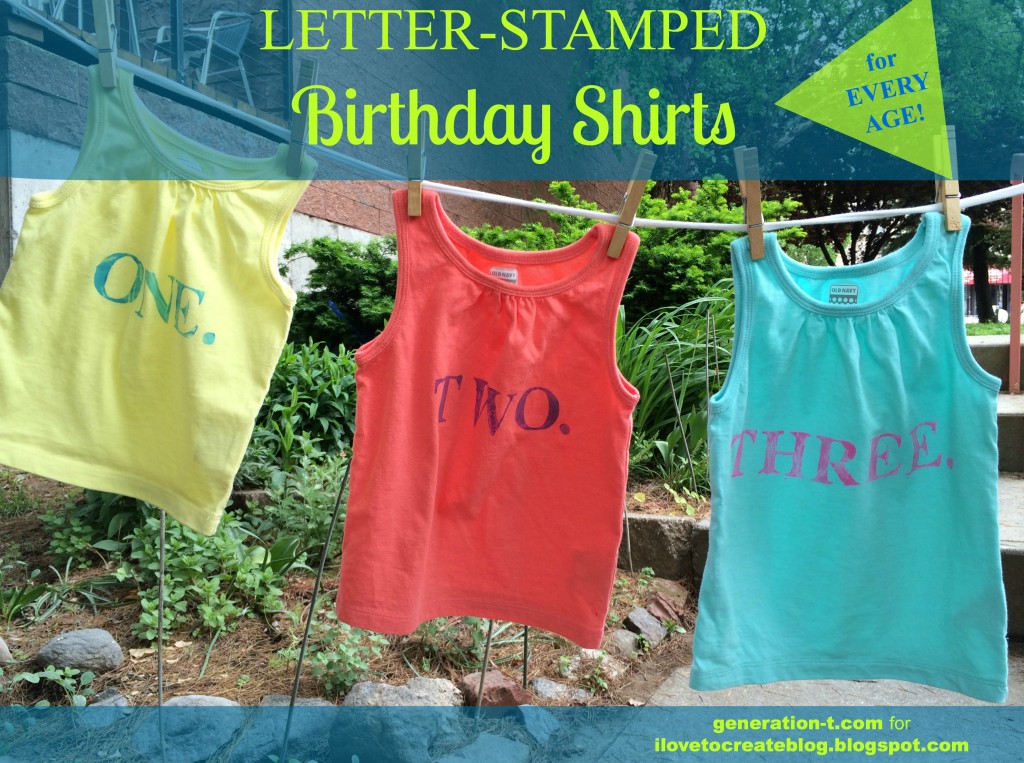
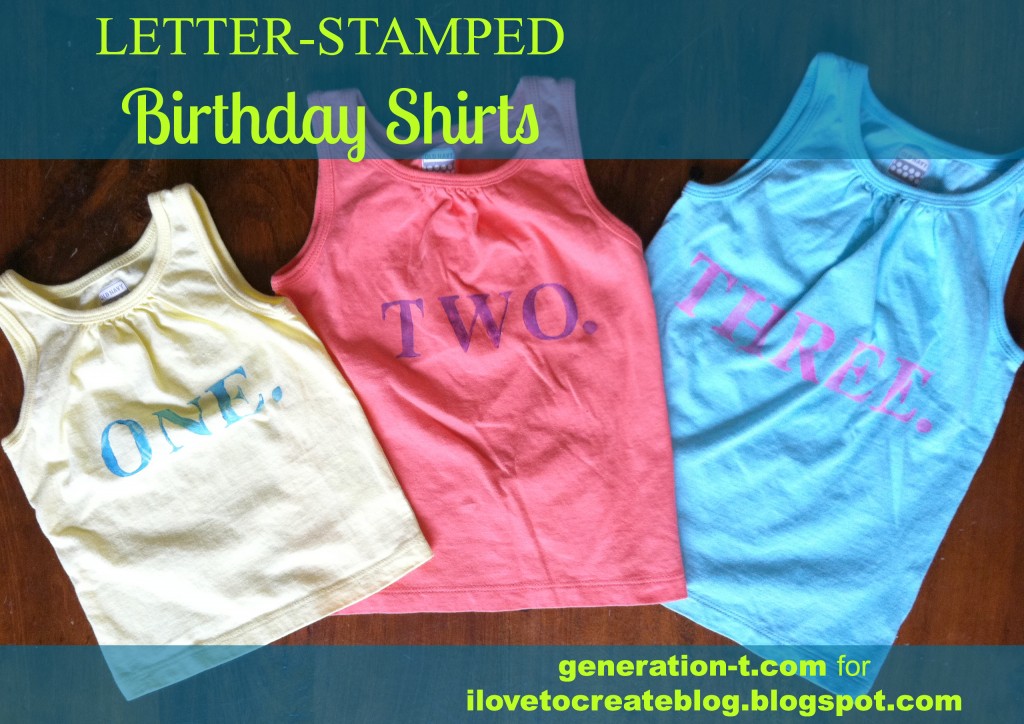
I love using words and type in my crafts (see exhibits ABCDE, and F…), so was super excited when some Scribbles Alphabet Stamps arrived in a recent crafty care package! With a friend’s daughter’s birthday around the corner, and armed with my new letter stamps and fabric paints, I knew just what I wanted to make: a series of birthday tops, each to announce the birthday girl’s age (and yes, there are number stamps, too, but I like to spell things out!).123Finish generation-t.com

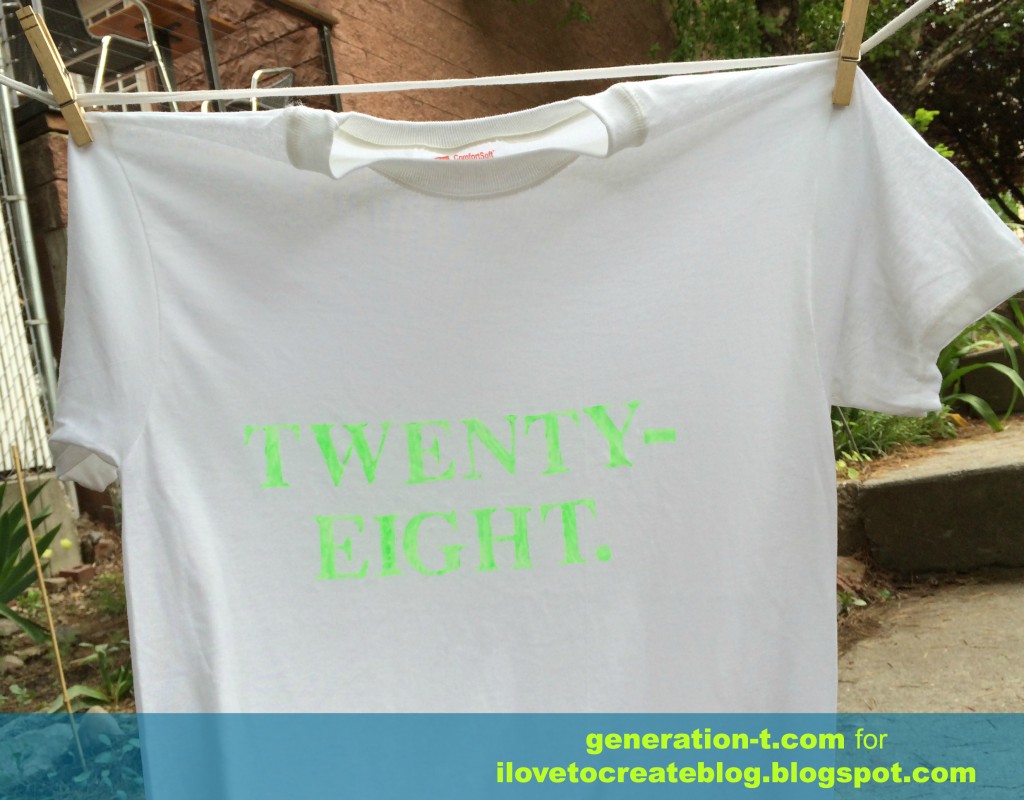
I made a series of three, but if you scroll all the way down, you’ll see there’s no reason why you have to stop at the single-digit ages!

megan-nicolay-blog-footer-1

Materials:
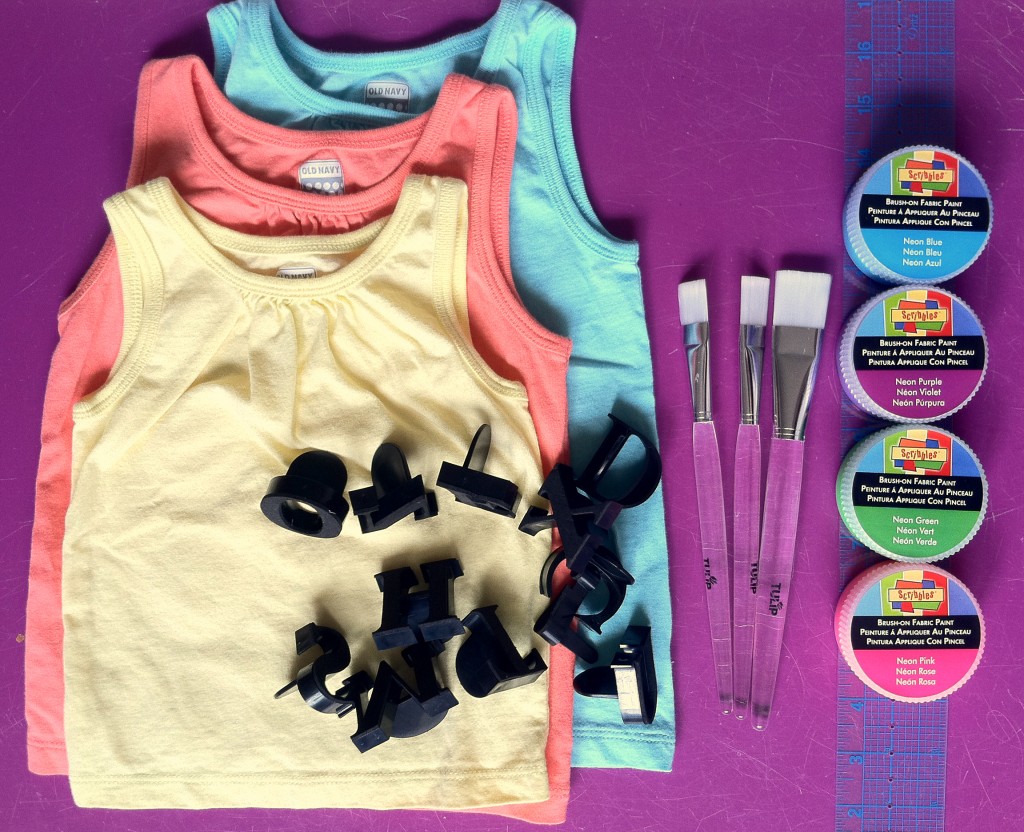
Scribbles Brush-On Fabric Paint
Scribbles Alphabet Stamps
Tulip Fabric Paintbrushes
-Ruler

-Plain T-shirt or tank top
-Scrap paper or cardboard (to prevent the paint from bleeding through the layers of the shirt)

Materials1 generation-t.com

Make it:
1.
For step-by-step photographed instructions, click through to the iLoveToCreate blog!

ONETWOTHREE generation-t.com

123FinishAlt generation-t.com

[ Comments Off on Spell-It-Out Birthday Shirts (for Every Age!) | Posted on May 27th, 2014 ]

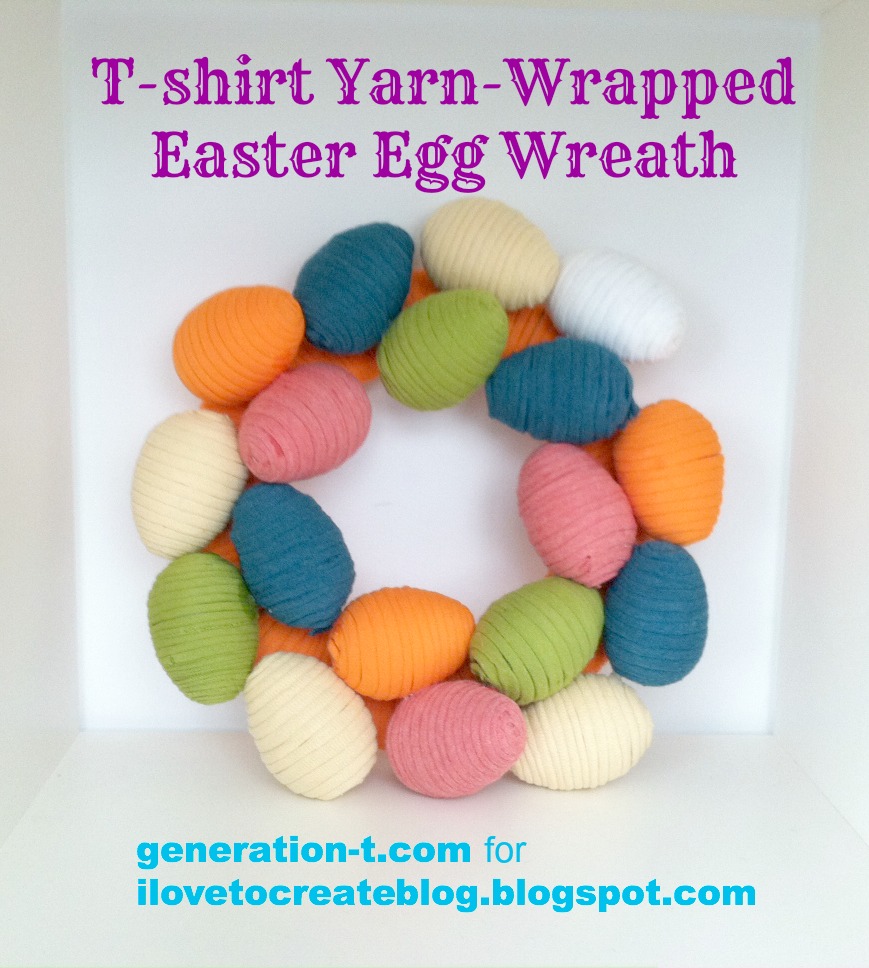
T-shirt Yarn-Wrapped Easter Egg Wreath

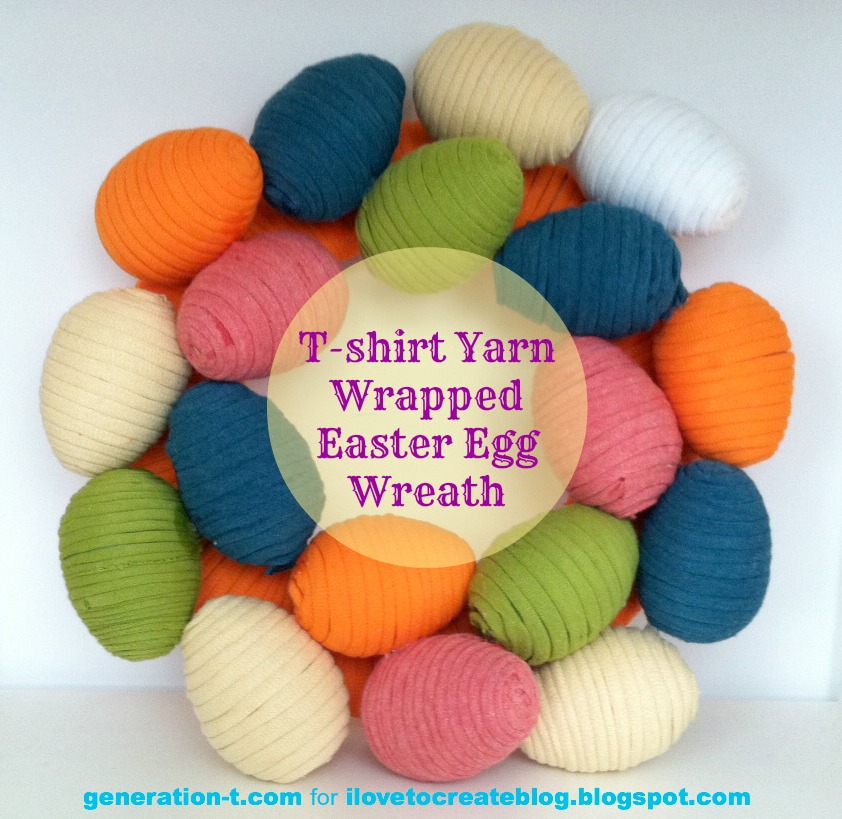
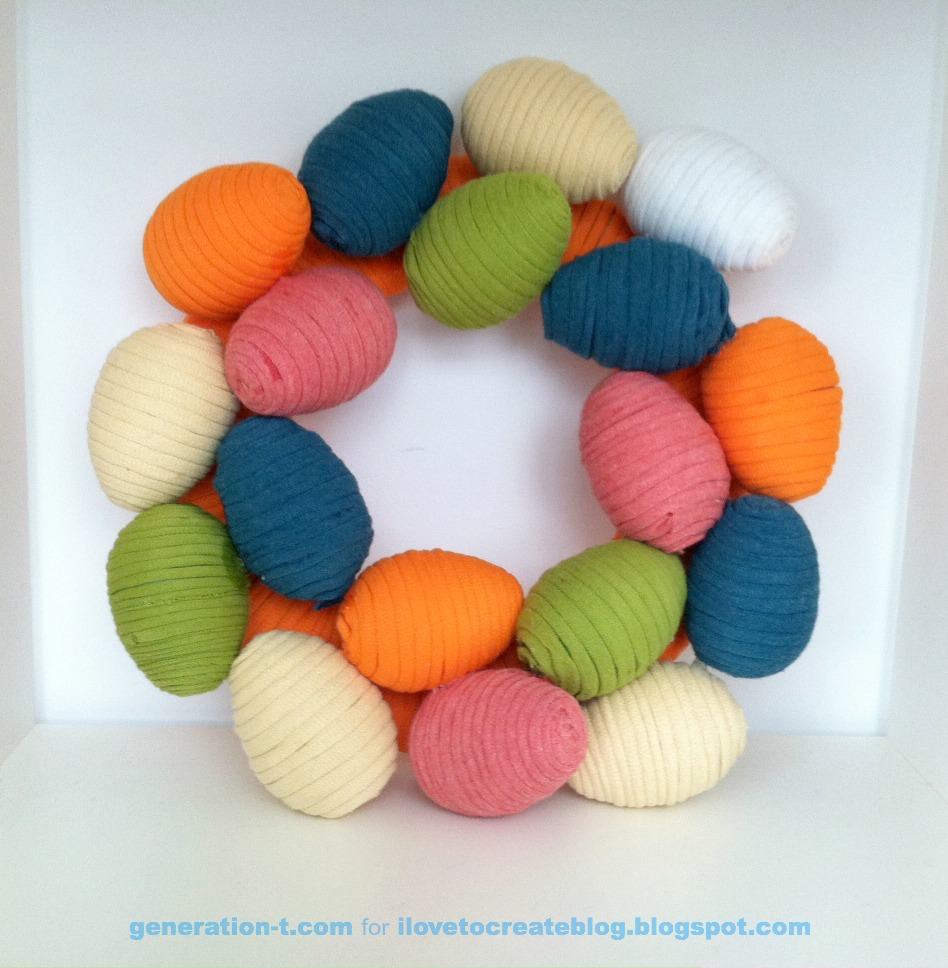
Egg Wreath generation-t.com
For this easy, bright DIY holiday decor, I was inspired by this yarn-wrapped egg wreath I stumbled upon on Pinterest. (Oh, and check out Aunt Peaches’s yarn-wrapped eggs tutorial over at the iLoveToCreate blog!) But, being that I have stashes of T-shirt scraps rather than traditional yarn, I adapted the project to my own scrap heap (and recycling bin). Pick traditional pastels from your T-shirt stash, go for brights, or tie-dye all those shabby old white ones to make ombre eggs.

megan-nicolay-blog-footer-1

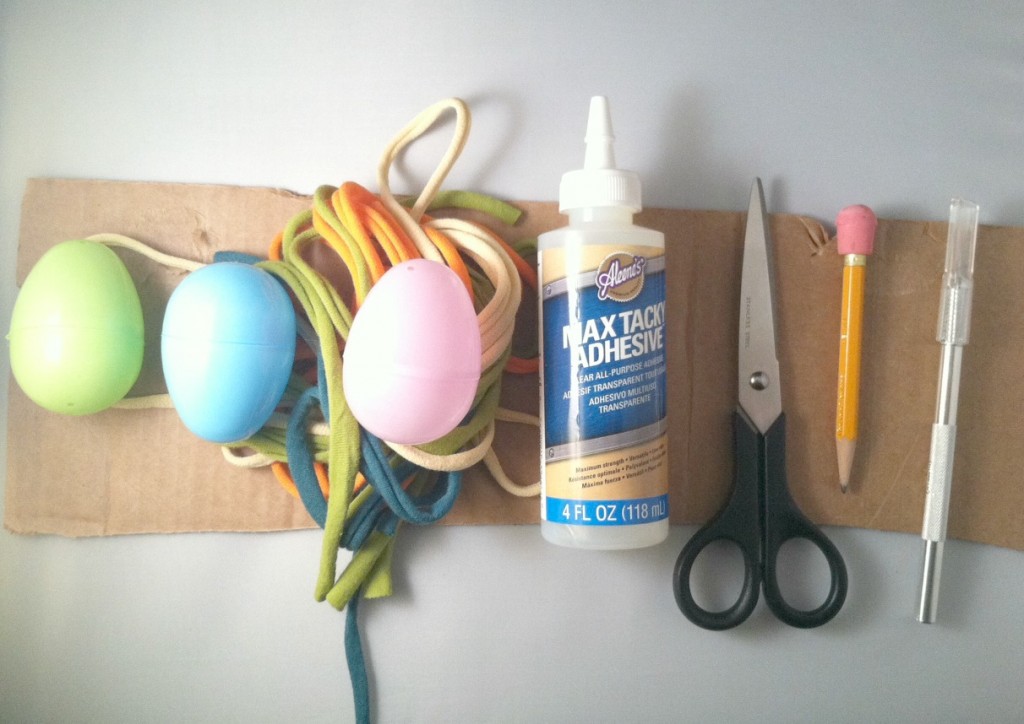
Materials:
-18-24 plastic eggs

-18-24 lengths of T-shirt yarn, plus more for the wreath base (ideally, yarn should be stretched from 1/2″ to 3/4″-wide strips)
Aleene’s Max Tacky Adhesive
-fabric scissors
-cardboard box (to make the wreath base)
-pen/pencil
-craft knife
-tape (optional)
Tulip Beads in a Bottle (optional)
Tulip One-Step Tie-Dye Kit (optional)

Egg Wreath materials generation-t.com

Make it:
Click through to the complete step-by-step tutorial over on the iLoveToCreate blog.

Finish Egg Wreath generation-t.com

t-shirt yarn wreath generation-t.com

[ 1 Comment | Posted on March 25th, 2014 ]

The ABCs of DIY Shoes

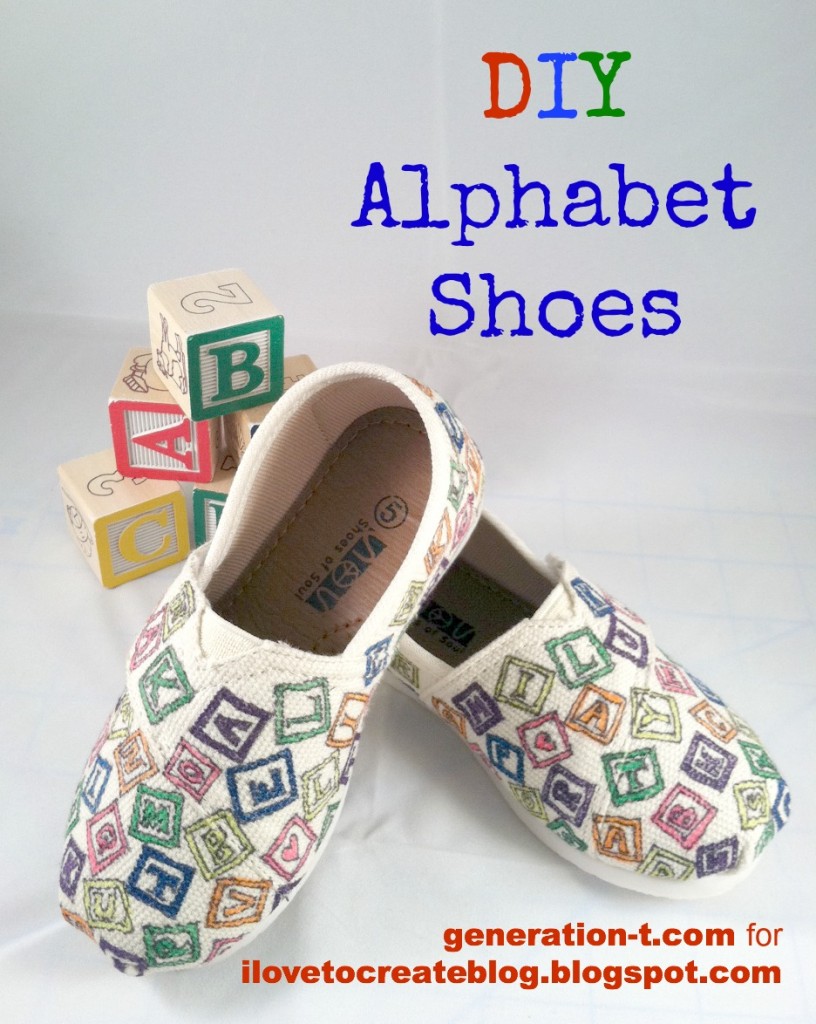
My toddler is VERY into his letters and numbers lately, so when it came time to think up a theme for a spring shoe refashion, his vintage-style alphabet blocks stood out from the pack (that, and I’m not as good at drawing dinosaurs or trains, which would have been the other top contenders!).

ABC shoes finish2 generation-t.com

And sure enough, when I presented them to him the morning after I made them, he picked one up and said, “ABC shoe!” Exactly, my dear. Now we can practice his letters and colors while we’re on the go!

megan-nicolay-blog-footer-1

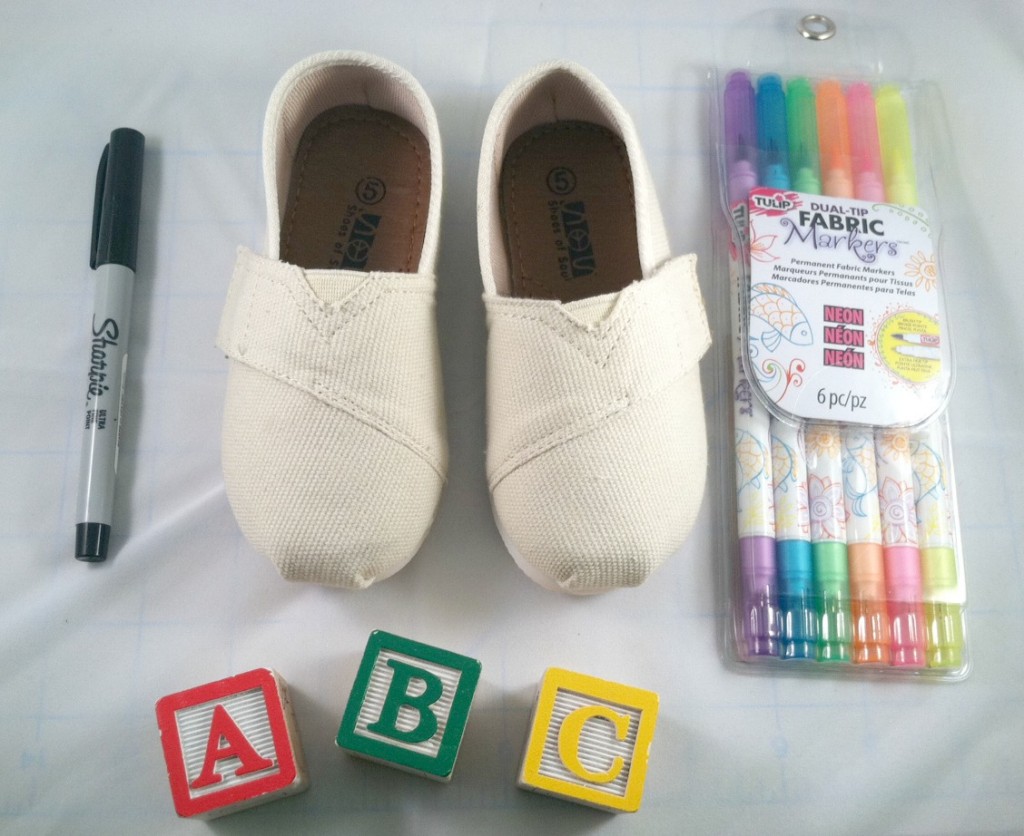
Materials:
-White canvas shoes
-Black permanent pen

Tulip Dual Tip Fabric Markers (Neon)
-Alphabet blacks (optional, for inspiration!)
ABC shoes materials generation-t.com

Make it:
Follow the step-by-step instructions over at the iLoveToCreate blog!

ABC shoes4 generation-t.com

Psst! Not just for toddlers! Decorate any size shoe for a delightfully personalized style statement — just be sure to schedule in more time, since there’ll more surface area to cover.


[ 1 Comment | Posted on February 25th, 2014 ]

DIY Phases of the Heart T-shirt

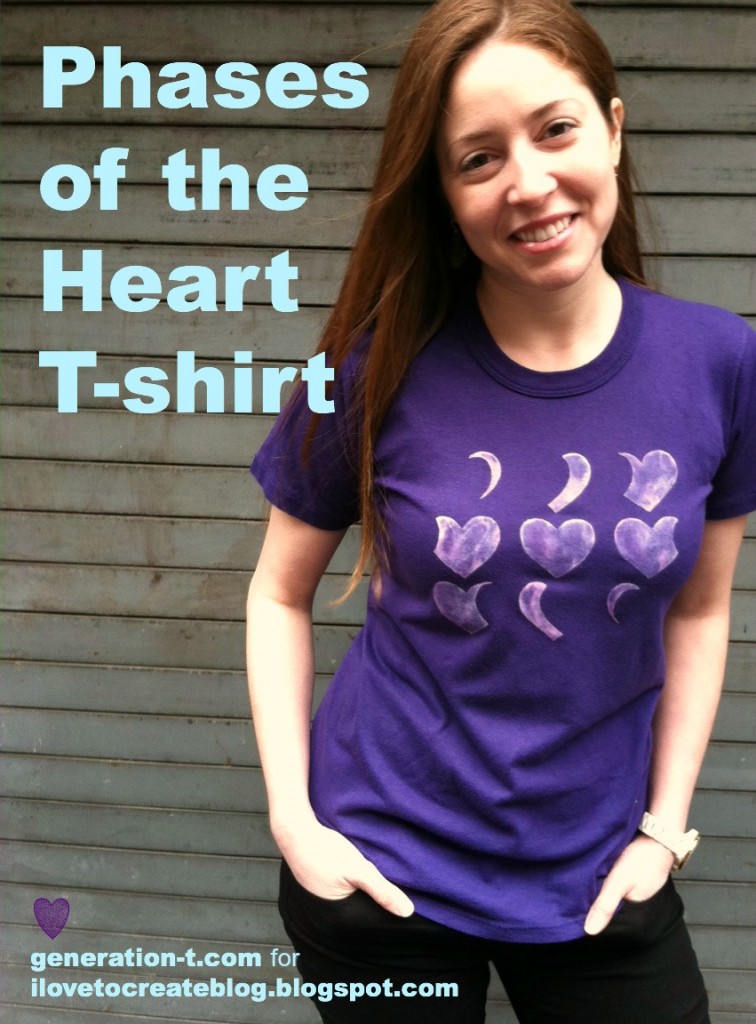
I was recently inspired by a DIY phases of the moon T-shirt I saw on Pinterest, and thought it would be fun to try a heart shape in place of the moon. Though Valentine’s Day is an odd one to celebrate — it’s gotten a little commercial in the past few decades for my tastes, but I do appreciate another opportunity to tell the people dearest to me that I care about them with an extra hug, a simple handmade valentine…or a T-shirt! (PS: Did you know that the holiday is celebrated as “Friend Day” in Finland? I love that!)
Phases of the Heart Finish2 generation-t.com

megan-nicolay-blog-footer-1
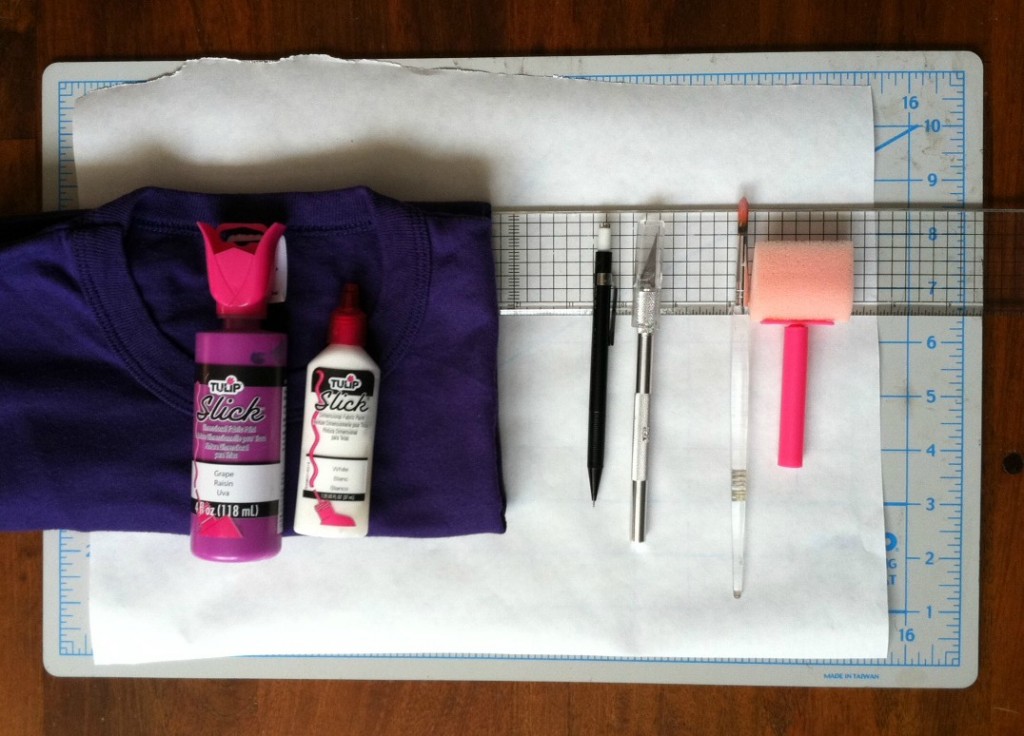
Materials:
-1 plain T-shirt (I chose purple to suggest a night sky background)
Tulip “Slick” Dimensional Fabric Paints (I mixed about equal parts Grape and White)
Tulip Sponge Brushes or Tulip Fabric Paintbrushes
-Freezer paper (to create the stencil)
-Pen or pencil (to sketch)
-Craft knife and cutting mat
-Iron and ironing board
-Scrap paper or cardstock
-Ruler

moonphases materials generation-t.com

Make it:
Follow the step-by-step instructions over at the iLoveToCreate blog!

Phases of the Heart Final1 generation-t.com

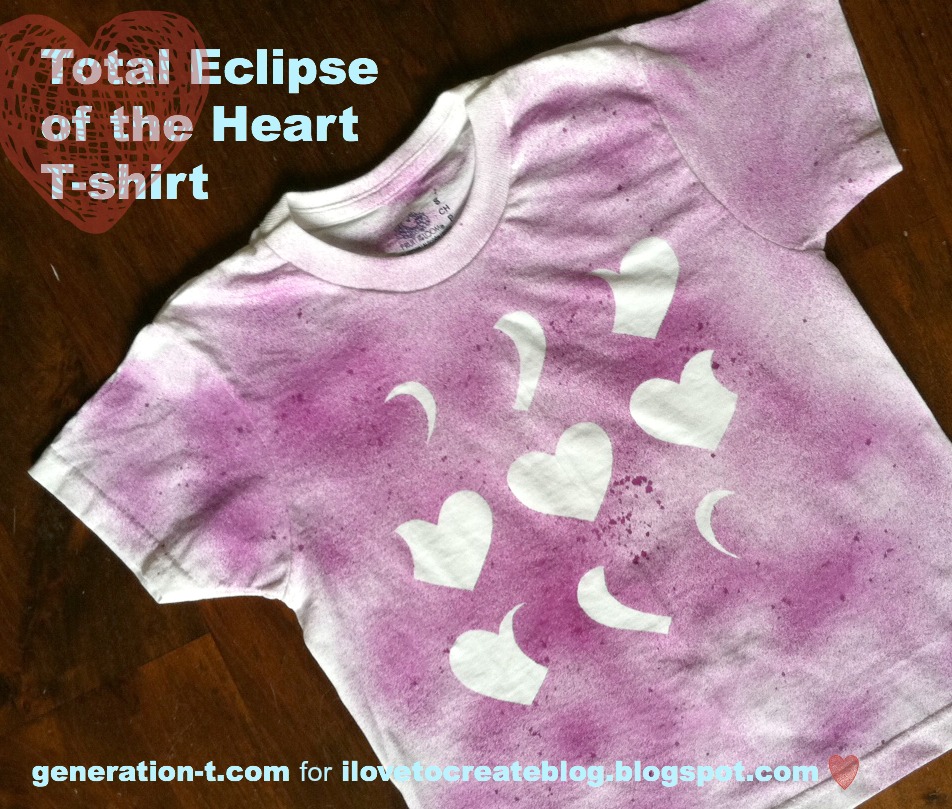
BONUS: Click through to the steps over at iLoveToCreate to use your scraps from the original stencil to make a second shirt!
moonphasesALT1 generation-t.com

[ 1 Comment | Posted on January 28th, 2014 ]

Anaheim, CA @ CHA Winter Convention

I’m on the west coast this weekend, at the Cre8Time booth (#2443) from 11:00 AM to 1:00 PM today, Sunday, January 12, 2014 with the @iLoveToCreate folks (booth #1008) here at #CHAShow (#CHA2014). Stop by to rest your weary feet and exercise your creativity, making jewelry out of T-shirt scraps! Yesterday we crafted necklaces, bracelets, earrings, brooches, and more, using all sorts of techniques. It’s a true TEE PARTY, with lots of your favorite crafters.

photo 1

Come hang with us:

Megan Nicolay (Generation T)
Jennifer Perkins (aka Naughty Secretary)
Jade Harrington (aka Jaderbomb)
Cathy Attix (aka Trinkets In Bloom)
Margot Potter (aka The Impatient Crafter)

and MORE!

Come stop by and say hi! I’ll be posting more pics soon…

[ Comments Off on Anaheim, CA @ CHA Winter Convention ]

Fall Fashion: Decorating with Leaves, 3 Ways!

Before the snowflakes make their grand and permanent seasonal entrance, I’m stuck on fall. The leaves are so beautiful this time of year in Brooklyn. I was up in New England for peak color, but even the last few weeks in Brooklyn have yielded a lovely array of color and variety.Leaf main generation-t.com
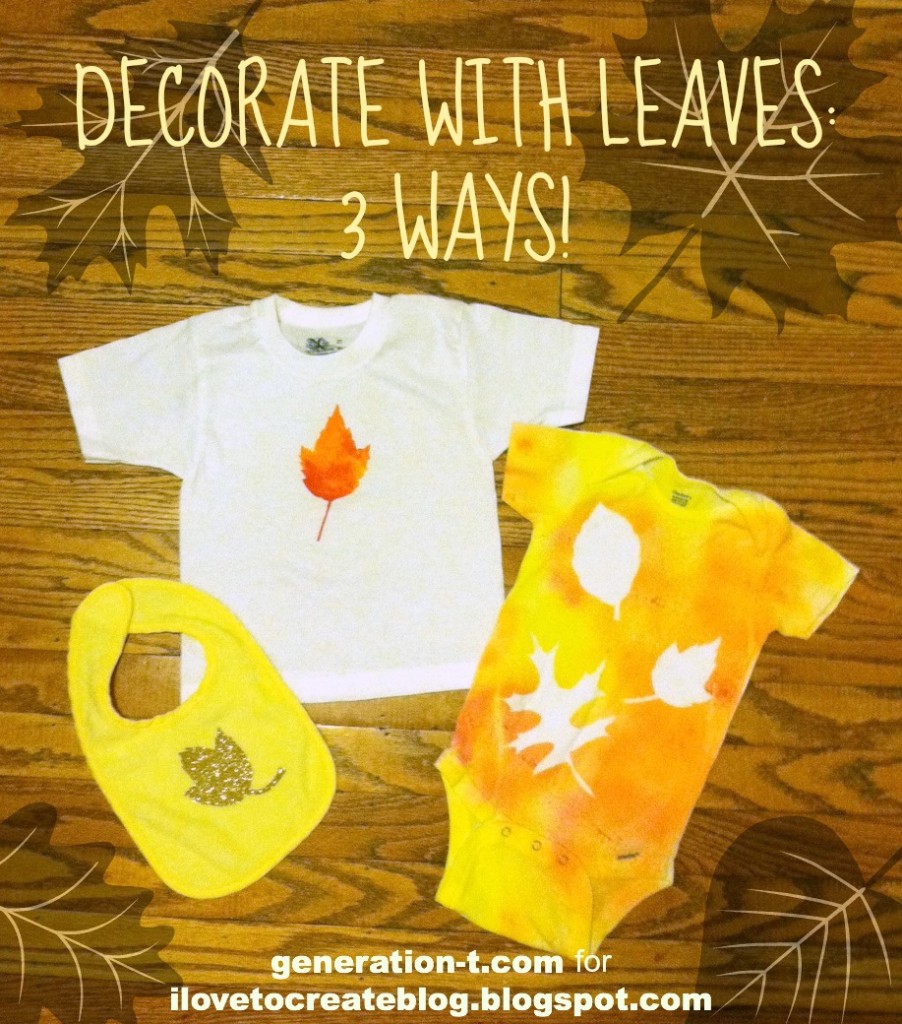
Of course, no matter how you try to keep them, the color fades, and they become dry and brittle. Here are three projects with a common autumnal theme that, like the snowflakes I made and painted last year, help make nature last a little longer.

megan-nicolay-blog-footer-1

INSPIRATION 1: DIY Leaf Stencil: This one starts with your basic stencil…
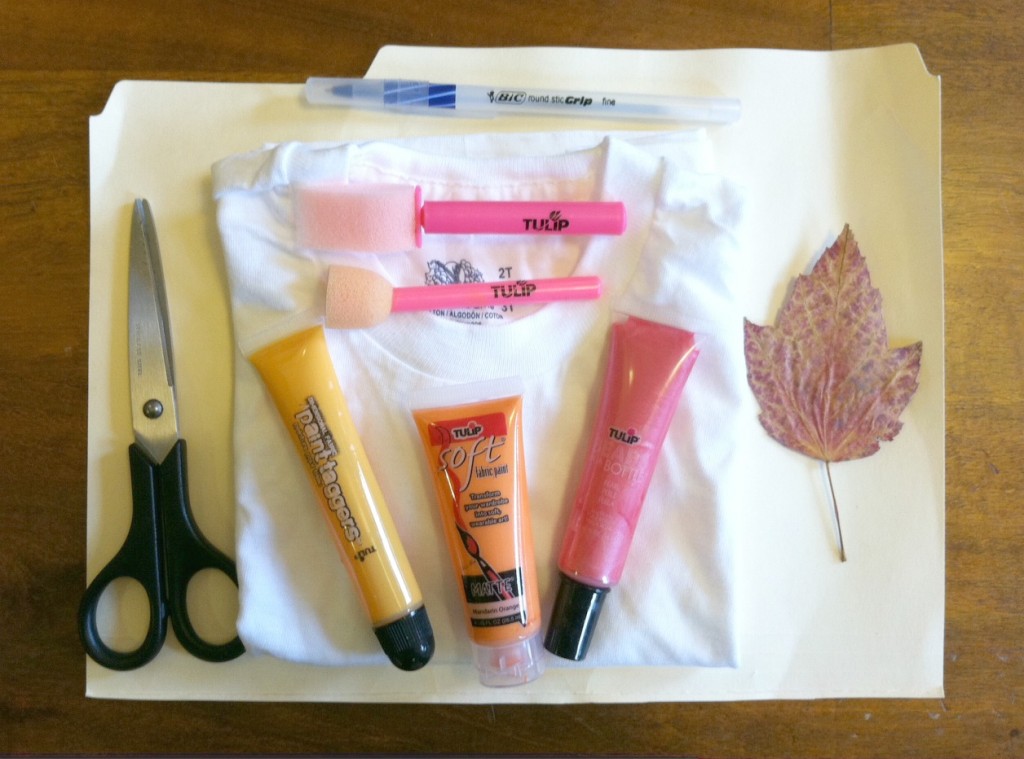
Leaf stencil materials
Materials:
-variety of Tulip soft paints and/or Tulip 3D Fashion Paints (in shades of red, orange, and yellow)
Tulip sponge brushes and/or Tulip sponge pouncers
-variety of pressed leaves for inspiration
-sheet of card stock (or scrap manila folder)-pen or pencil
-scissors or craft knife and cutting mat
-plain T-shirt (lighter colors work best, but white is not required!)
-paint palette (or a plastic container from the recycling bin)
-scrap paper (optional) for inserting between the layers of a T-shirt

Make it:
For complete step-by-step instructions, visit the iLoveToCreate blog.
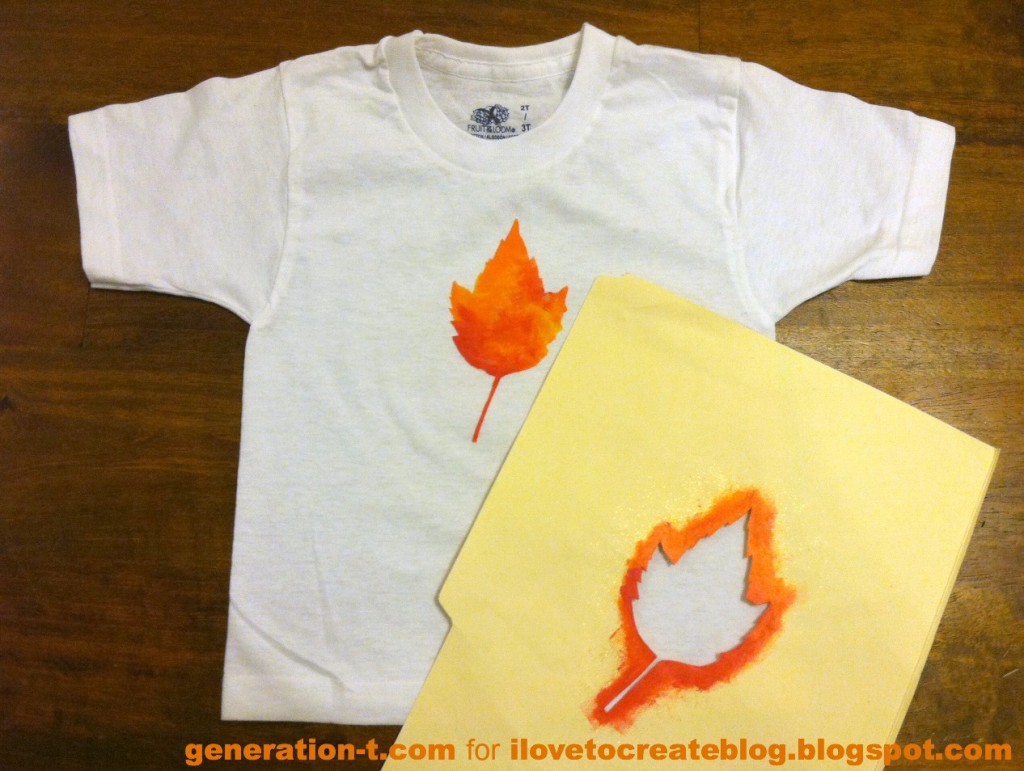
Leaf stencil paint finish

INSPIRATION 2: Reverse Leaf Stencil: This is the same concept as the stencil out of card stock, but you’re instead using freezer paper as your mask, and painting the space around the leaf.
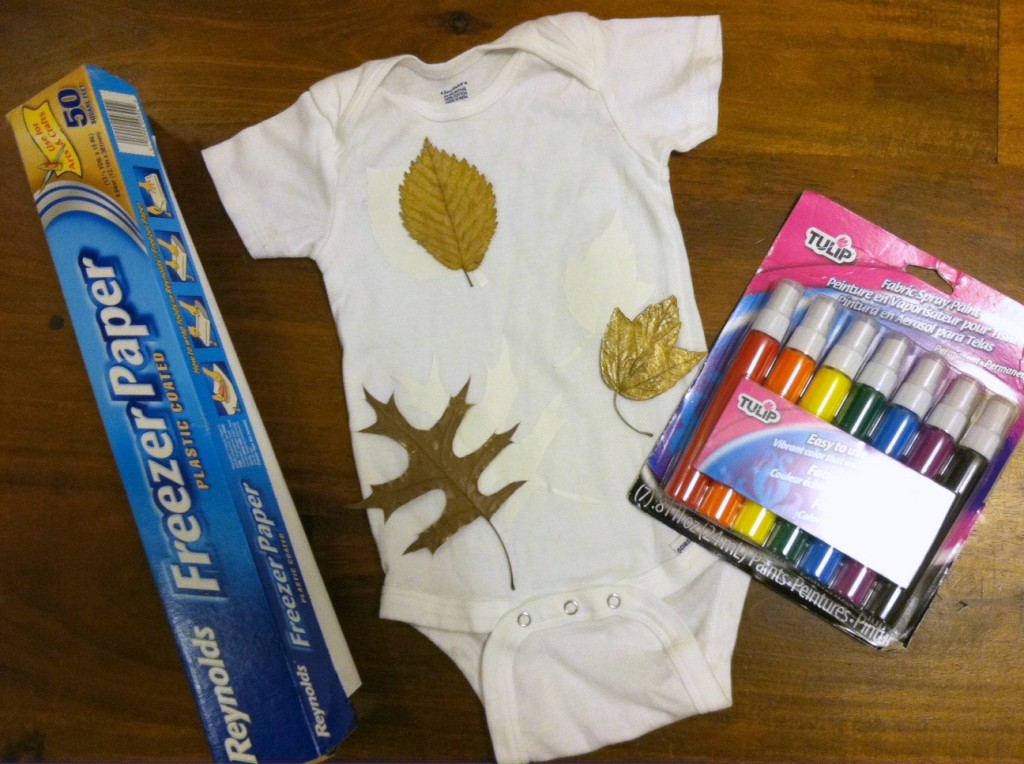
Leaf reverse materials

Materials:
-variety of Tulip Fabric Sprays (in shades of red, orange, and yellow)
-variety of pressed leaves for inspiration
-sheet of freezer paper
-pen or pencil
-scissors or craft knife and cutting mat
-iron and ironing board
-plain T-shirt or onesie (lighter colors work best, but, again, white is not required!)
-scrap paper (optional) for inserting between the layers of a T-shirt and to protect your work surface from paint

Make it:
For complete step-by-step instructions, visit the iLoveToCreate blog.
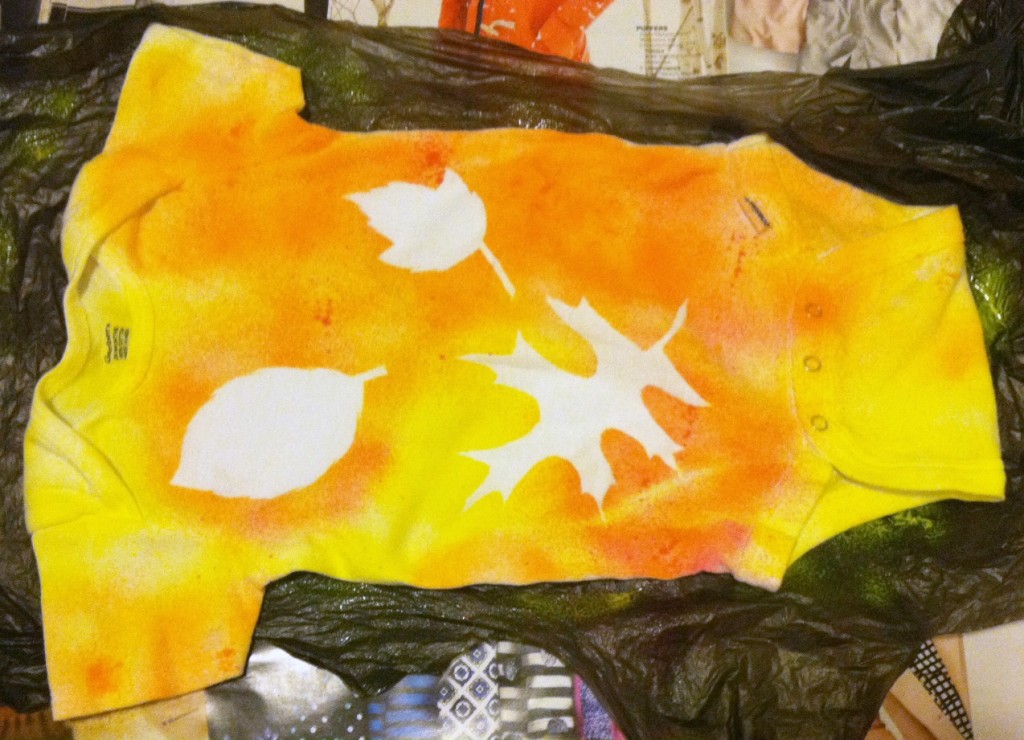
Leaf reverse peel

INSPIRATION 3: Glitter Leaf Appliqué: Like the reverse leaf stencil, you’re using the actual leaf shape (rather than the negative space) to create your decoration. The best part about this one? No waiting around during drying time–since there is no drying time!
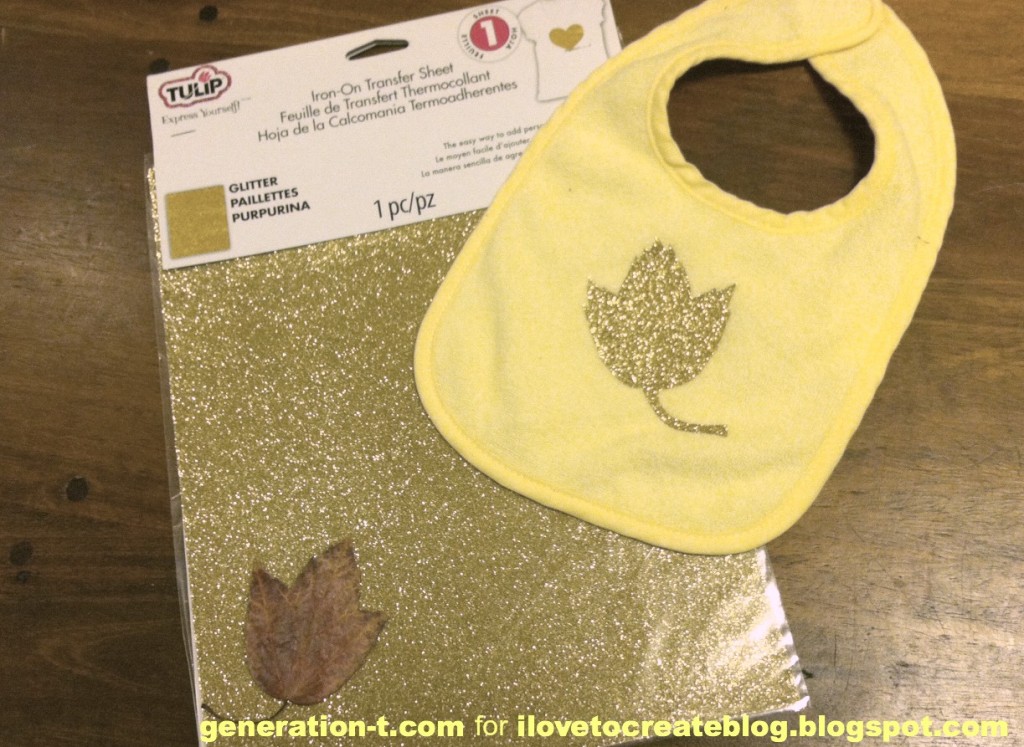
Glitter leaf materials

Materials:
Tulip Fashion Shimmer Iron-on Sheet (in gold)
-variety of pressed leaves for inspiration
-ballpoint pen
-scissors or craft knife and cutting mat
-iron and ironing board

-plain bib, T-shirt, or onesie

Make it:
For complete step-by-step instructions, visit the iLoveToCreate blog.
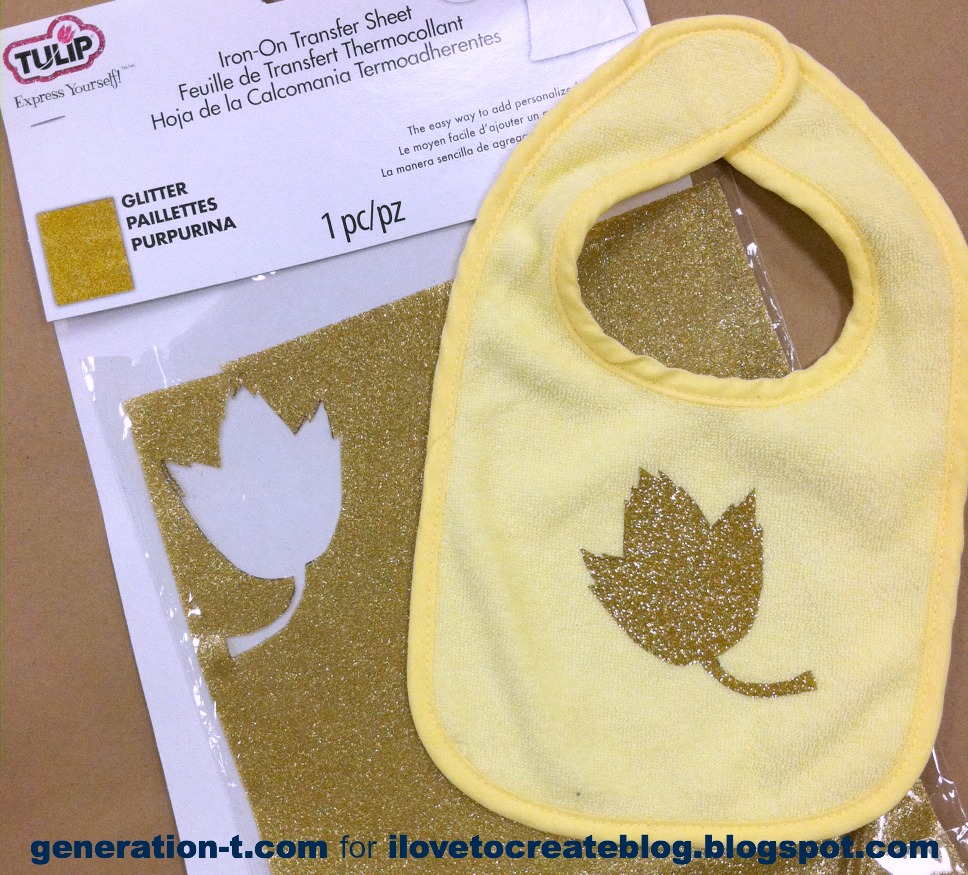
Glitter Leaf finish

Stay tuned next week for one more way to use autumn leaves as inspiration for decorating fabric. (PS: I made myself a really rad upcycled skirt!)
[ 1 Comment | Posted on November 26th, 2013 ]

New York, NY @ Michaels Craft Store

With apologies for the last-minute invitation….

michaels_logo1

…please come make a Pinterest-worthy seasonal project with Megan Nicolay of Generation T as well as your local inspiration specialists at the Michaels store location in Manhattan (808 Columbus Avenue) this weekend! Find us there from 1:00 – 4:00 PM, where we’ll be sharing tips, techniques, and creativity! If you’re not in the area, check in at your local Michaels store, because chances are, there’s a party happening there, too. And, lastly, if you want to follow along online, check in with Megan @MeganNicolay or @GenerationTee and look for #MPinterestParty and #ilovetocreate tags.

In partnership with:
i-love-to-create-logo

Hope to see you there!

[ Comments Off on New York, NY @ Michaels Craft Store | Posted on November 8th, 2013 ]

How to: No-Sew T-shirt Grocery Tote II

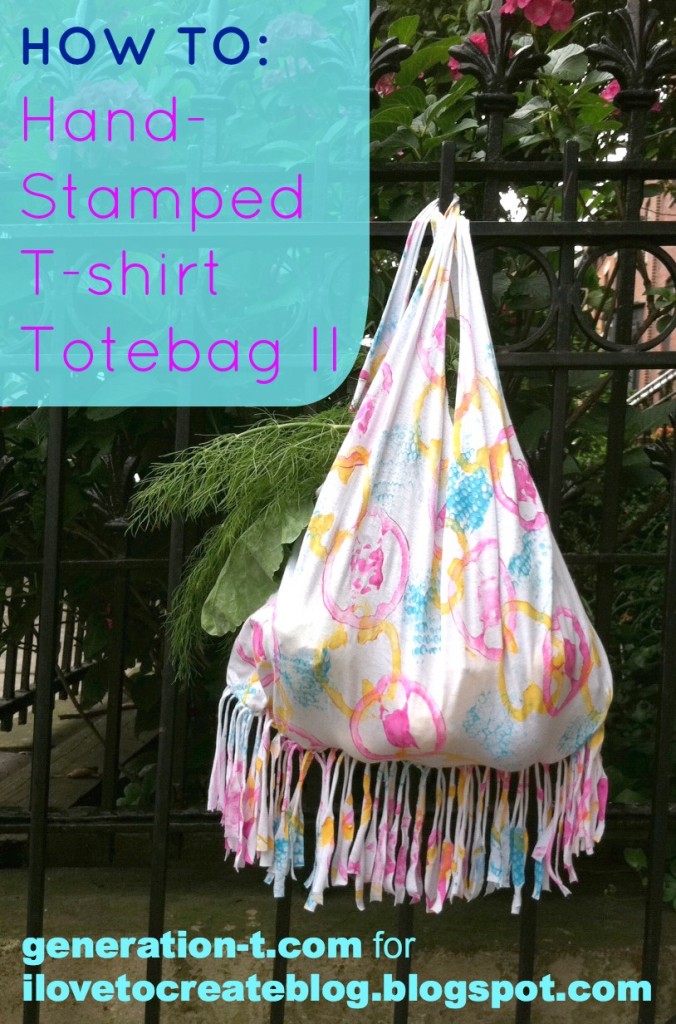
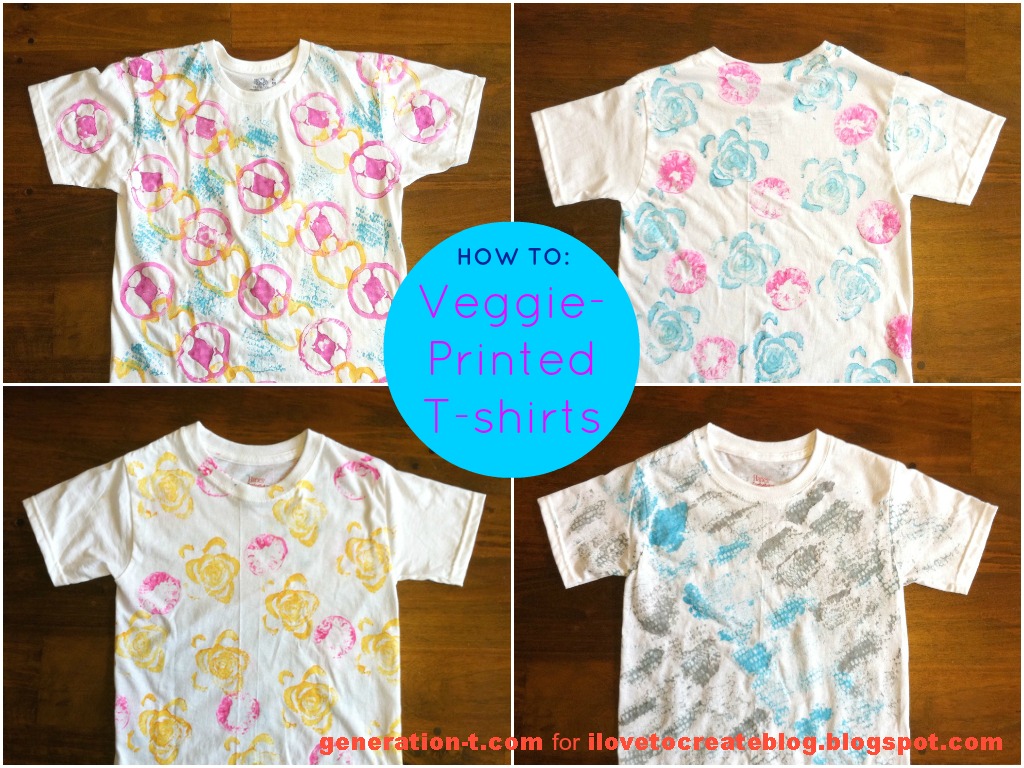
When you’re talking fruit and vegetable stamping, a change of seasonal harvest can herald a whole new palette of patterns and textures with which to print. And with them, a whole new no-sew T-shirt totebag tutorial — this time, with fringe! Before the summer fruits and veggies officially relinquish their harvest reign to the autumn root vegetables (reminder: potato printing=boring!), see what you can scavenge from the last of the September haul to make some colorful T-shirt prints — and a sturdy T-shirt tote to bring to next weekend’s farmers market! Behold, this fall’s hottest accessory (see this summer’s no-sew tote here)….

Materials:
-Plain old T-shirt (I used an adult size M for this particular one)
Tulip Dimensional Paint or Tulip Soft Fabric Paint Tubes
-Plastic container lid(s) to use as a paint palette (check your recycling bin!)
-Half of two bell peppers, corn on the cob, lime, and the end of a celery stalk (to use as stamps)
-Scissors
-Ruler or straightedge
-Scrap paper
-Plastic garbage bag or table cloth to protect your work surface
-Mixing bowl or other round item (to use as a cutting guide)

Make it:
Click through to get the photographic step-by-step tutorial through my newest post for iLoveToCreate Blog. You can print lots of T-shirts…

…and then decide which one(s) you want to turn into a totebag!

The ties to the farmers market run deep for this totebag, but don’t limit its use to produce! I had a student make one of these totes during my artist-in-residency at her school, and she quickly transferred all of her textbooks into it before heading off to her next class. If you tie your knots tightly, this bag will definitely hold up to any combination of weighty tomes, making it a great (if a little late) back to school project. Or…with Halloween around the corner, how about using it as a creative vessel for that delicious candy haul…?

[ 2 Comments | Posted on September 24th, 2013 ]