Posts Tagged ‘Easter Crafts’

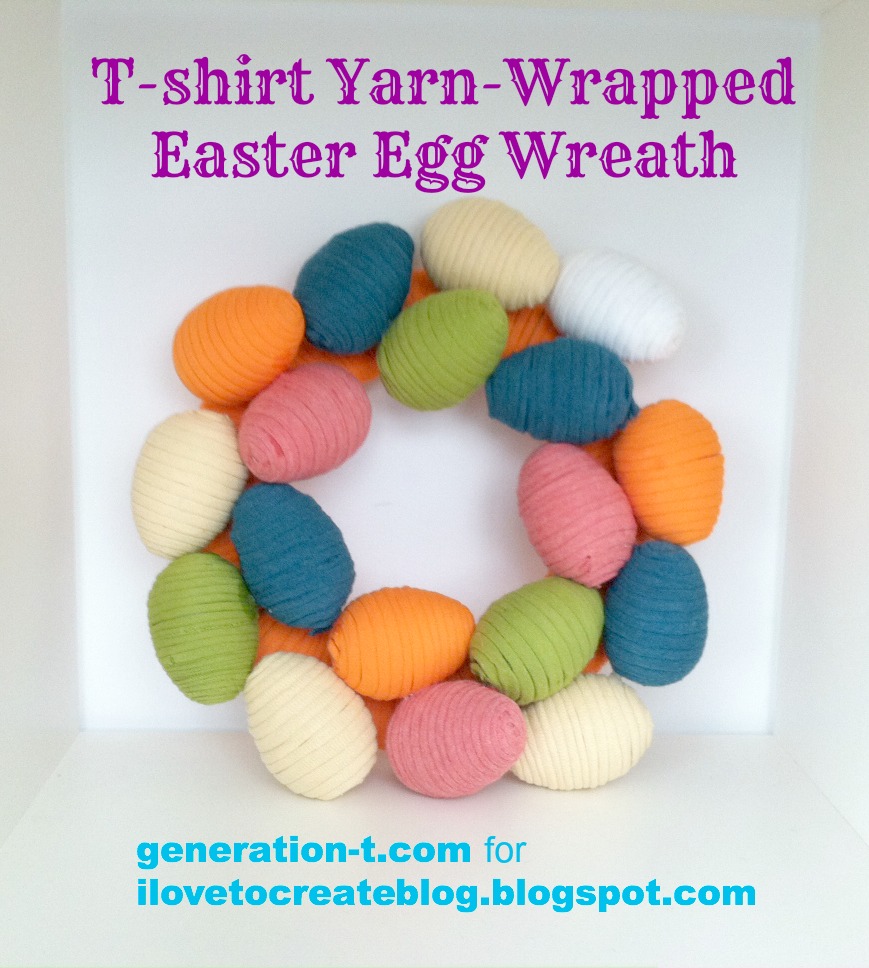
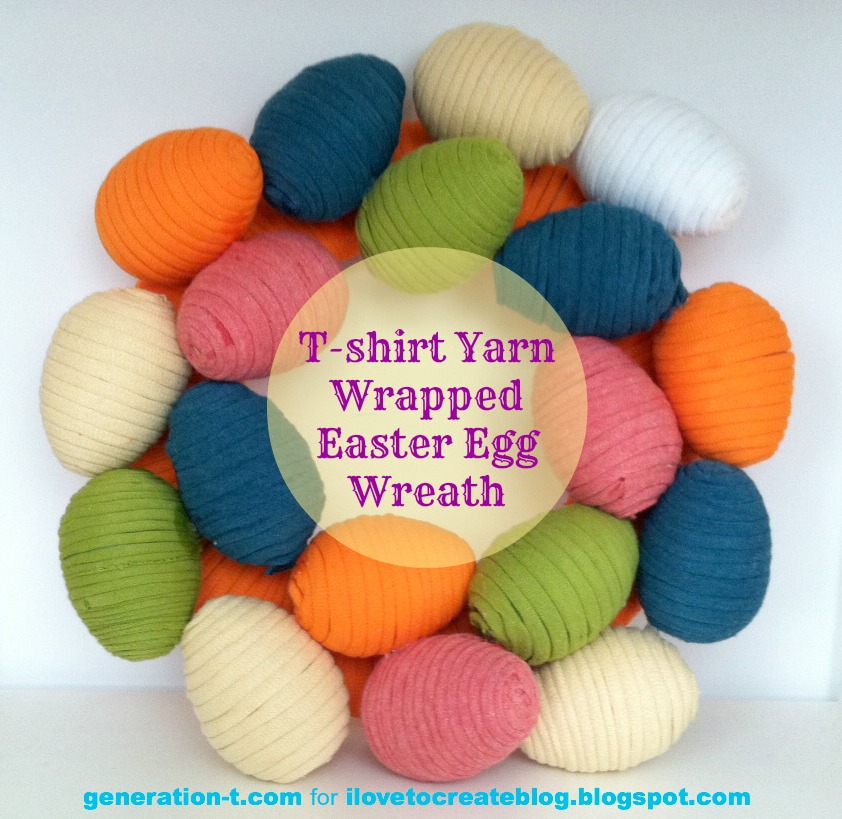
T-shirt Yarn-Wrapped Easter Egg Wreath

Egg Wreath generation-t.com
For this easy, bright DIY holiday decor, I was inspired by this yarn-wrapped egg wreath I stumbled upon on Pinterest. (Oh, and check out Aunt Peaches’s yarn-wrapped eggs tutorial over at the iLoveToCreate blog!) But, being that I have stashes of T-shirt scraps rather than traditional yarn, I adapted the project to my own scrap heap (and recycling bin). Pick traditional pastels from your T-shirt stash, go for brights, or tie-dye all those shabby old white ones to make ombre eggs.

megan-nicolay-blog-footer-1

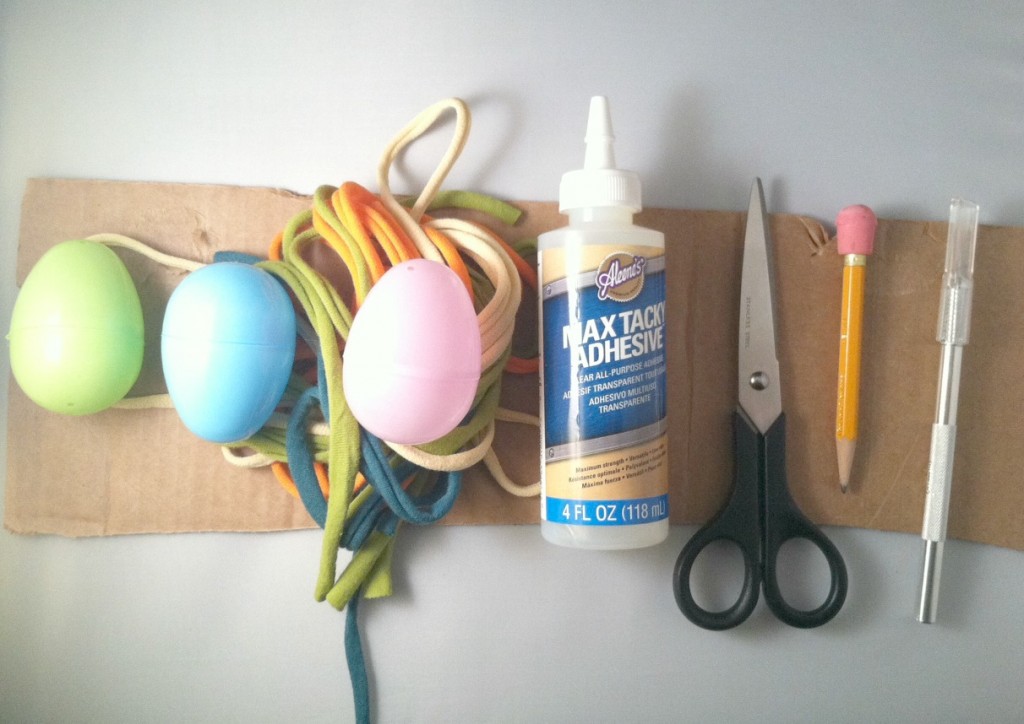
Materials:
-18-24 plastic eggs

-18-24 lengths of T-shirt yarn, plus more for the wreath base (ideally, yarn should be stretched from 1/2″ to 3/4″-wide strips)
Aleene’s Max Tacky Adhesive
-fabric scissors
-cardboard box (to make the wreath base)
-pen/pencil
-craft knife
-tape (optional)
Tulip Beads in a Bottle (optional)
Tulip One-Step Tie-Dye Kit (optional)

Egg Wreath materials generation-t.com

Make it:
Click through to the complete step-by-step tutorial over on the iLoveToCreate blog.
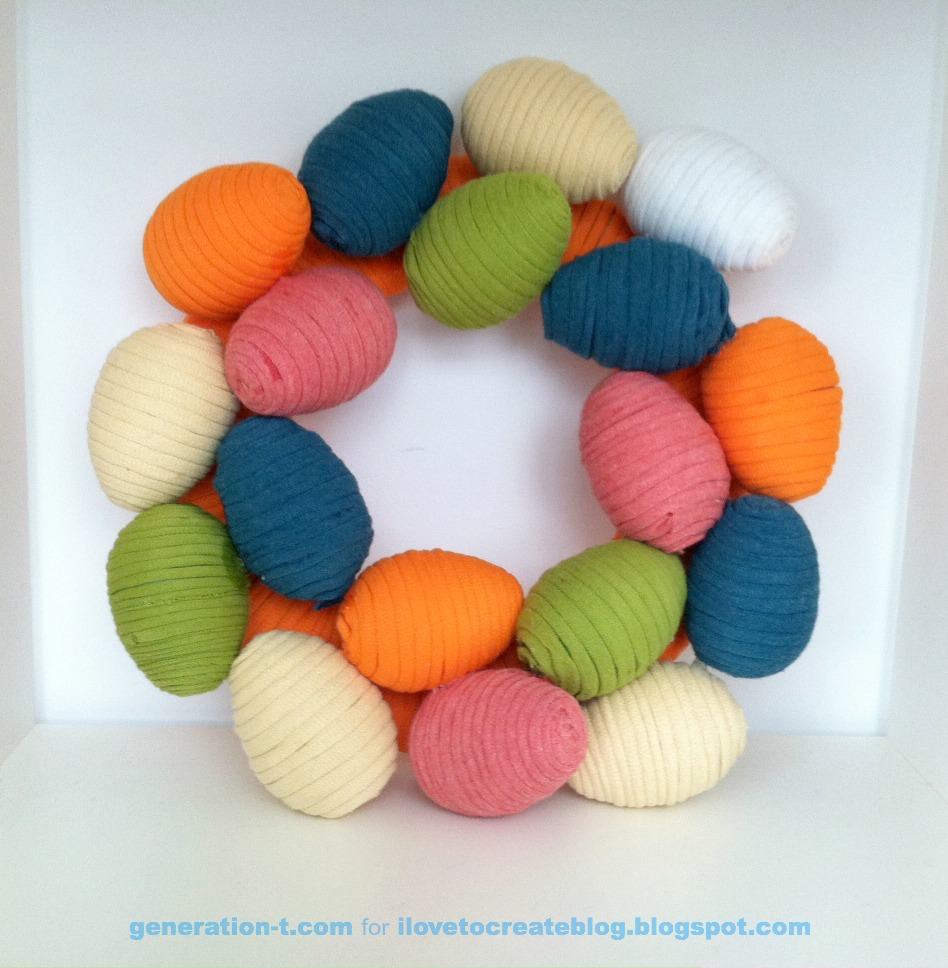
Finish Egg Wreath generation-t.com

t-shirt yarn wreath generation-t.com

[ 1 Comment | Posted on March 25th, 2014 ]

How to: Paper Bunny Ears!

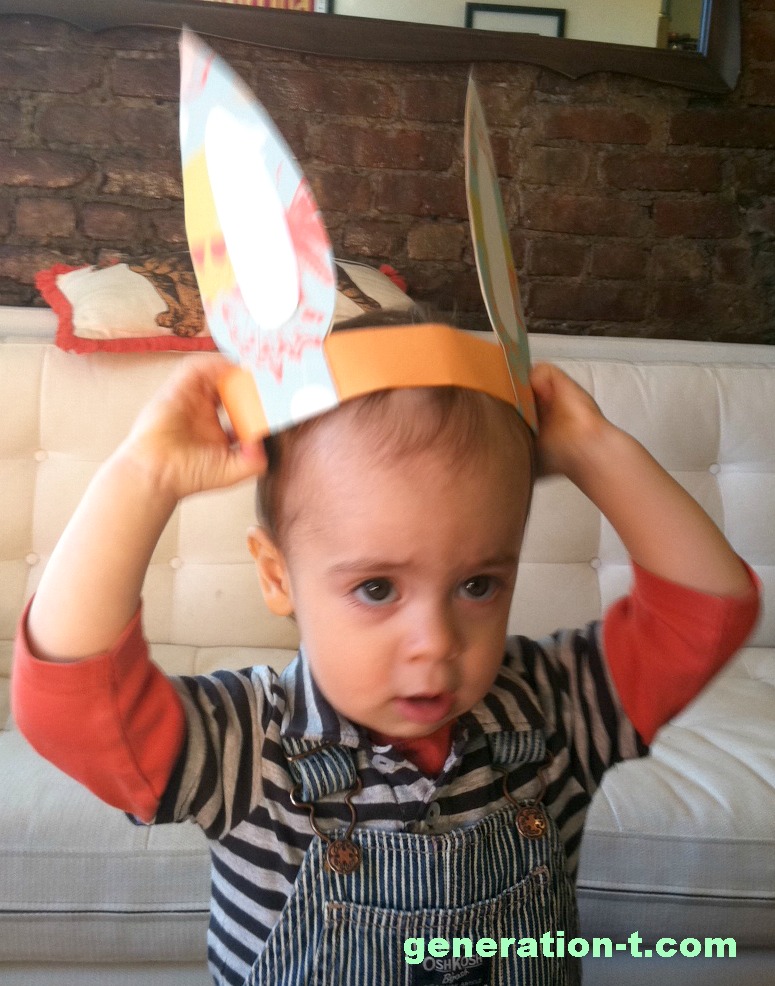
Here’s one last Easter-themed tutorial before the weekend! And this how-to is egg-free (no more glitter, dye, or shaving cream). Best of all, the adjustable band means that both little and big kids can perch these bunny ears atop their heads!

Materials:
-Colored paper (for headband)
-Decorative paper (for ear exteriors; check your wrapping paper stash!)
-White paper (for ear interiors)
-File folder (as stiffener, for perky ears!)
Tacky Dot Runner or glue stick
-Paper scissors
-Clear tape
-Pen or pencil

Make it:

Click below to follow along with the Paper Bunny Ears video tutorial I made for About.com!

And here’s additional proof that these ears are for bunny-wannabes of all ages:

Happy Easter!

[ Comments Off on How to: Paper Bunny Ears! | Posted on March 29th, 2013 ]

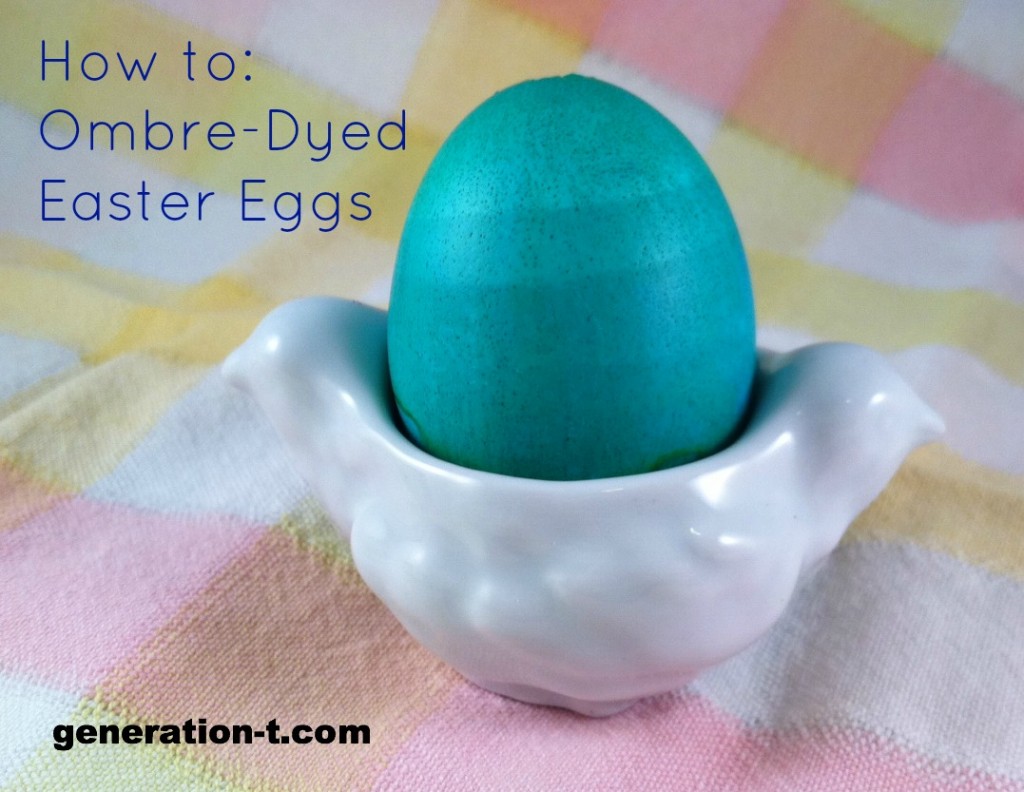
Easy Ombre Easter Eggs

Ombre skirts, ombre totes, ombre shoes, ombre nails, ombre hair, and don’t forget ombre T-shirts — ombre style is everywhere! Here’s Easter Egg DIY decorating #3 of the week: a clever tutorial for applying the trendy technique to your Easter eggs.

Materials:
-eggs (blown or hard-boiled)
-food coloring
-8 oz.clean, empty jam jars (or similar, for containing the dye)
-white vinegar
-warm water
-glass measuring cup
-measuring spoons
-skewers
-rubber bands or tape (to hold the skewer and egg in place in the jar)
-timer (kitchen or smartphone timer work well)

Make it:
1. Mix up your dye: Measure 3/4 cup of warm water. Add 1 1/2 teaspoons of white vinegar and about 20-25 drops of food coloring (in desired color).  Note: I mixed 3/4 cup of dye in order to cover an egg completely in an 8-ounce jar–if your containers are bigger, mix more dye at the same ratio.
2. Click below to follow along with the video tutorial I did for Ombre-Dyed Easter Eggs for About.com!


[ 1 Comment | Posted on March 28th, 2013 ]

Dye Easter Eggs with Shaving Cream

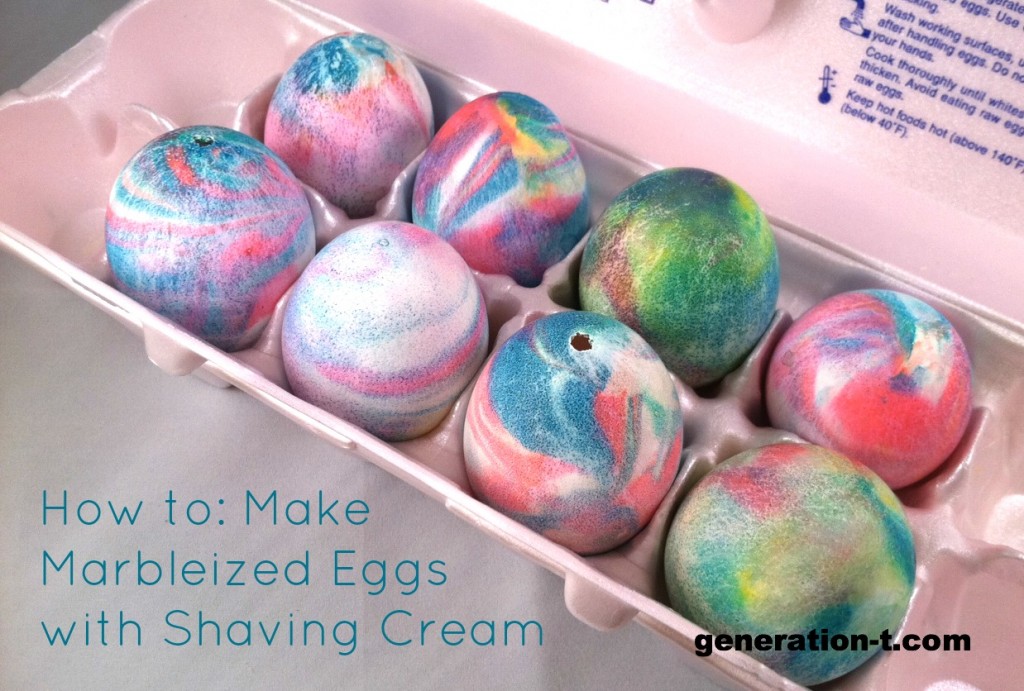
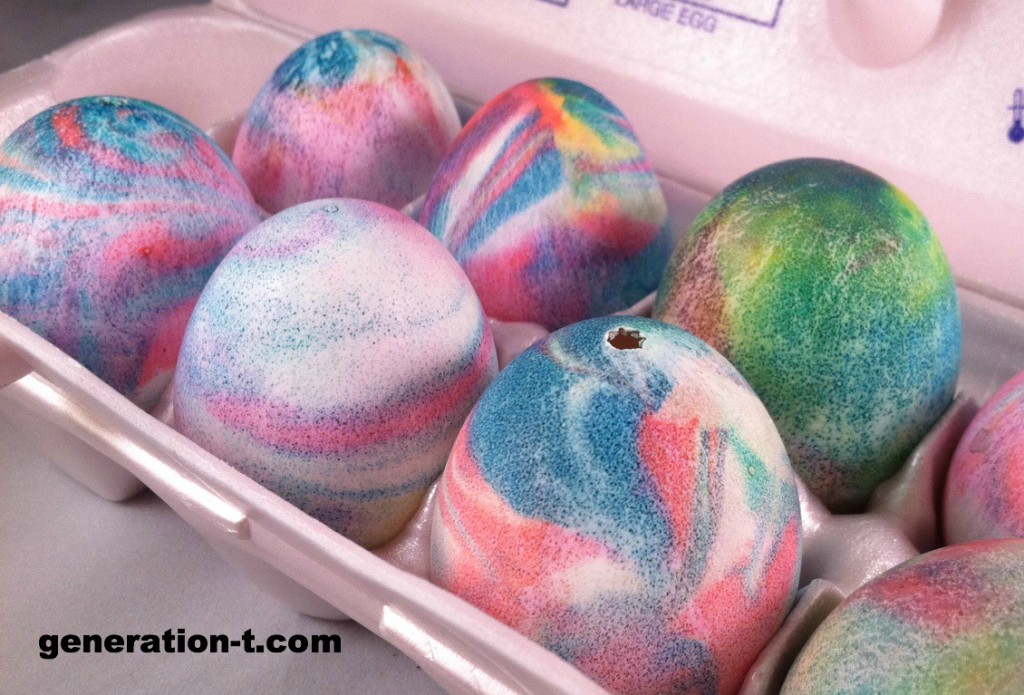
Okay, we kicked off a week of non-T-shirt-related posts with the Glitter Dot Easter Eggs yesterday, because as teased last week, I taped a bunch of how-to videos for About.com and since so many of them are Easter-themed, that’s what’s comin’ atcha! I’m definitely not the first person to use shaving cream and food coloring to dye my Easter eggs, but the amazing marbleized effect on the surface of the egg is so irresistible…

Materials:
-eggs (blown or hard-boiled)
-food coloring
-foaming shaving cream
-plastic spoon or knife
-bamboo skewer
-drying rack
-paper towels
-a timer (4-5 minutes)

Make it:
-Click below to follow along with the video tutorial for Marbleized Eggs with Shaving Cream for About.com.

Update: I heard from a commenter that you can do this technique with Cool Whip, too! Have you tried it?


[ 1 Comment | Posted on March 27th, 2013 ]

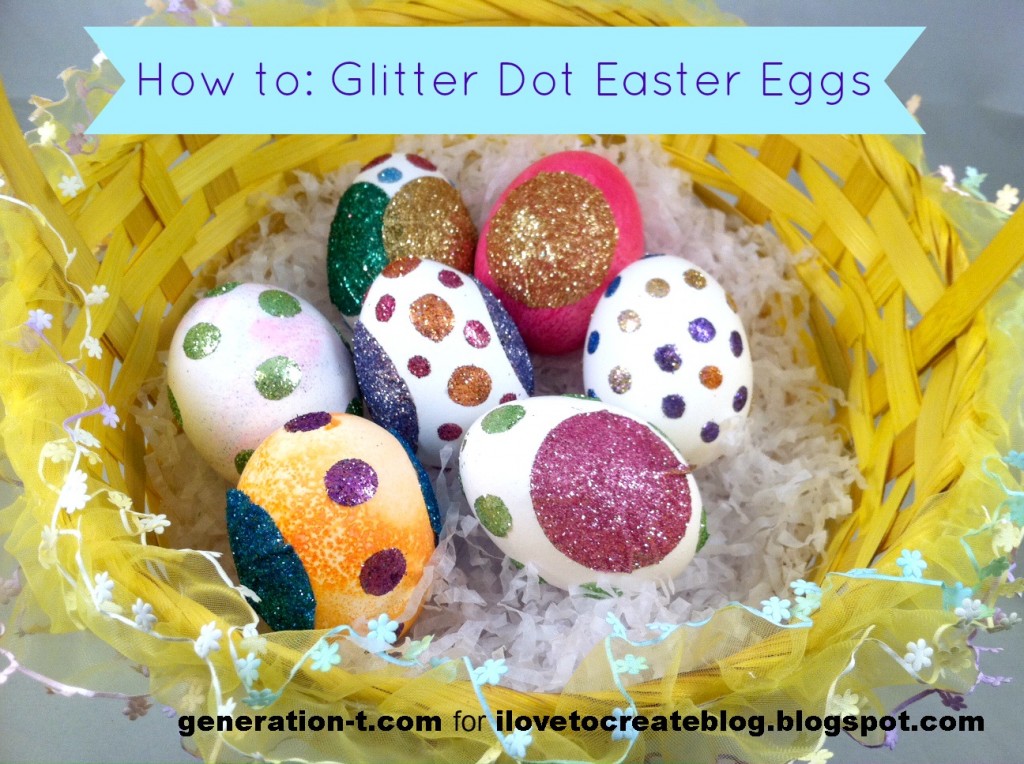
iLoveToCreate: Glitter Polka Dot Easter Eggs

I’m pretty traditional when it comes to decorating eggs at Easter time (dollar store egg dying kit, anyone?), but to be honest, it was getting kind of dull year after year. So this year, I dug through my craft stash to find a material that might have good crossover potential — one that was likely developed for one particular use (say, scrapbooking) that I could easily apply to something else (like Easter eggs). And voila!

Bring on the polka dots! Bring on the disco sparkle! The best part? No waiting around for dye to set or glue to dry. This is egg decorating with immediate (and rather shimmery) results.

For materials for the project and how to make these sparkle-riffic eggs, click below to watch the video tutorial I did for About.com and/or follow the step-by-step illustrated instructions (and a variation) at iLoveToCreate.com!


[ 2 Comments | Posted on March 26th, 2013 ]

Weekend Craft Fun!

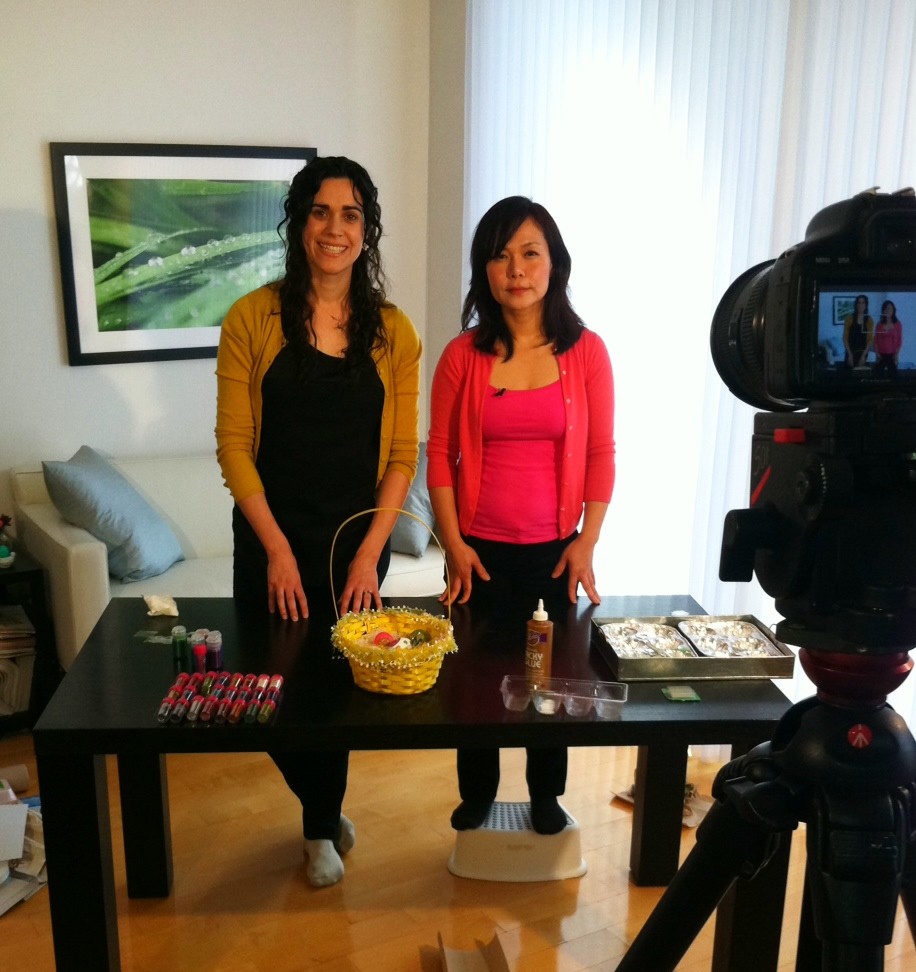
A busy weekend! On Friday I taped seven — seven! — craft tutorials for About.com. I’ll let you all know when the links are live so you can all get in on the craft action — we decorated eggs (three ways!) and umbrellas, and made some keepsake art pieces for the wall. Here’s a behind-the-scenes sneak peek (you can see what a giant I am!).

On Saturday I went away to camp — Brooklyn Craft Camp, that is. It was fun to be a craft camper — fun to have that time set aside to do nothing but make things and chat with my neighbors at each craft table. I practiced my embroidery under the expert eye of Jessica at Miniature Rhino, made cut paper cards with Julie of Your Secret Admiral, attempted crochet with Cal of Hodge Podge Farm, and made a painted bead necklace with Christina of MissBatch. Jay McCarroll was the keynote speaker — and there was a Pom-Pom Bar courtesy of PurlSoho! More photos to come later this week, once I get everything unpacked and uploaded. (I know, I know, it’s not like it was two weeks away at summer camp, but I came home with a lot of bags!)

Stay tuned!

[ Comments Off on Weekend Craft Fun! | Posted on March 18th, 2013 ]