Posts Tagged ‘DIY video’

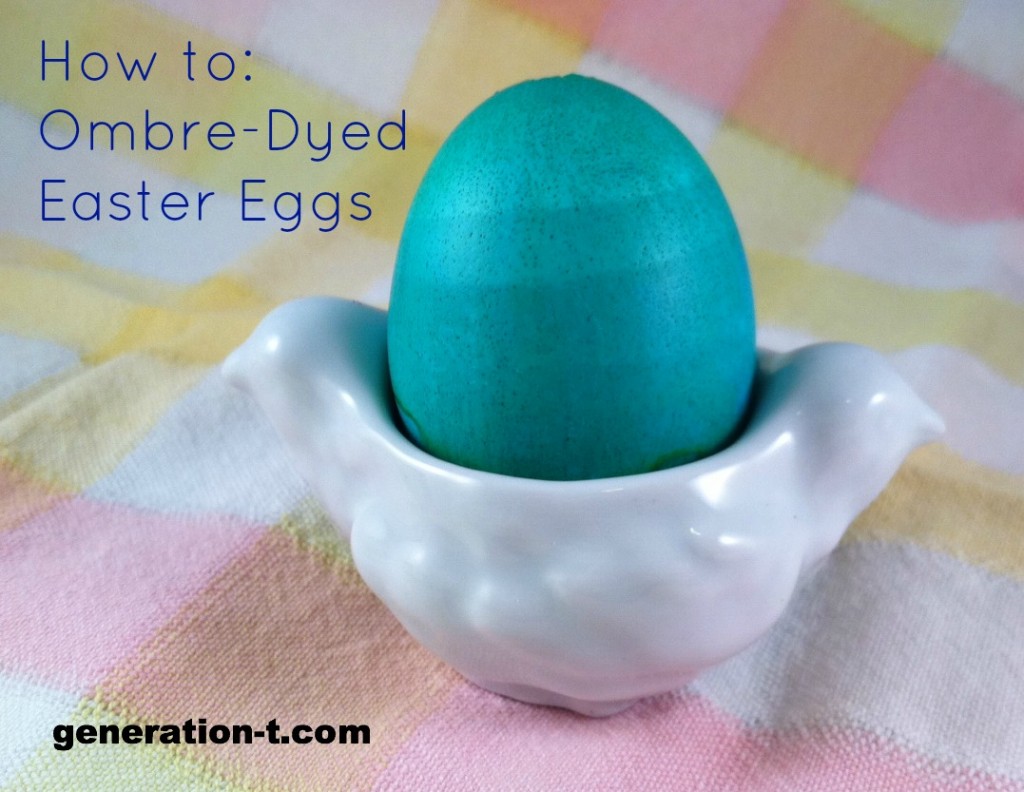
Easy Ombre Easter Eggs

Ombre skirts, ombre totes, ombre shoes, ombre nails, ombre hair, and don’t forget ombre T-shirts — ombre style is everywhere! Here’s Easter Egg DIY decorating #3 of the week: a clever tutorial for applying the trendy technique to your Easter eggs.

Materials:
-eggs (blown or hard-boiled)
-food coloring
-8 oz.clean, empty jam jars (or similar, for containing the dye)
-white vinegar
-warm water
-glass measuring cup
-measuring spoons
-skewers
-rubber bands or tape (to hold the skewer and egg in place in the jar)
-timer (kitchen or smartphone timer work well)

Make it:
1. Mix up your dye: Measure 3/4 cup of warm water. Add 1 1/2 teaspoons of white vinegar and about 20-25 drops of food coloring (in desired color).  Note: I mixed 3/4 cup of dye in order to cover an egg completely in an 8-ounce jar–if your containers are bigger, mix more dye at the same ratio.
2. Click below to follow along with the video tutorial I did for Ombre-Dyed Easter Eggs for About.com!


[ 1 Comment | Posted on March 28th, 2013 ]

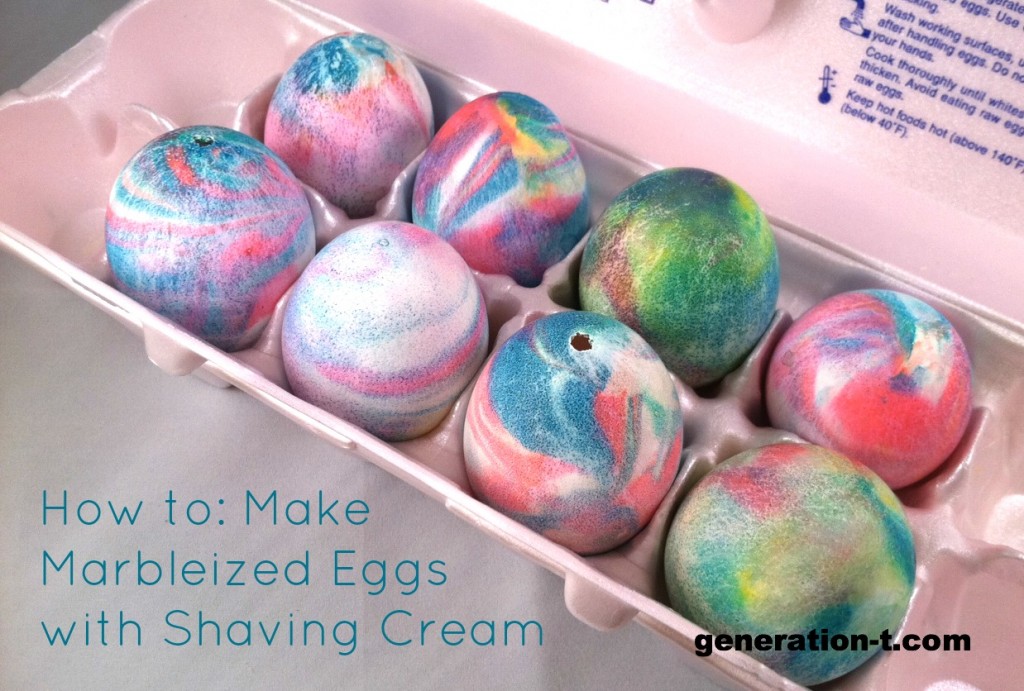
Dye Easter Eggs with Shaving Cream

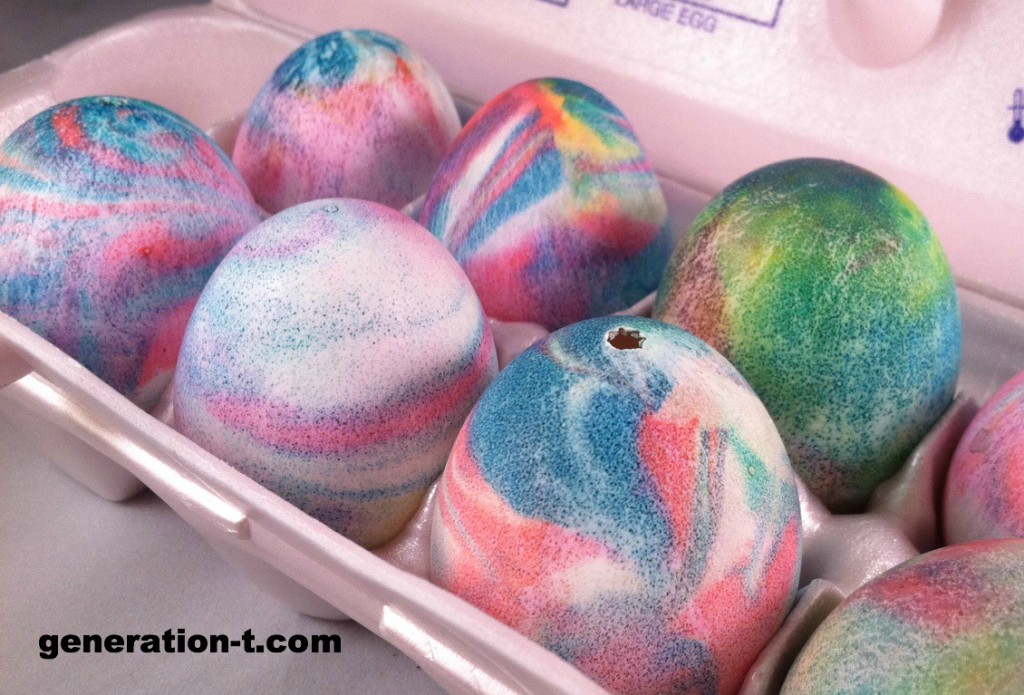
Okay, we kicked off a week of non-T-shirt-related posts with the Glitter Dot Easter Eggs yesterday, because as teased last week, I taped a bunch of how-to videos for About.com and since so many of them are Easter-themed, that’s what’s comin’ atcha! I’m definitely not the first person to use shaving cream and food coloring to dye my Easter eggs, but the amazing marbleized effect on the surface of the egg is so irresistible…

Materials:
-eggs (blown or hard-boiled)
-food coloring
-foaming shaving cream
-plastic spoon or knife
-bamboo skewer
-drying rack
-paper towels
-a timer (4-5 minutes)

Make it:
-Click below to follow along with the video tutorial for Marbleized Eggs with Shaving Cream for About.com.

Update: I heard from a commenter that you can do this technique with Cool Whip, too! Have you tried it?


[ 1 Comment | Posted on March 27th, 2013 ]