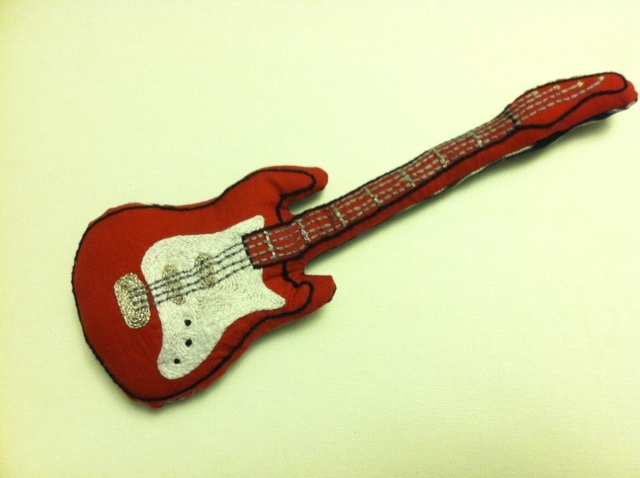
Happy New Year! With all the baby prep in the final months of 2011, I finished one craft project not-exactly-in-time-for-baby, but in time for Christmas. I began this embroidered bass guitar a couple of months ago, after finding the pattern in a local sewing shop. Though most of the designs in the envelope were intended (so suggested the text on the packaging) to be applied to tea towels or pot holders or grocery totes, I immediately envisioned this one as a softie toy for my soon-to-arrive little rock star. And, well, all I can say is that he seems to be taking to it quite naturally.
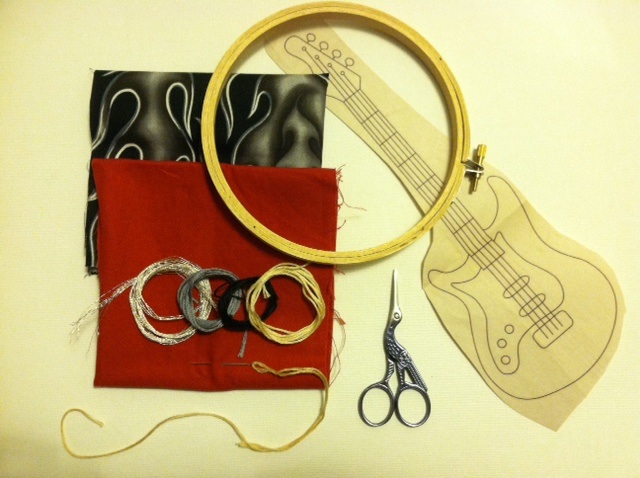
Materials:
-Solid color cotton quilting fabric to embroider
-Patterned cotton quilting fabric for backing
-Electric Bass Iron-on Pattern (in Colonial Patterns “SR4 Rock’n & Roll’n”)
-All-purpose scissors
-Iron and ironing board
-Wooden embroidery hoop
-Embroidery floss in white, black, silver, and slate blue
-Embroidery needle
-Embroidery scissors
-Straight pins
-Sewing machine and thread
-Fiberfill
Make it:
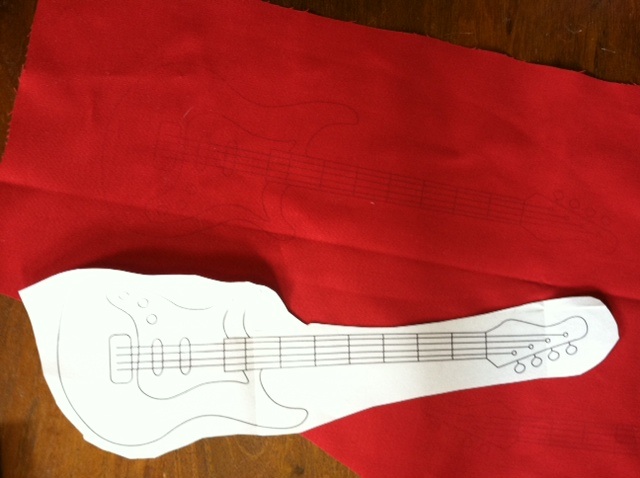
1. Cut out the iron-on pattern and place it face down on the plain fabric. Follow the instructions on the pattern packaging to press and transfer the image with a warm iron.
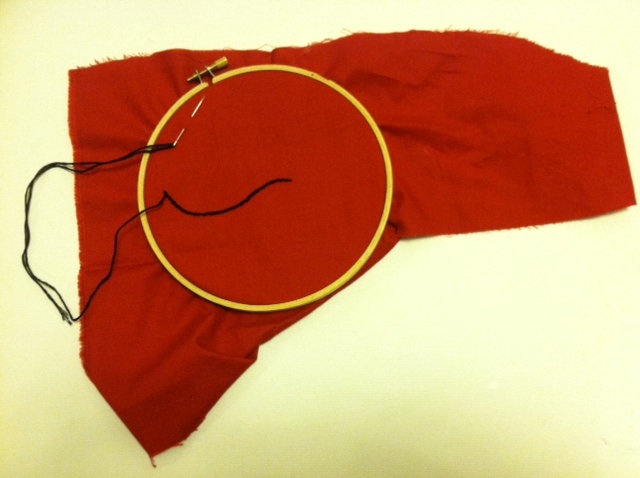
2. Thread the needle with an arm’s length of black embroidery floss. Use four strands for each stitched segment of the design. I outlined the bass in black with a split stitch, used split stitch fill in white for the pick guard, split stitch and split stitch fill in silver for the frets, pickups, bridge, and tuning keys, used backstitch in slate gray for the strings, and finished off the control knobs with French knots in black.
3. When the stitching is complete, carefully cut about 1/2″ around the black outline stitching. Place the embroidered piece against the backing fabric, right sides together, and cut around the shape to create a matching back piece. Pin the edges and, leaving a 1/4″ seam allowance, sew a running stitch around the pinned area. Leave a 2″ opening at one end. Remove the pins and turn the fabric right side out. Stuff with fiberfill, making sure all the “corners” get filled first, and hand stitch the opening closed.
4. Put it in the hands of an eager young musician.

