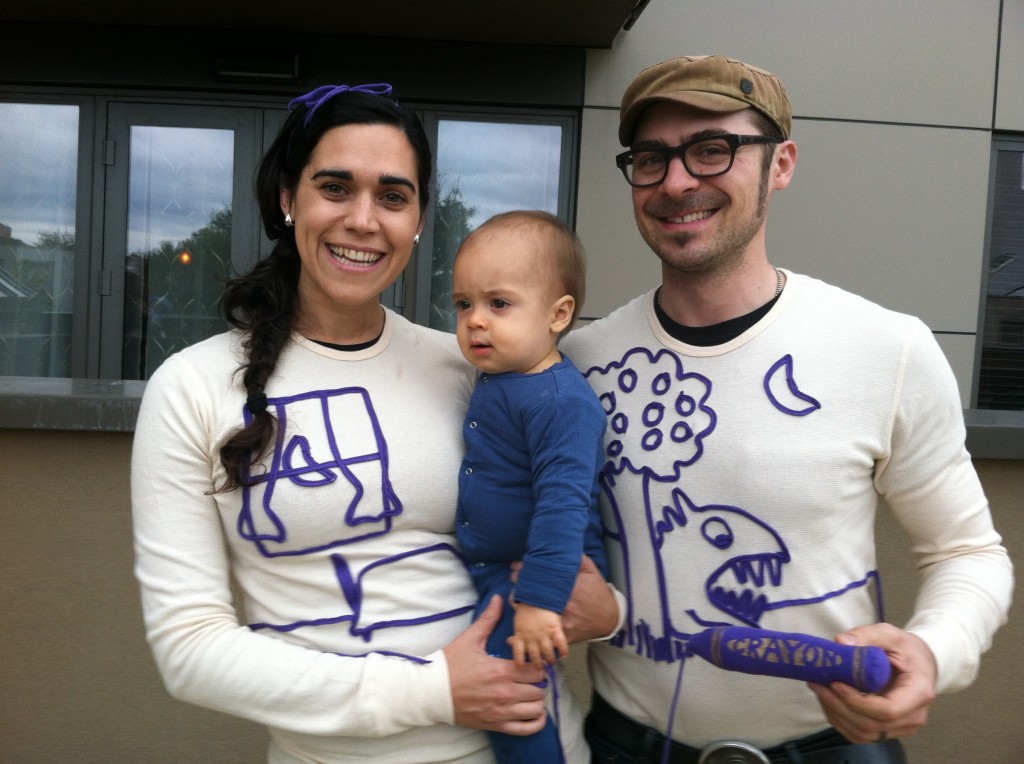
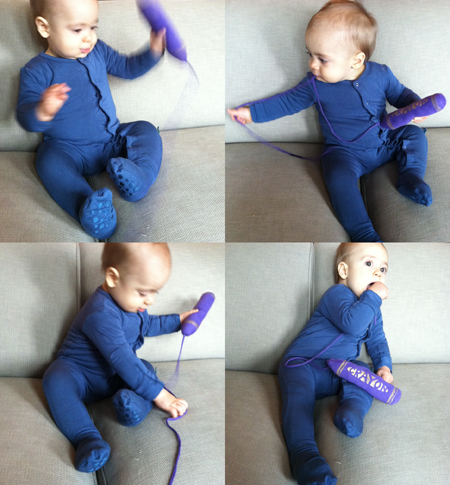
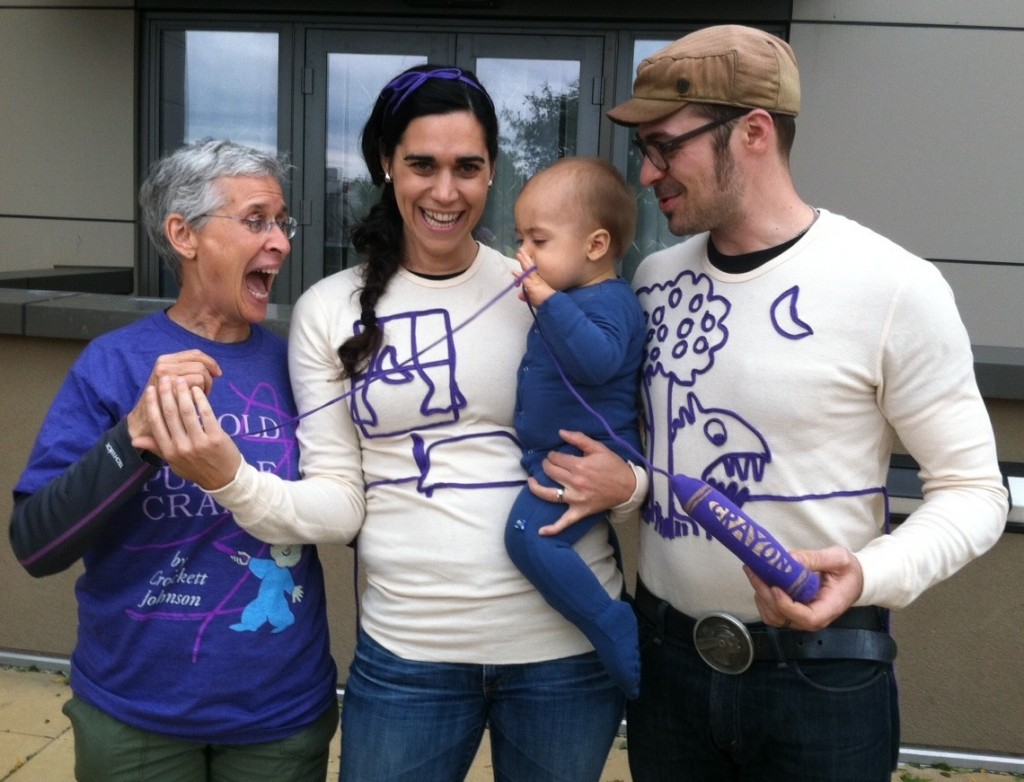
Baby’s first Halloween is a tough one — there’s a lot of pressure to make it memorable (even though he won’t remember it at all) and it’s also probably the only time that he won’t have an opinion about the costume. 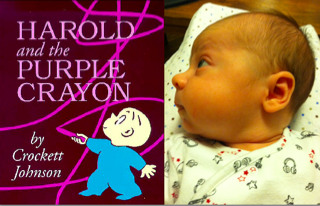 About two months in, Mr. T and I discovered our baby had not one, but two literary doppelgangers, and I promised that if he was still anywhere near as bald as he was at the time, we would honor one of his likenesses for his first Halloween. So between Crockett Johnson’s timeless “Harold” and the holiday-appropriate Alfred Hitchcock, Harold and his violet-hued crayon won out. Let’s start with the inspiration (above, at two months old). Wrinkled brow, giant cheeks, turned up nose. Pretty uncanny, right?
And please forgive the inconsistency in the photos…I made the costume over several late nights!
 Materials:
-purple T-shirt (to use for parts)
-long-sleeved off-white T-shirt (or more, depending on how many “drawings” Harold will make)
-blue sleeper (this was worn as the top layer over 2 other sleepers, for warmth!)
-fabric scissors
-ballpoint pen
-ruler
-craft knife and cutting mat
–gold fabric spray paint
–freezer paper
-warm iron
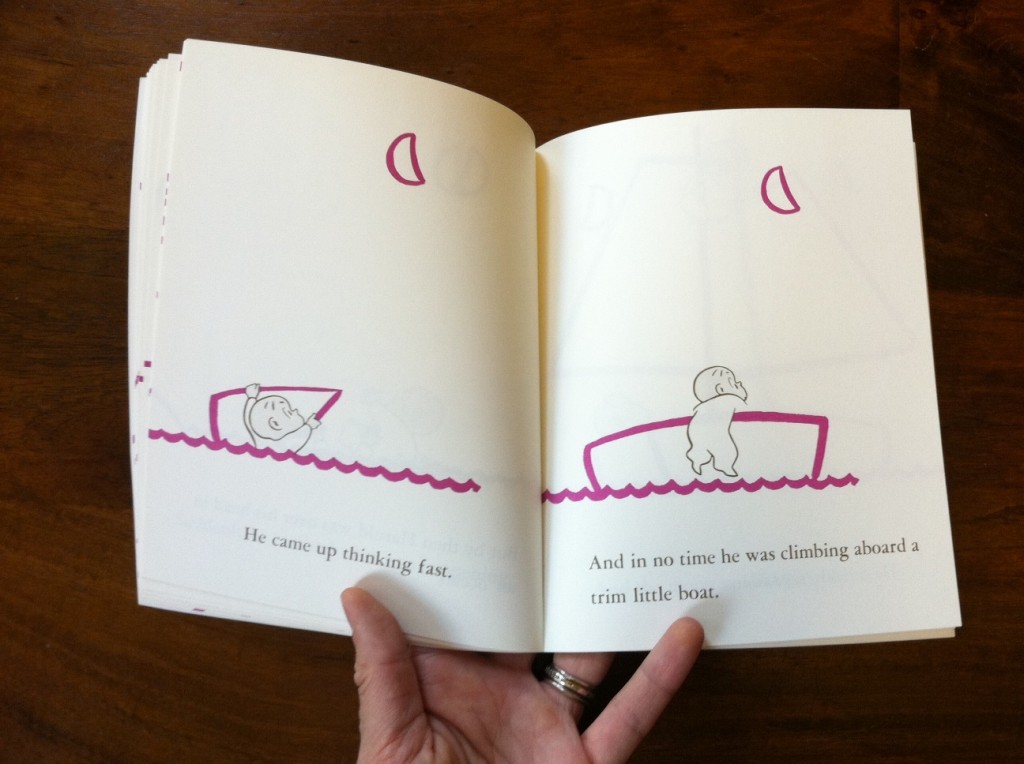
-copy of Harold and the Purple Crayon by Crockett Johnson (for reference! and for reading!)
–disappearing ink fabric marking pen
-sewing machine with matching thread
-needle and thread (for hand sewing)
-fiber fill
–craft jingle bells (optional, to make the crayon rattle a bit)
Make it (Harold’s Purple Crayon):
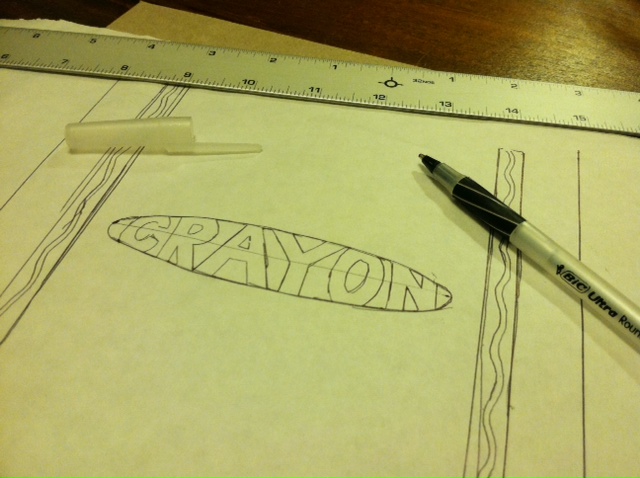
1. Use the ruler and ballpoint pen to mark out a stencil for the stuffed crayon.
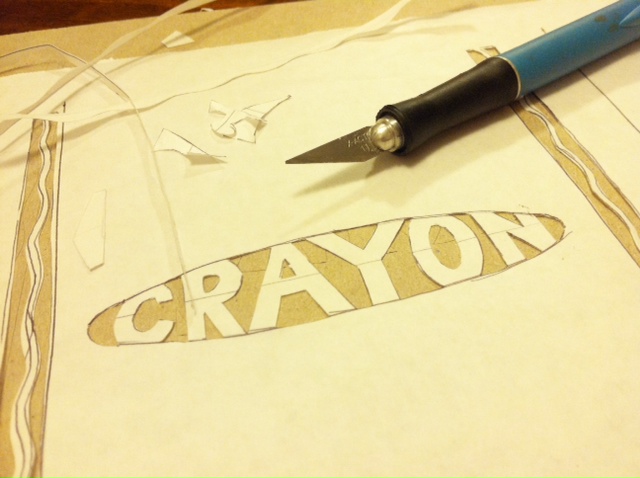
2. Use the craft knife and cutting mat to cut out the stencil.
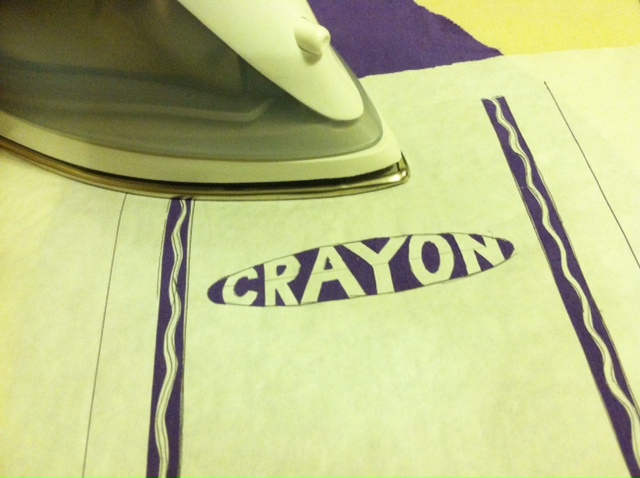
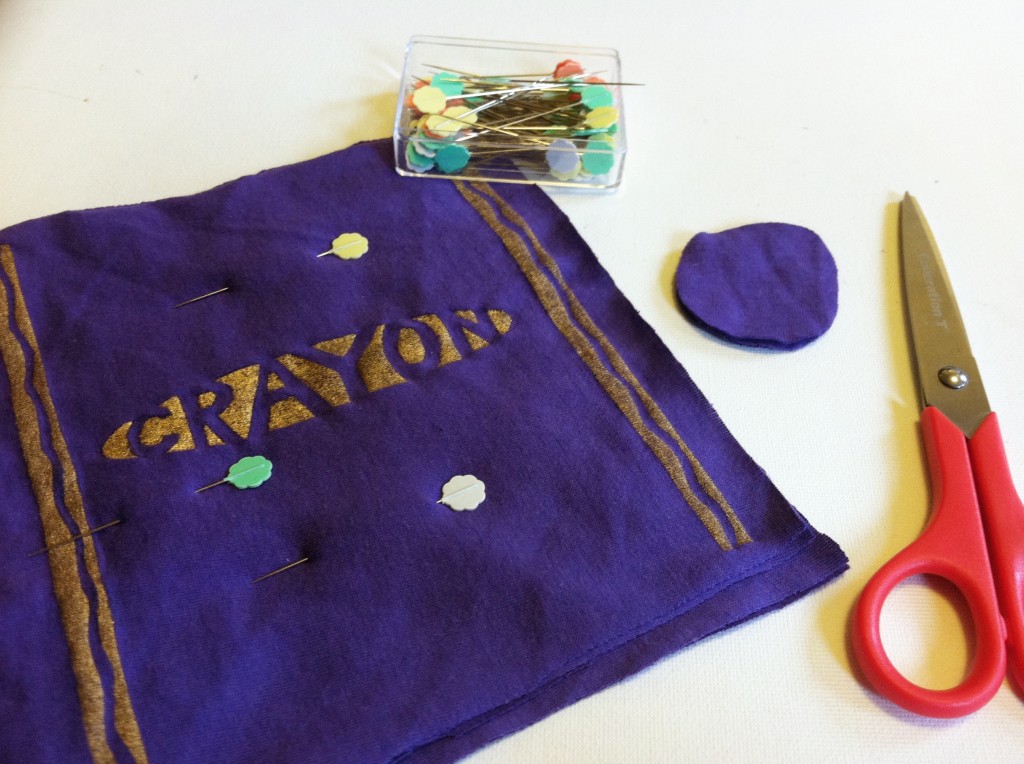
3. Iron the stencil onto a scrap from the purple T-shirt (I used a flattened out sleeve).
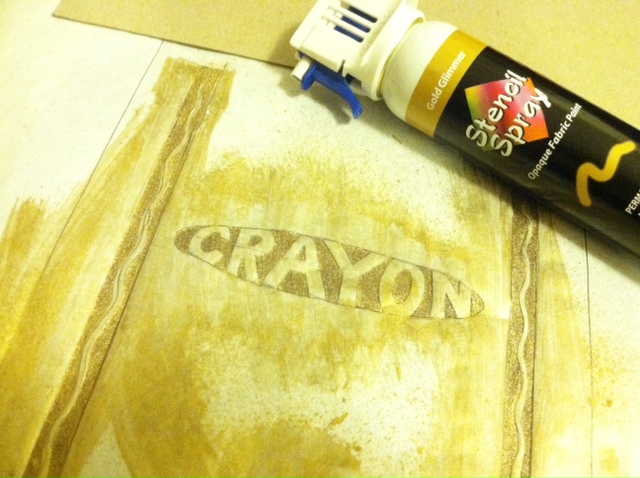
4. Use the fabric paint to spray over the stencil, making sure to mask the areas you don’t want painted. (I originally was going to use black paint for authenticity, but saw this Gold Glimmer in my paint stash, and thought the high contrast would make it show up better!)
5. Let the paint dry for a minute, then peel off the stencil before letting it dry entirely. (I let the stencil sit too long on the one below, and as you can see the paint bled a bit — so I made another one!)
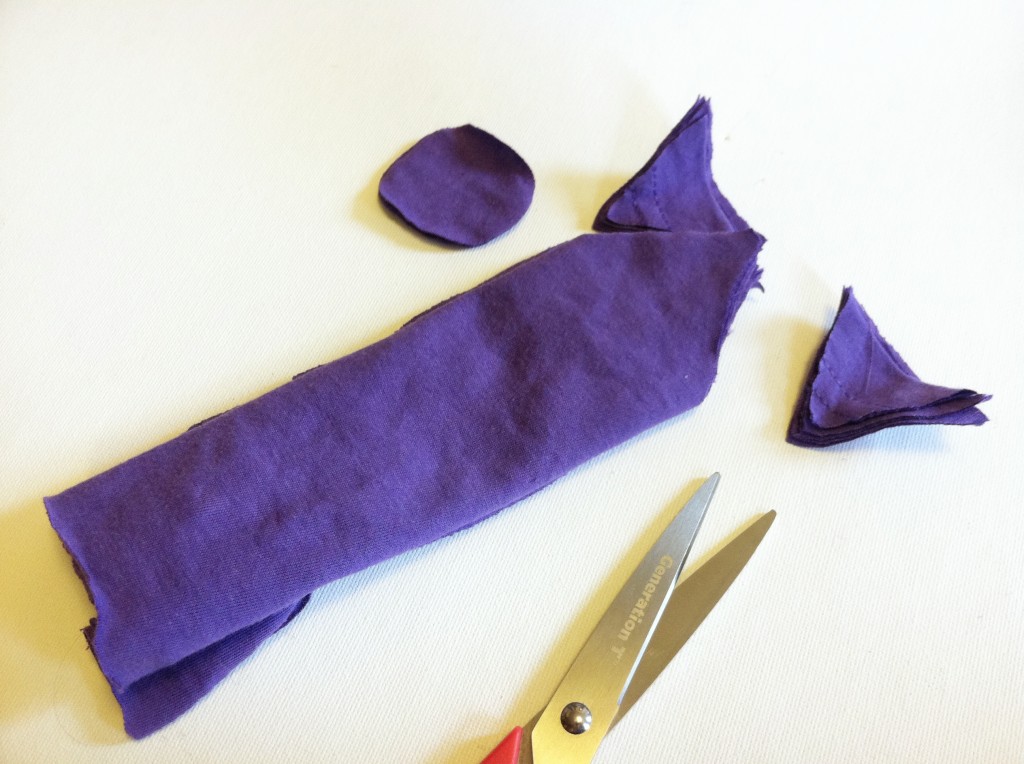
6. Cut 4 to 5 additional rectangles of purple fabric to layer beneath the painted piece (to thicken the crayon wall and add structure). Cut a circle (also several layers) for the bottom of the crayon.
7. Fold the rectangle (all layers), right side in, and line up the paint lines. Then pin and use the sewing machine to stitch a straight line to create a tube. Make two angled cuts to help shape the point of the crayon.
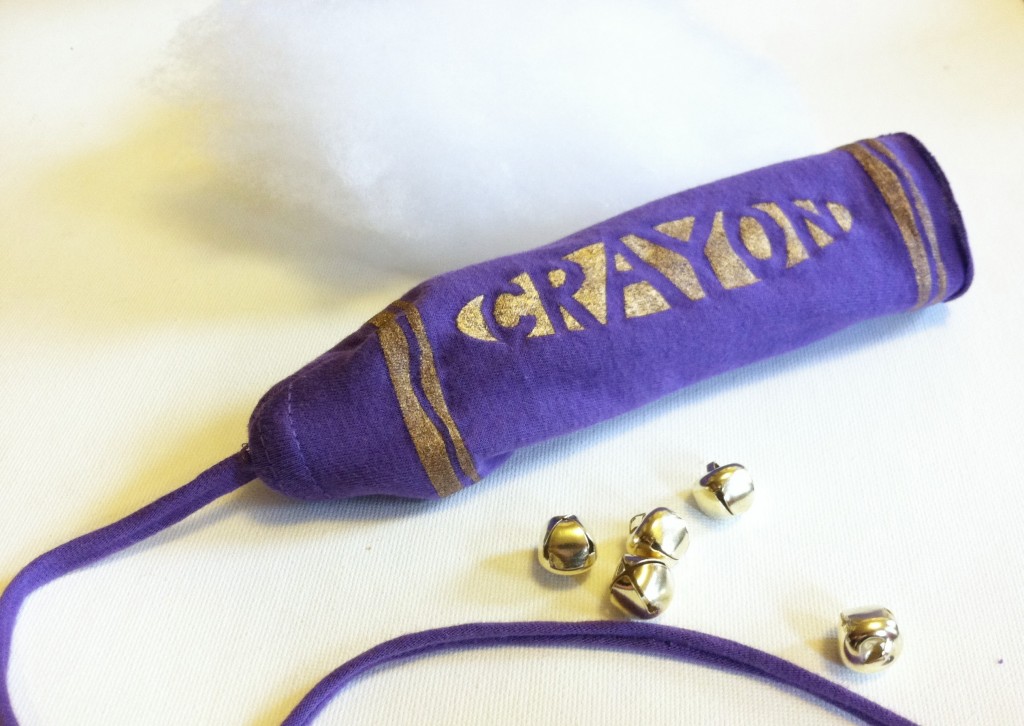
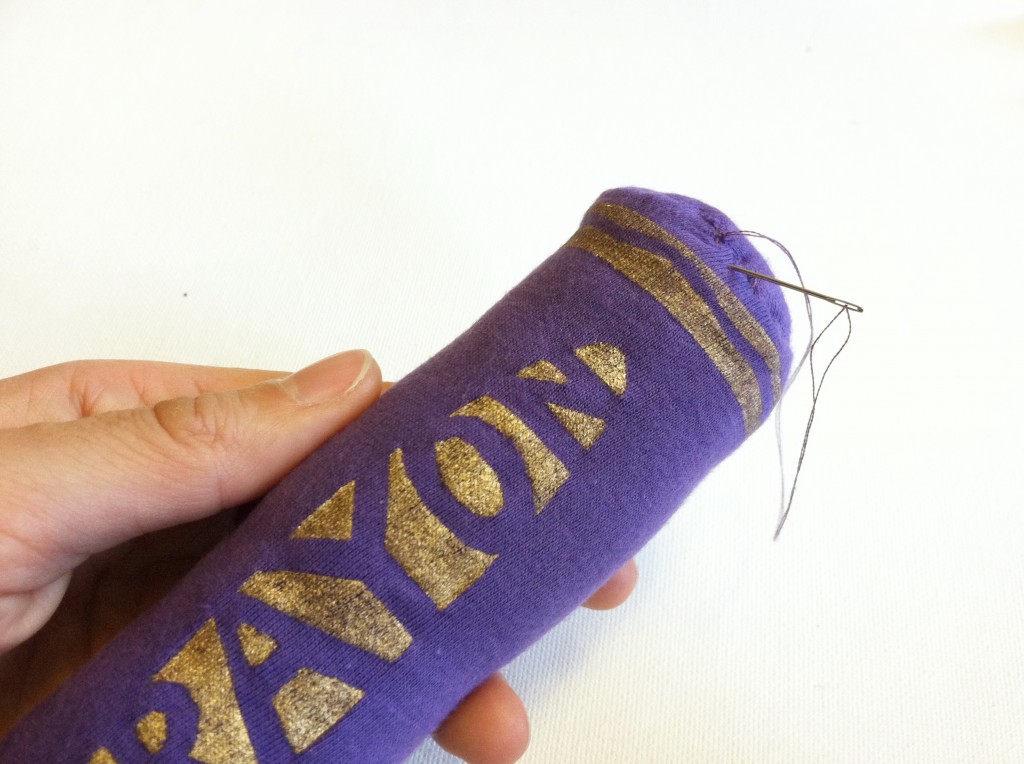
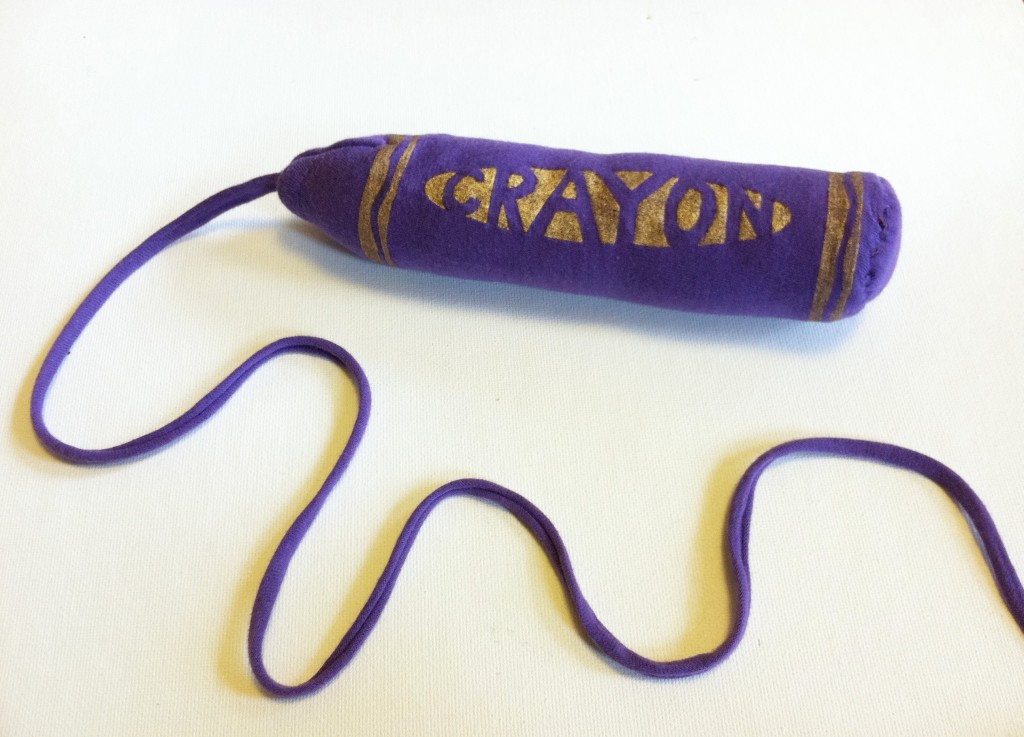
8. Cut a length of T-shirt cord and thread it inside the crayon tube, pinning it between the layers at the tip of the crayon. Stitch along the open edges at the tip (catching the end of the T-shirt cord) and turn it right side out. (The cord should appear to be a “drawing line,” extending from the tip of the crayon, as shown. Use fiber fill to stuff the crayon, and add a few bells in the center, if desired, to add a little jingle (it helped create more interest for my little guy, so he would play with it longer!).
9. Tuck in the edges of the layered circle pieces, and hand-sew the end of the crayon in place.
10. Trim the T-shirt cord (drawing line) as necessary.
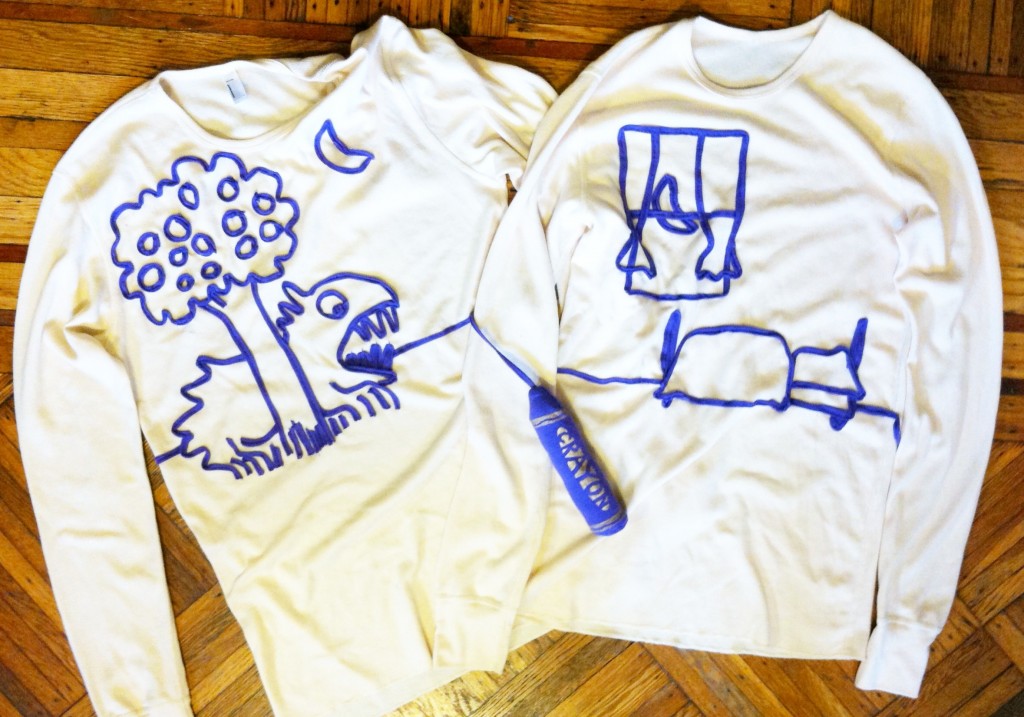
11. Harold’s costume is finished! But his drawings (aka his parents’ costumes) aren’t…
Make it (Harold’s Drawings):
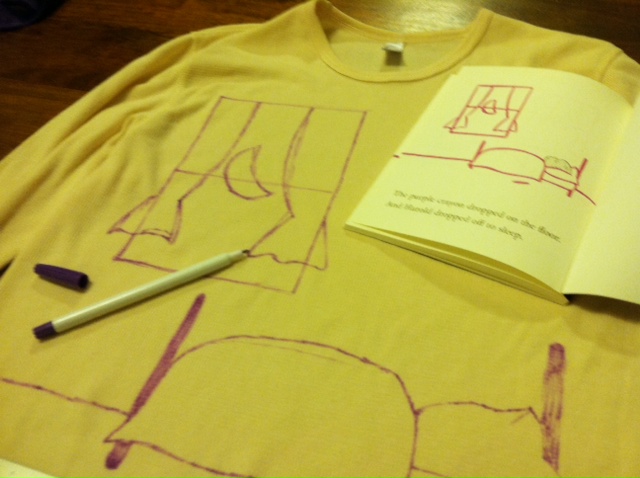
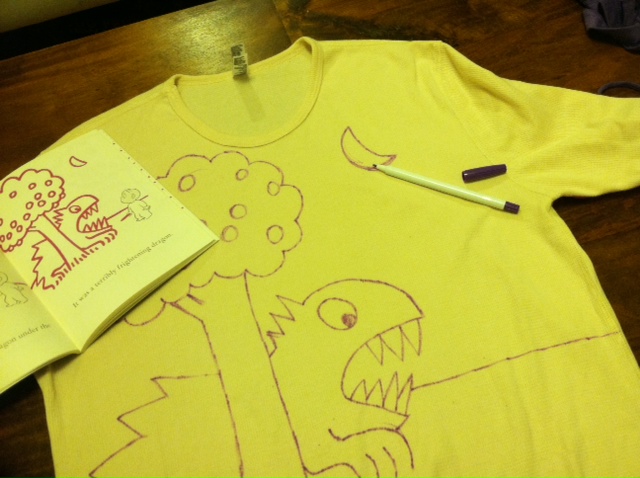
1. Select a drawing from the book, and use the disappearing ink pen to sketch it onto shirt number 1. (It’s just a coincidence that the ink from the pen shows up purple before it fades!)
Optional: Select and sketch an image onto shirt number 2.
Perhaps, given the weather, I should have gone with one of these pages:
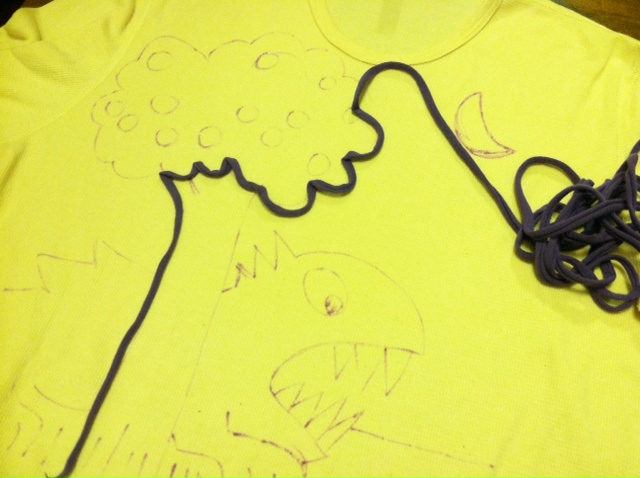
2. Begin to outline the drawings with more T-shirt cord.
3. Use the sewing machine to carefully stitch the T-shirt cord over the sketches, piece by piece.
4. Done!
And what happens… When Grandma is unexpectedly in town for Halloween festivities? A quick online trip to Out of Print Clothing, of course, and we were able to round out the “story,” with Grandma as the cover of the book!
The best news? Less than 364 days until next Halloween. Start planning! What literary character would you dress as?

