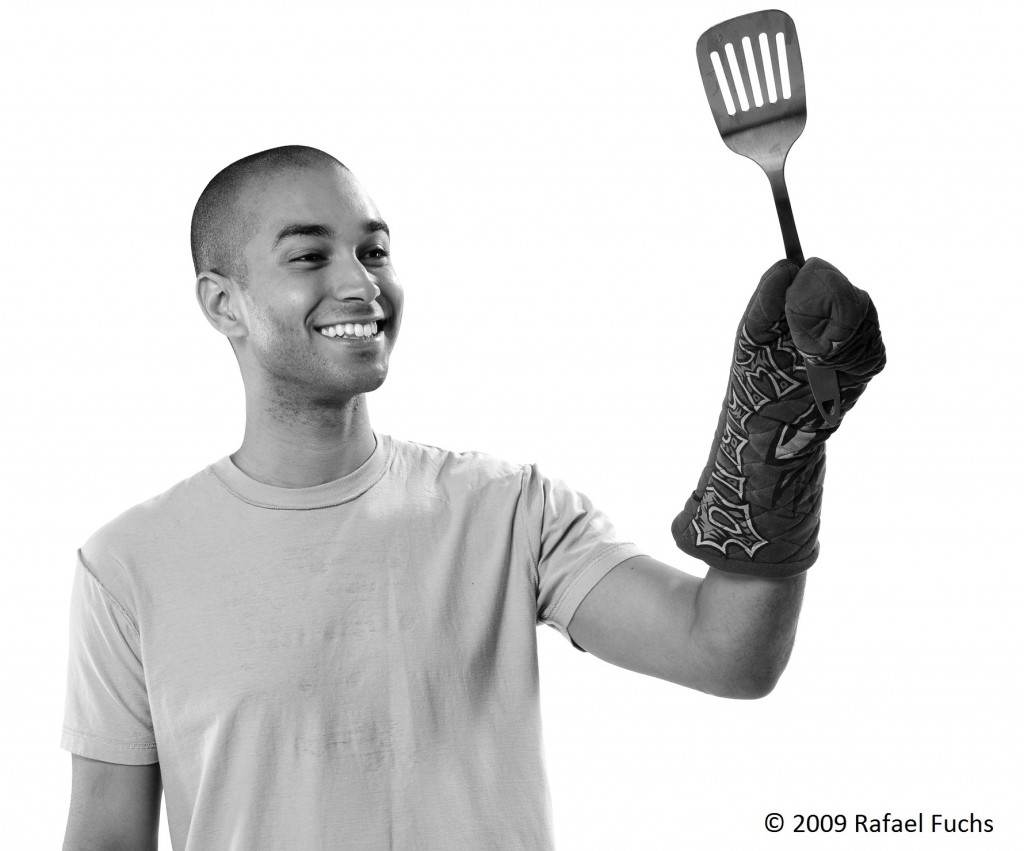
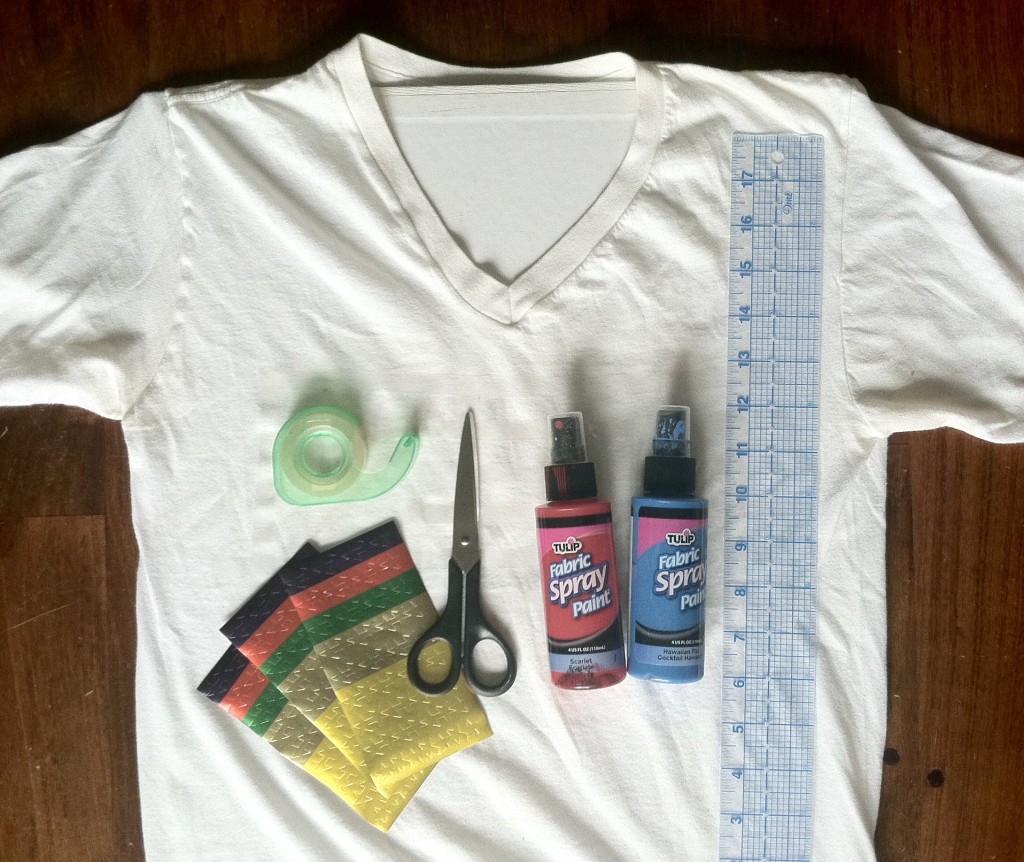
Before you fire up the grill this summer (Happy 4th of July! Happy belated Canada Day!), fire up that sewing machine to make a grill mitt or two from some old T-shirts that aren’t fit to see another season in the sun in their current form. I dipped into book 2 (Generation T: Beyond Fashion) to bring you this one!

Materials:
2 T-shirts (100% cotton)
pencil
paper
ruler
straight pins
½ yard batting
scissors
needle
thread
Make it:
1. First, make a paper pattern by tracing around your hand (with your thumb at a 45-degree angle). Leave a 1″ allowance, as shown. At the base of the palm, widen the tracing to 2″ and extend it 7″ down. Cut around the tracing. 
2. Lay one T-shirt flat and fold it in half, bringing the bottom hem up to the neckband in the back. Lay the pattern on an angle on the front of the T-shirt and pin it through all four layers. Cut around the pattern. Repeat on the second T-shirt, reversing the pattern so that the thumb points in a different direction.
3. Fold a portion of the batting in half and pin the pattern onto it through both layers. Cut around the pattern and remove it.
4. Sandwich a layer of batting between the layers of the T-shirt (there should be two layers of T-shirt, one layer of batting, two layers of T-shirt) to create one half of the mitt. Pin in place. Take that mitt half and sew a series of running stitches in crisscross diagonal lines, through all layers, to create a quilted look, as shown. Repeat on the other piece of the mitt.
5. Lay the two pieces (sides) of the mitt right sides together (meaning the pieces with the logos are facing). Making sure to go through all layers, sew a tight whipstitch or a running stitch around the perimeter of the mitt, leaving the bottom edge open.
6. Carefully turn the mitt right side out (the thumb will be a little tricky—use a pencil to persuade it if necessary).
7. Measure the circumference of the bottom opening and add 1″ to get x”. Cut a 2″ by x” strip of fabric from one of the T-shirt remnants. Line up one long edge around the opening and pin, right sides together. Sew a running stitch about ½” from the edge, being sure to “catch” all layers. Remove the pins.

8. Fold the edge down ½” and then wrap it tightly around the raw edge to the inside. Pin and carefully sew a whipstitch securing the edging in place. Remove the pins. Optional: Repeat steps 2–8 to make a second mitt.

9. Ready to get all up in that grill? The (veggie) burgers are ready to be flipped and nothing’s too hot to handle!


