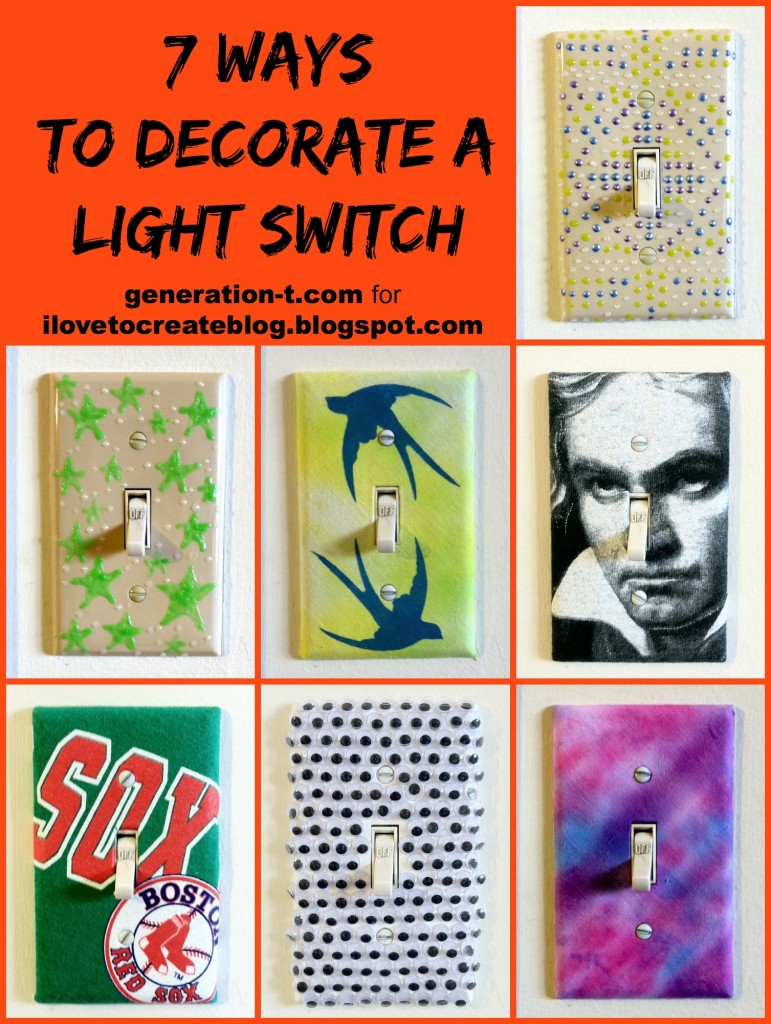
A light switch plate is a pretty sweet blank canvas — small in dimension and fairly low-stakes (in case the creative process doesn’t go as planned). But when it does work, what fun! I started by picking through my T-shirt stash, but ended up far beyond there — click through at the end of the post to see a few other creative switch plate options!
Materials:
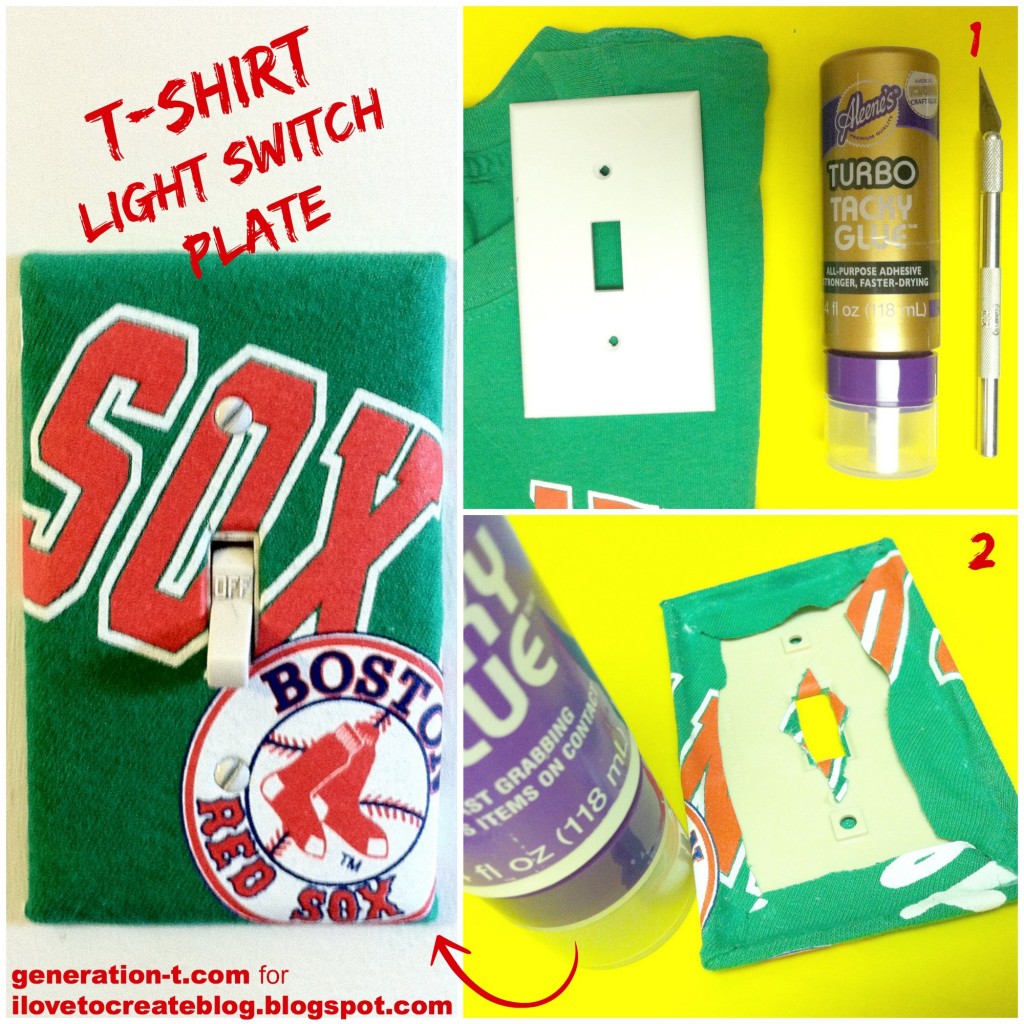
-T-shirt with small logo or text
–Aleene’s Turbo Tacky Glue
-Blank light switch plate
-Craft knife and cutting mat
Make it:
1. Select a T-shirt or T-shirt scrap and loosely cut out the logo portion. (My T-shirt “excerpt” is clearly from a Red Sox shirt — GO SOX!)
2. Apply glue lightly and evenly to the front of the switch plate, and press it down onto the back of the T-shirt fabric, leaving a 1″ margin on all sides. Trim off the corners and cut an X from corner to corner inside the light switch opening. Fold back the edges and fold back the cut triangle pieces in the center and glue.
3. Let dry completely, and attach your T-shirt light switch plate to the nearest light switch!
For 6 More Ways to Decorate a Light Switch Plate, click through to my tutorials over at the iLoveToCreate Blog.

Tags: Aleene's Tacky Glue, iLoveToCreate, switch plate crafts, T-shirt crafts
[ Posted on October 28th, 2014 ]


