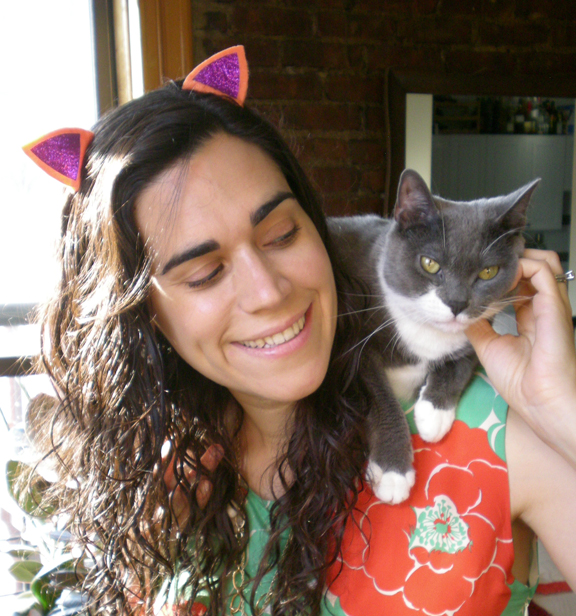
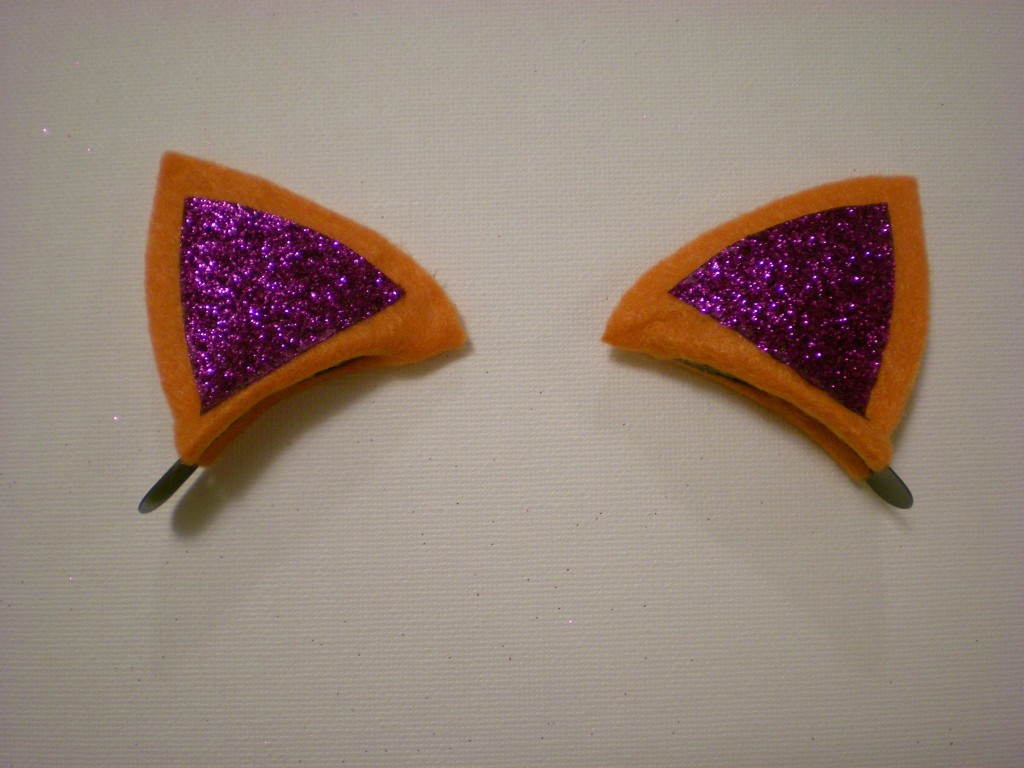
Clip-on cat ears for when you’re feeling a little bit feline! The occasion? Well, to be perfectly honest, I set out making these for my niece’s 5th birthday (she happens to love cats–her cat, Mo, in particular), but I didn’t finish them in time (despite the fact that they only take about 10-15 minutes to complete!). It turns out, though, that there was a higher power (called glitter) at work and the delay was well worth it: I recently got a delivery of Tulip’s new iron-on glitter sheets and I realized that the delay was meant to be (because what would these ears be without the sparkle?).
Save these for Halloween if you want, but why wait? I believe in wearing fun accessories whenever the mood strikes–because, hey, some days you just feel like a cat and here’s the perfect accessory to let you indulge that feeling. And talk about fun in the sun–these ears sure do sparkle!
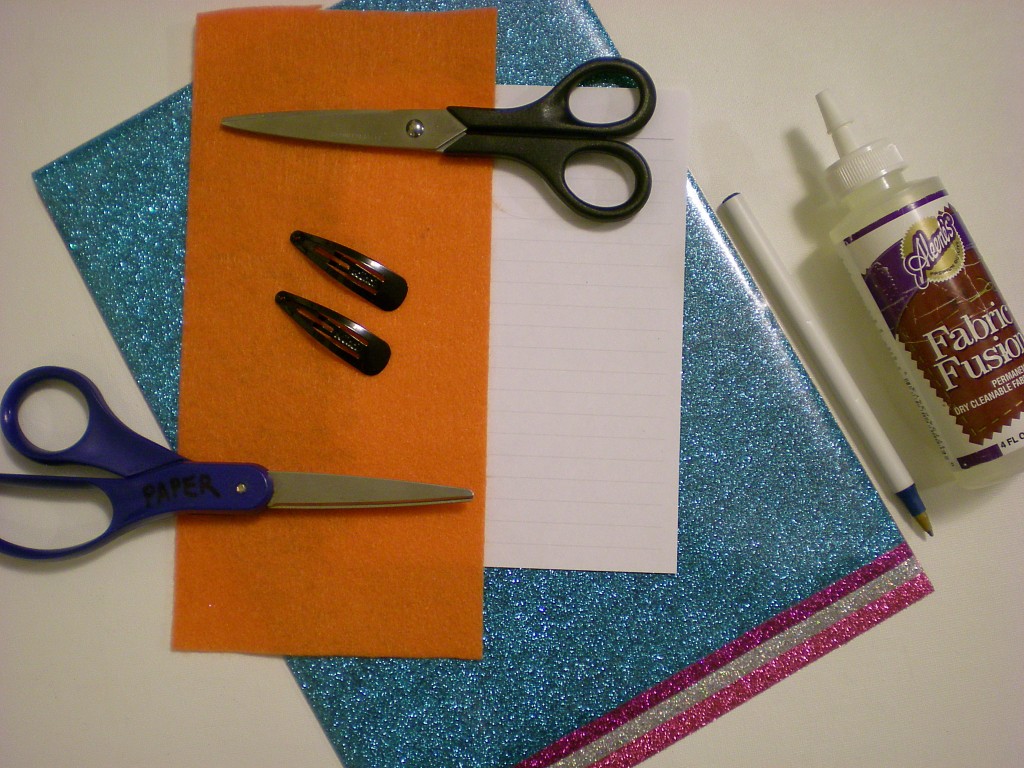
Materials:
-Pen or pencil
-Scrap of paper
-Colorful felt
-All-purpose scissors
-Fabric scissors
-Metal snap barrettes
–Aleene’s Fabric Fusion fabric glue
–Tulip Fashion Glitter Shimmer Transfer Sheets
-Pressing cloth
-Iron
Make it:
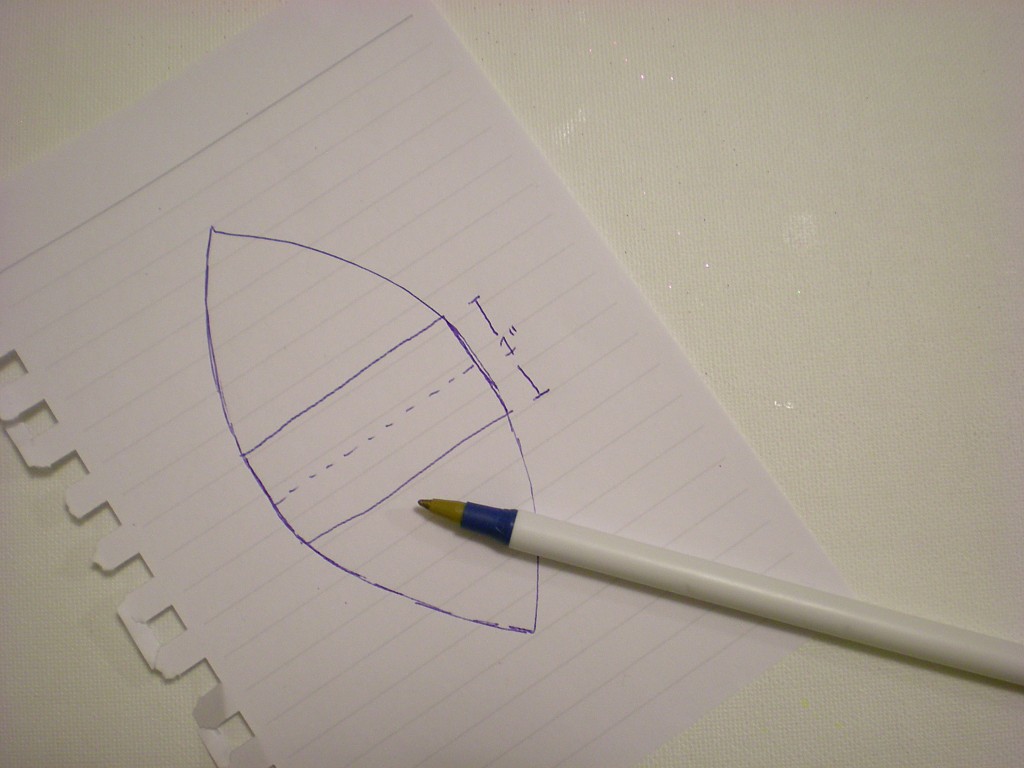
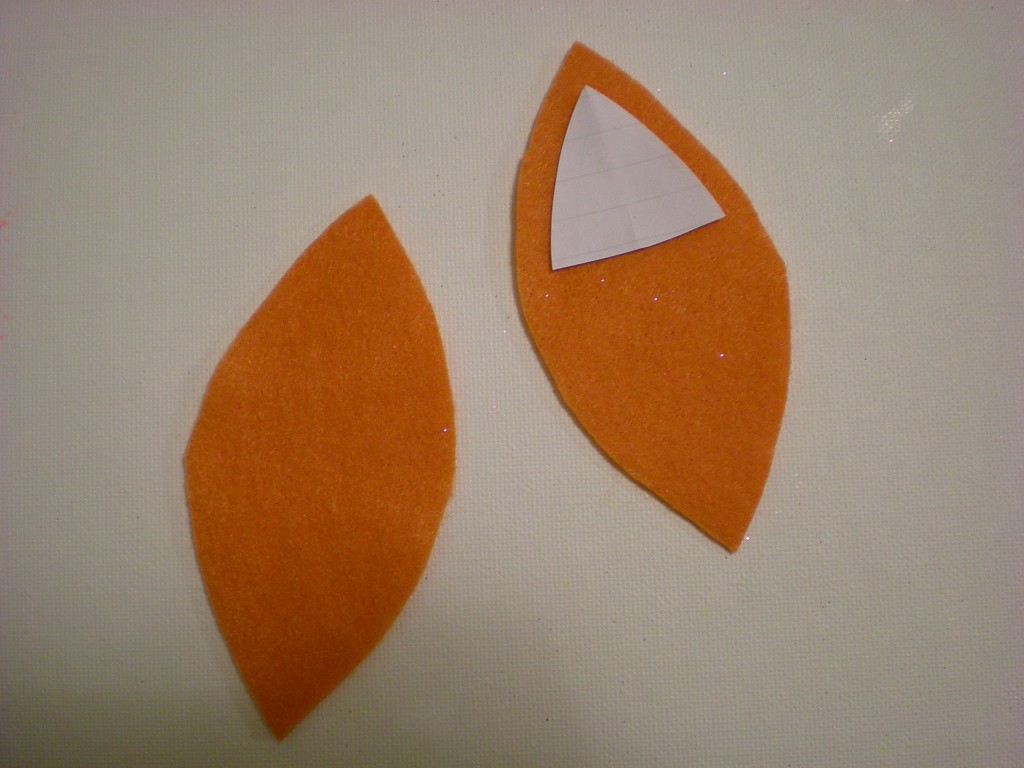
1. Use the pen and paper to sketch out a slightly rounded triangle, about 2″ high. Add 1/2″ at the base of the triangle and then mirror the shape below it to create the template. Cut it out with the all-purpose scissors. (You can also fold the paper at the base after you’ve drawn the top triangle and the extended base, and cut around the shape through both layers.)
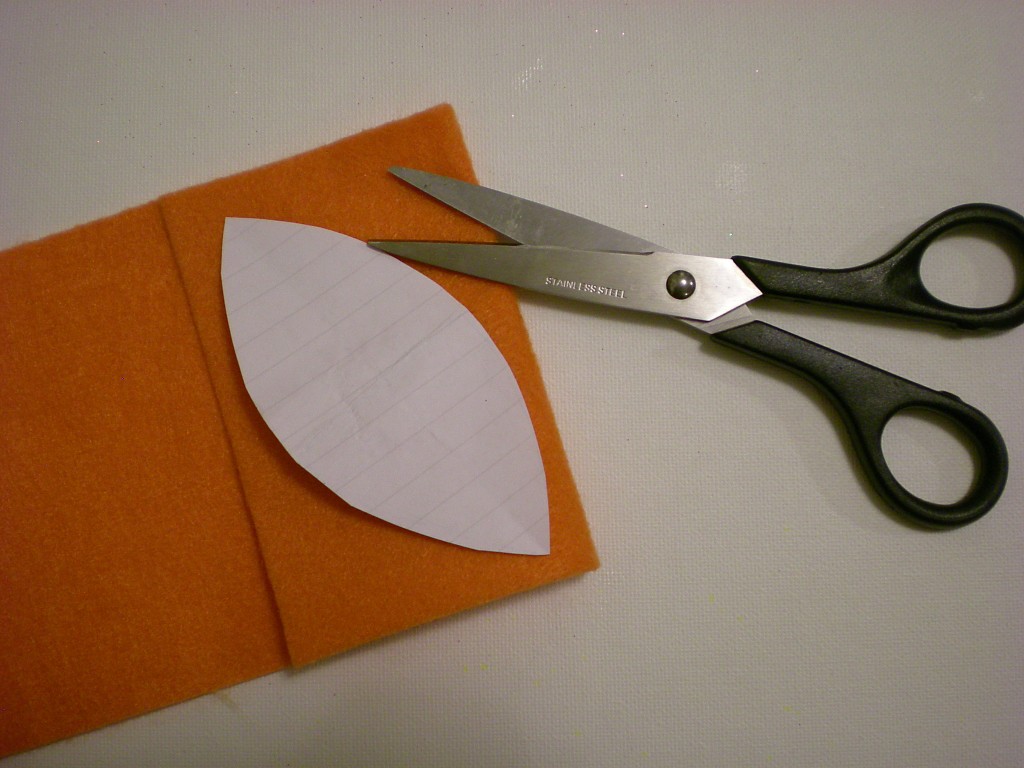
2. Fold over the felt and lay the template on top of the folded section. Use the fabric scissors to cut around the template, through both layers.
3. Mark and cut a second template, in the shape of a rounded triangle, about 1/4″ smaller on all sides than the original triangle in Step 1.
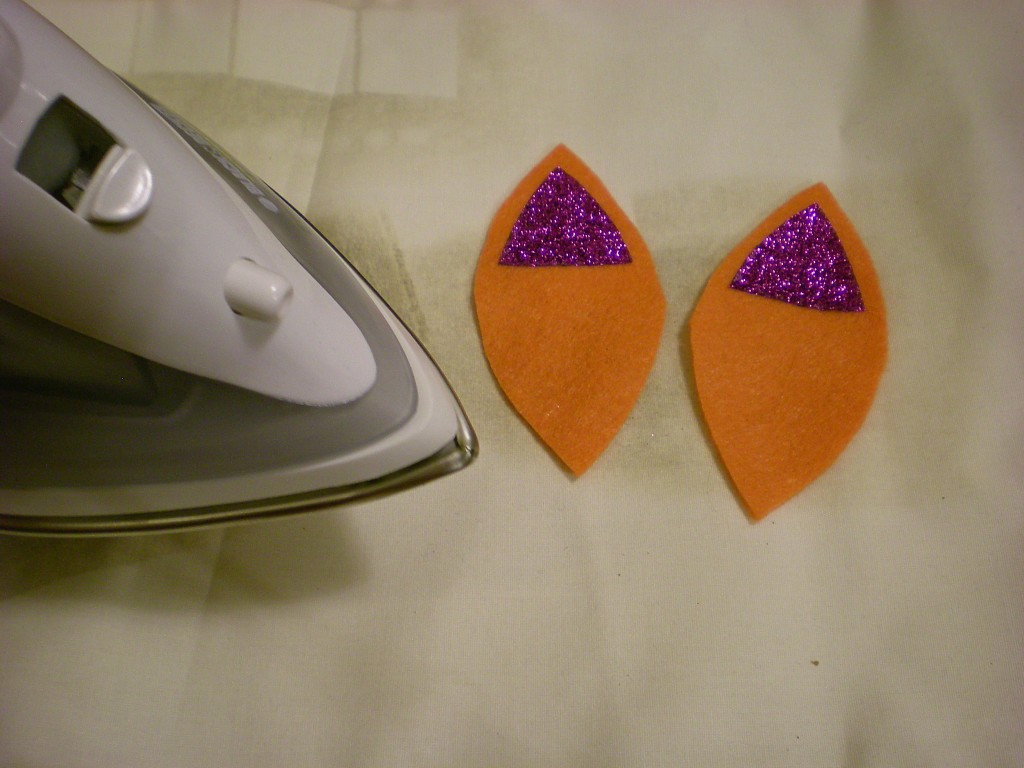
4. Select a color from the iron-on glitter sheets and trace the second template twice onto the shiny surface. Use the all-purpose scissors to cut them out. Peel away the shiny surface layer and arrange them on the felt ear pieces. Lay a pressing cloth over the ears, and press firmly with the iron for about 40 seconds. (Repeat if necessary to set the glitter transfer.)
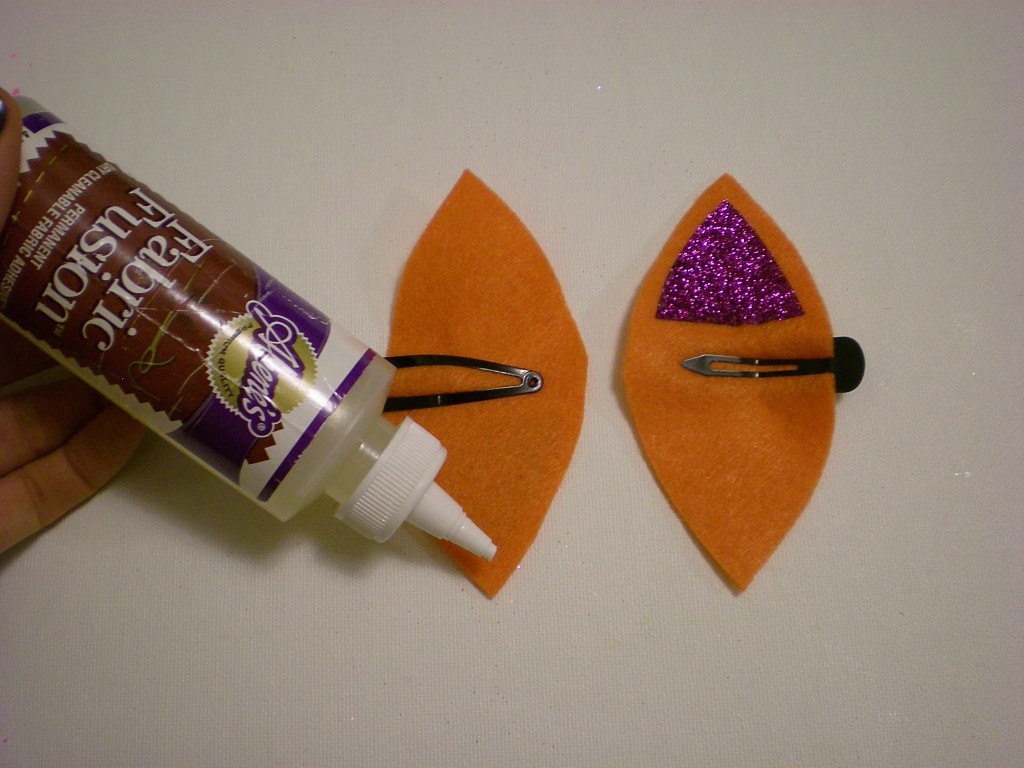
5. Clip the metal barrettes in the center, on each side of each felt ear piece, so that the top of the barrette corresponds to the wrong side of the ear piece and vice versa. Generously apply fabric glue around the edge of the wrong side of the ear piece. (The felt absorbs a lot of the glue, so don’t be stingy!)
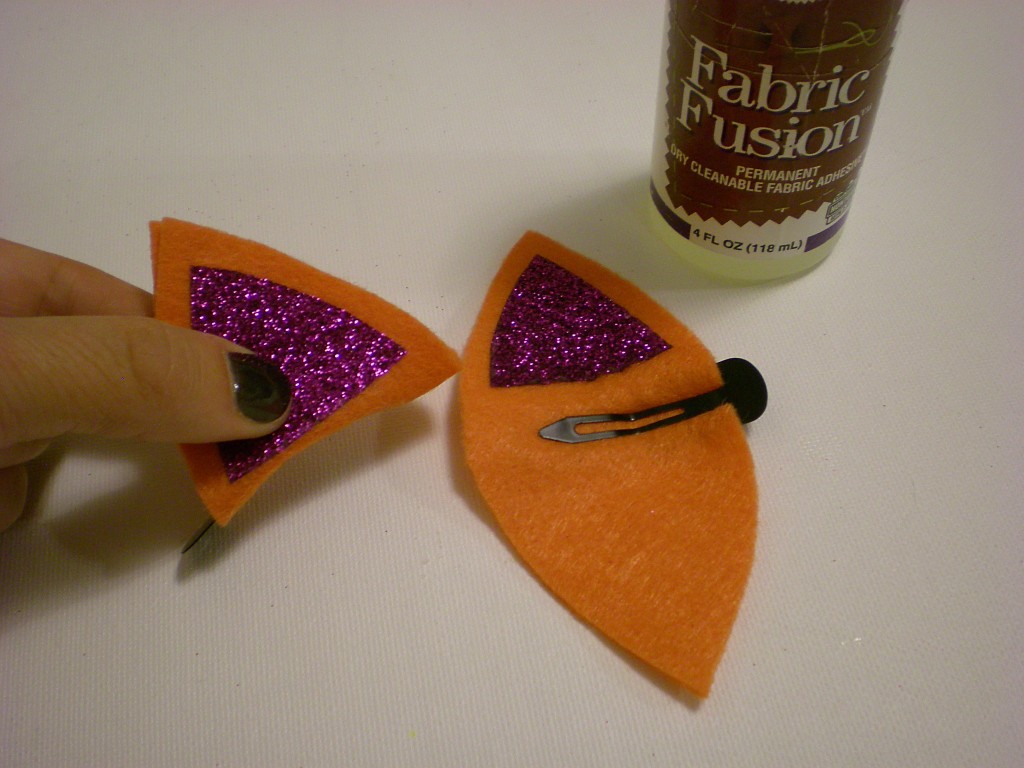
6. Fold the ear piece around the top of the barrette to seal the glue, and repeat on the second barrette.
7. Let dry. Optional: Clip the layers together with extra barrette clips while the glue dries!
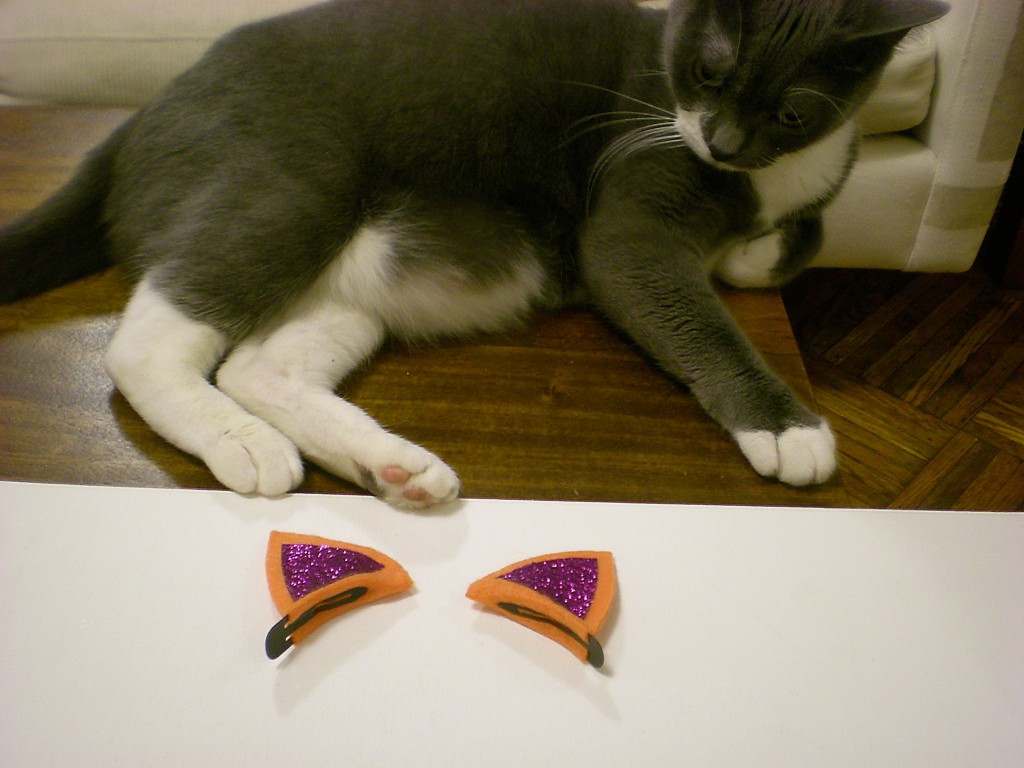
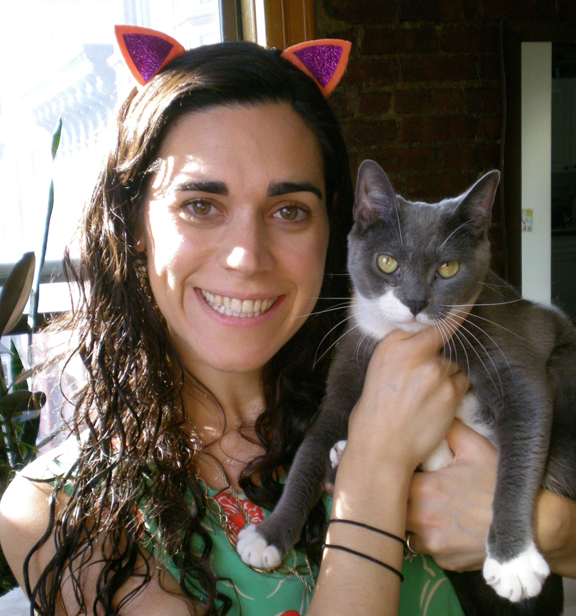
8. Quick! Try them on before the actual cat who’s been helping you craft gets a little too interested and starts batting them off your workspace!
(Special thanks to Tulu the cat for “helping.”)
Tags: Cat costume ears, cat ear barrettes, glitter, iron-on transfers
[ Posted on June 28th, 2011 ]



This is a great project! I can’t wait to make these for my niece. She loves to pretend she’s a cat, and now she can be one step closer.
So cute ^__^
That’s genius. Is it possible to make mouse ears the same way? I would like some mousey ears.
@Dio — Definitely! Just change the outline of the ears so that the shape to be folded over is more like a figure-8 or a dumbbell (so there’s space in the middle to fold it around the barrette). You might have to tweak them a little, so they don’t look too teddy bear-ish, but yes, the ears should work in many shapes. Bunny ears and devil ears included, too!
que hermosa la idea!!
Megan,
I love these! I’m making them for one of my friends for her b-day. She’s ooobbsseessed with kitties. I love all your projects! So cool.
I can’t wait until you do your residency through ACT. I am going to try the devil ears thing, too. And the tie for my daddy. Thank you so much!
Hi Willa — I hope your friend likes them! And the devil ears will be perfect for Halloween! I’m looking forward to my trip up north, too 🙂
Love this idea!! Waitin on my kitty ears to dry. Had to make them a tad smaller for my lil one but she has her kitty ears for Halloween
tiny kitty ears sound even cuter! you’ll have to send pictures when she’s fully costumed 🙂
Tried this and they looked cheap (not like the ones with the better clips) and didn’t stay in my daughters hair ..probably for the same reason..no grip. Wasted time and materials.